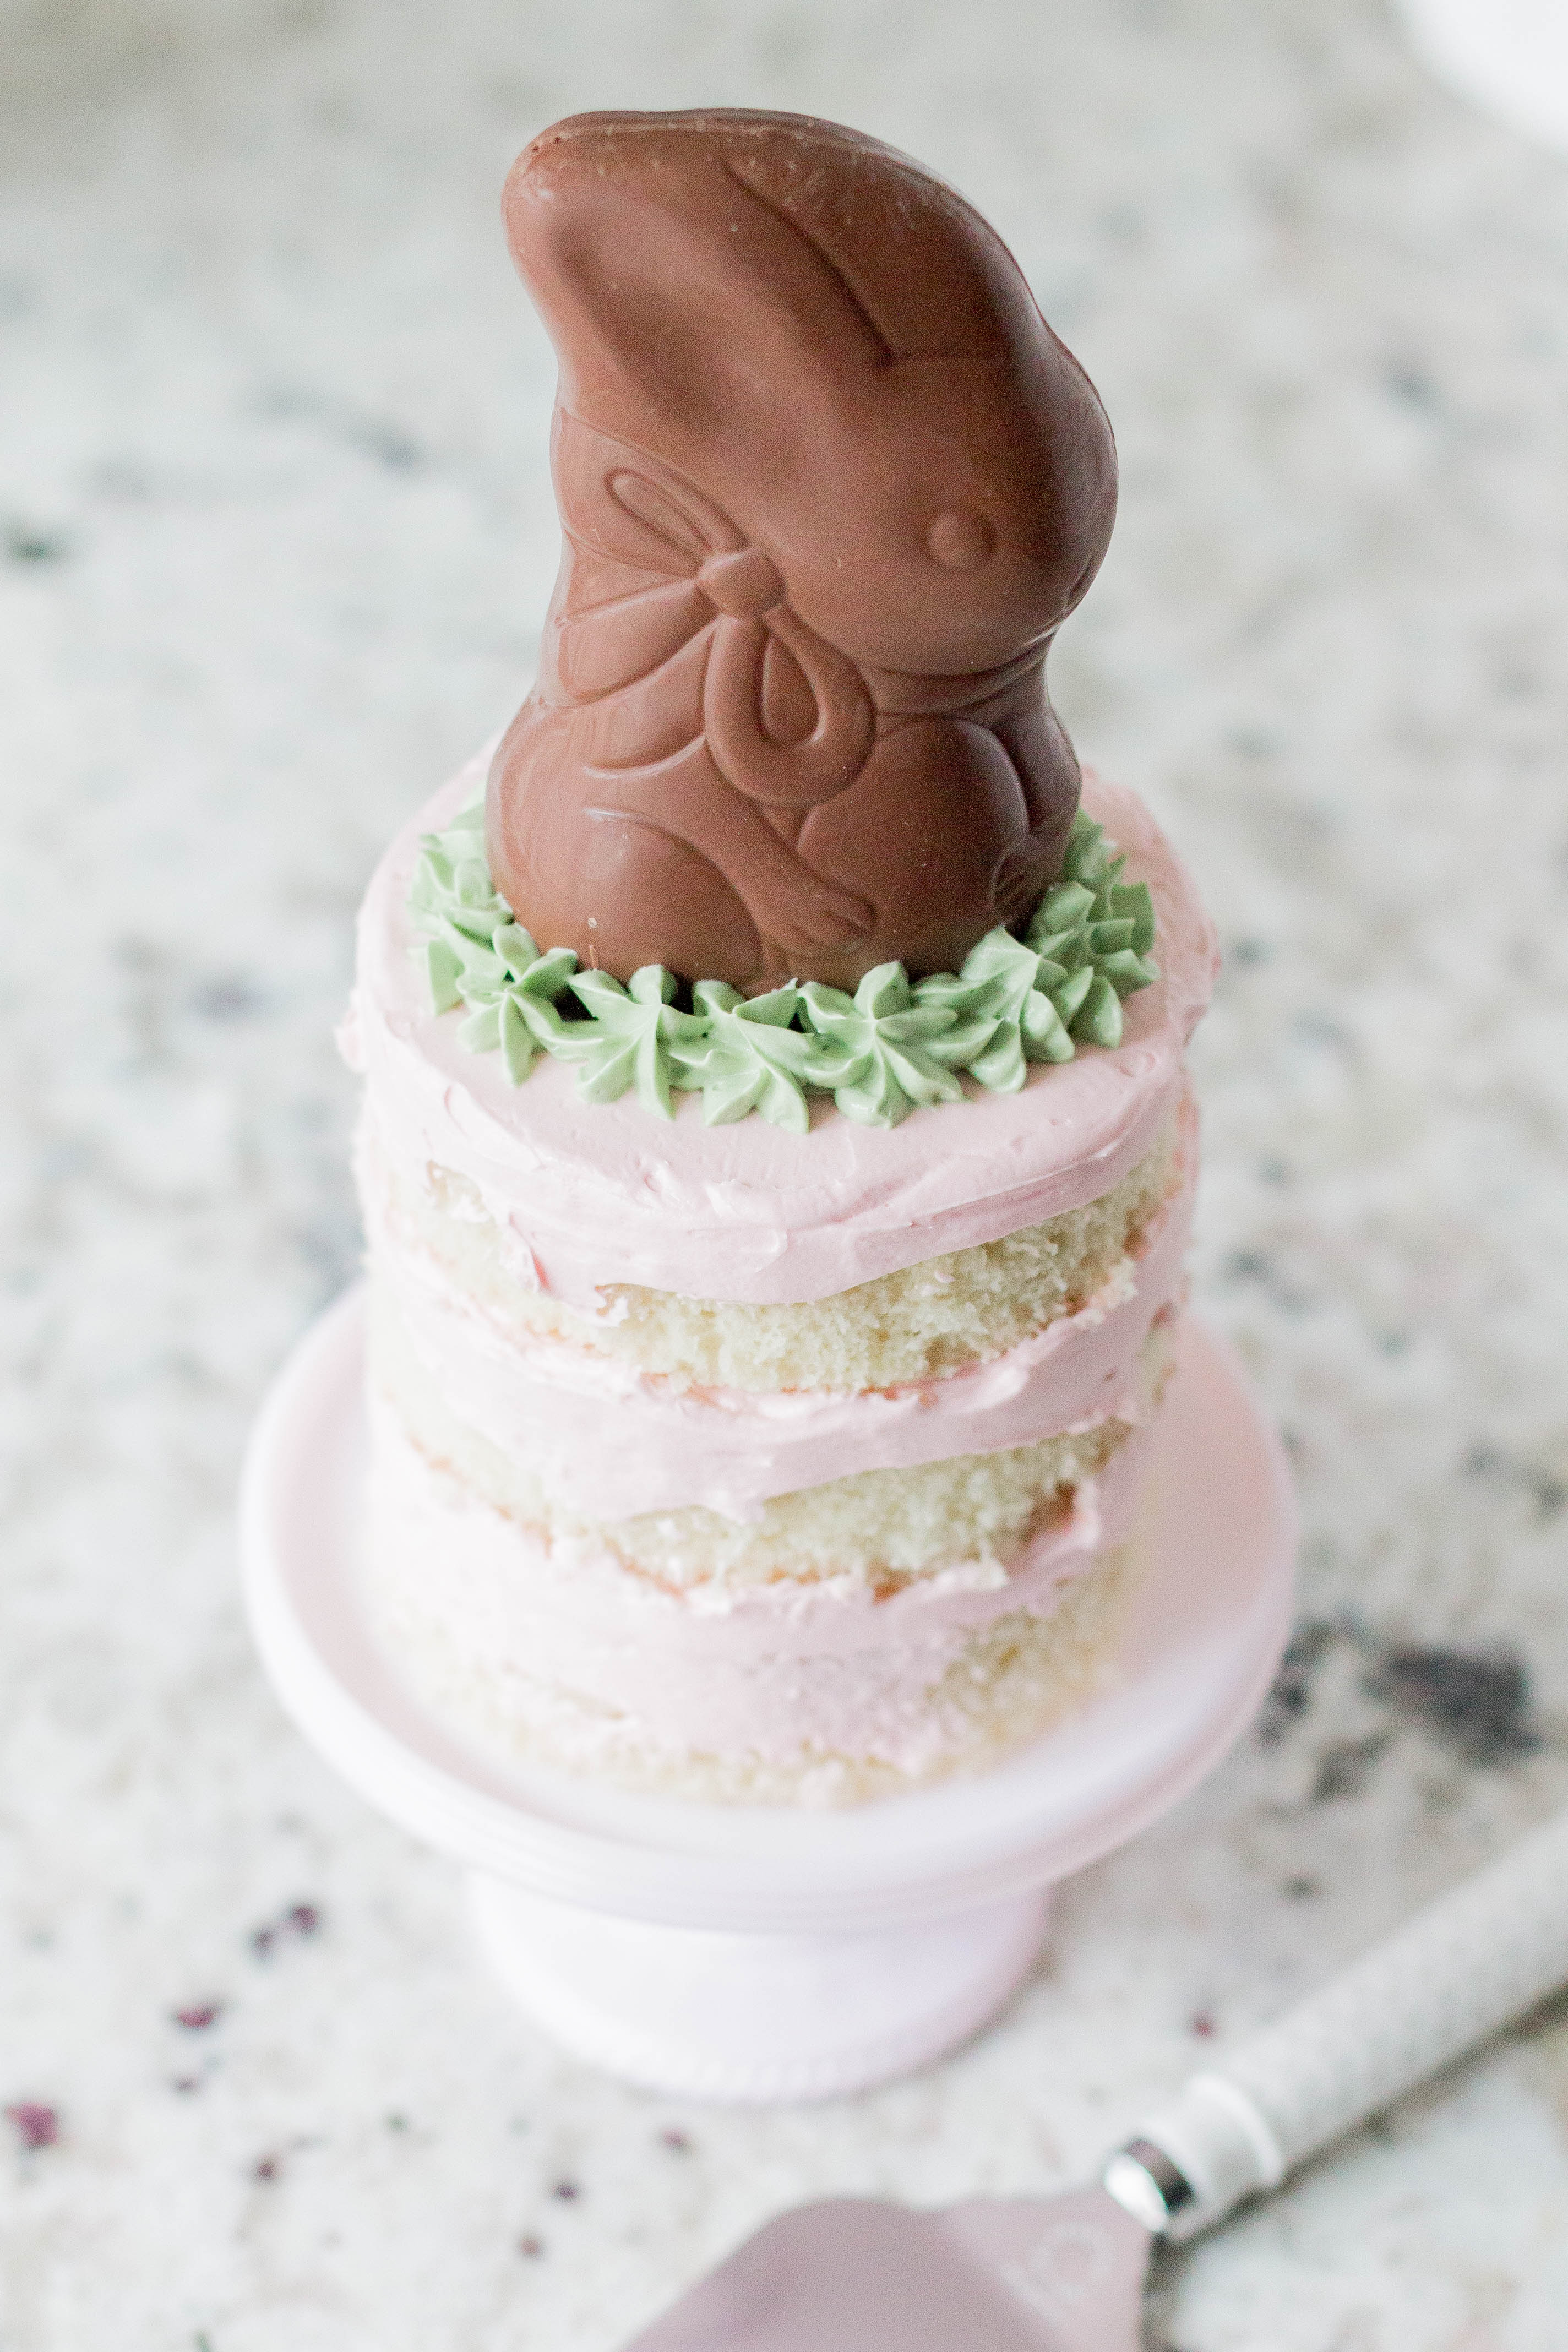
Martha Stewart Mini Cake Stand with Glass Bunny Dome: Macy’s / Martha Stewart Whiteware Cake Knife and Server: Macy’s / Martha Stewart Fleur Plate Set: Macy’s
Can you believe Easter is already next week?
Where is the time going and can we get just a few more holidays between now and 4th of July so I have another reason to make one of these adorable (and quite delicious) mini cakes?
No? Ok, I tried.
Anyways these past few months have been flying by (hence the MIA-ness, but don’t worry working on getting back on my A game here shortly). Between holidays, weekend visitors, traveling, my day job, launching Bon Aprontit Spring/Summer collection, wedding planning and being in weddings I’ve barely had time to crank out a blog post, yet alone a recipe one so last weekend when Steve and I finally had a weekend at home with not too many plans I decided to relive my bakery days and crank out this bad boy.
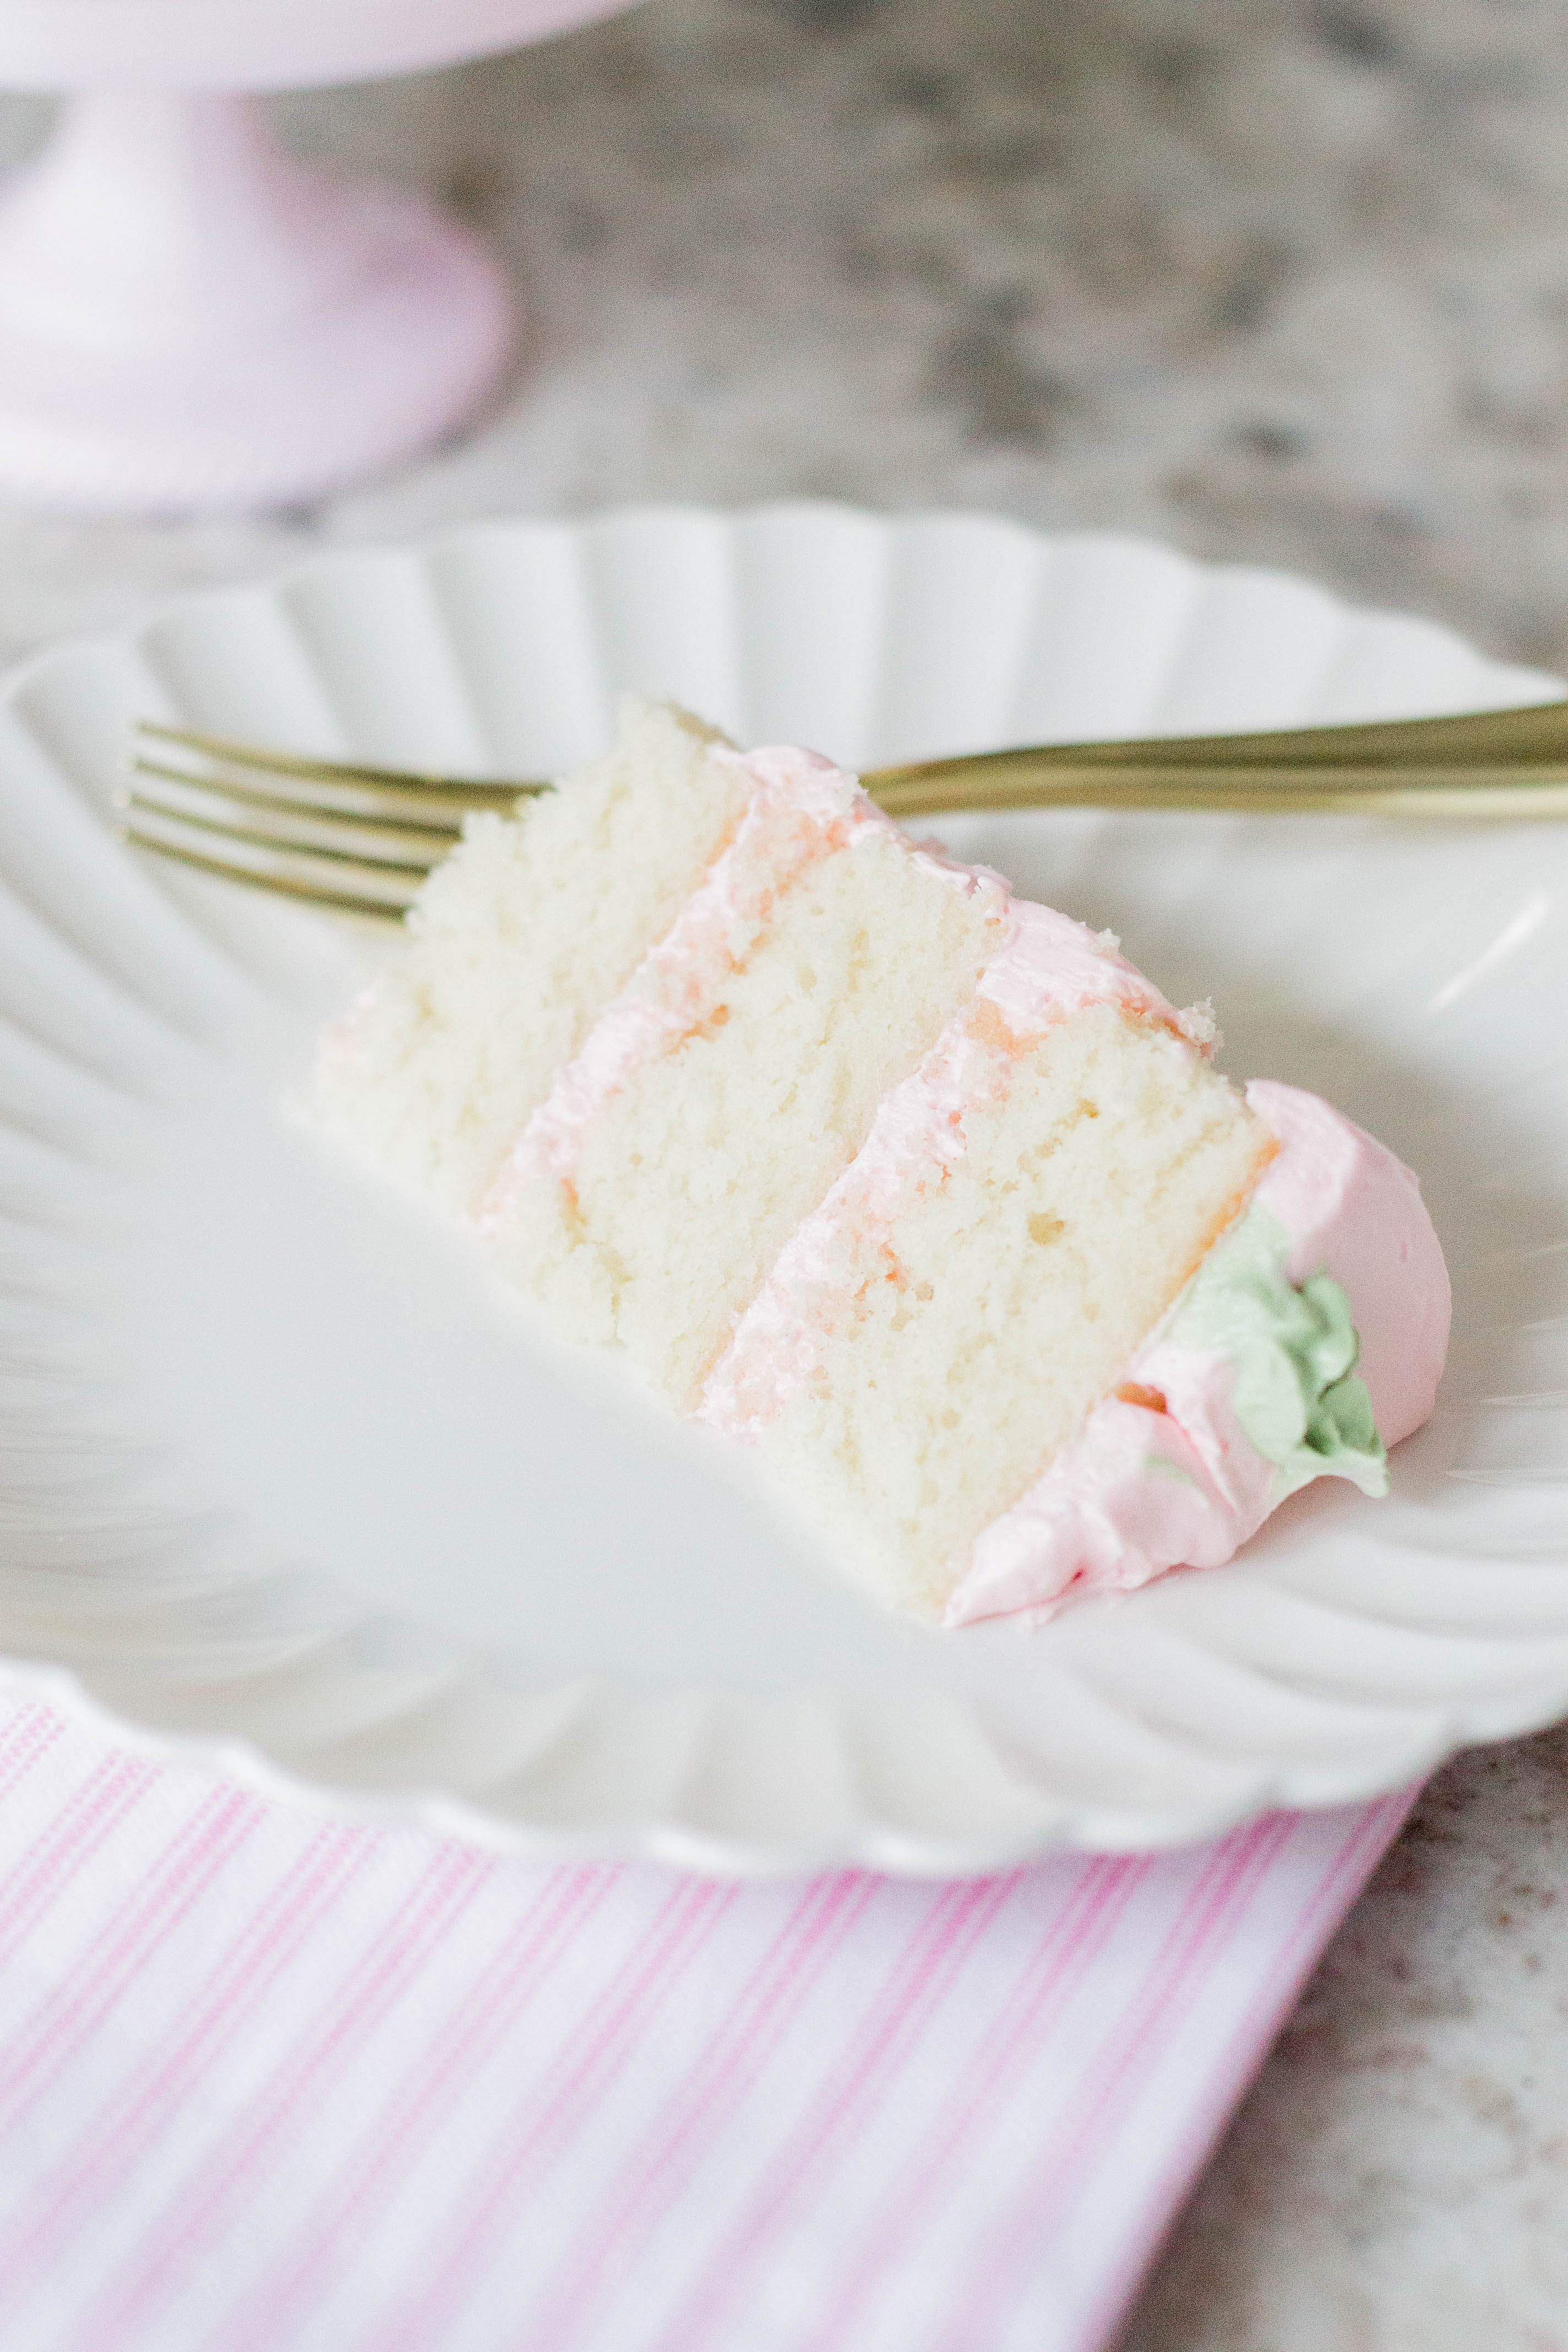
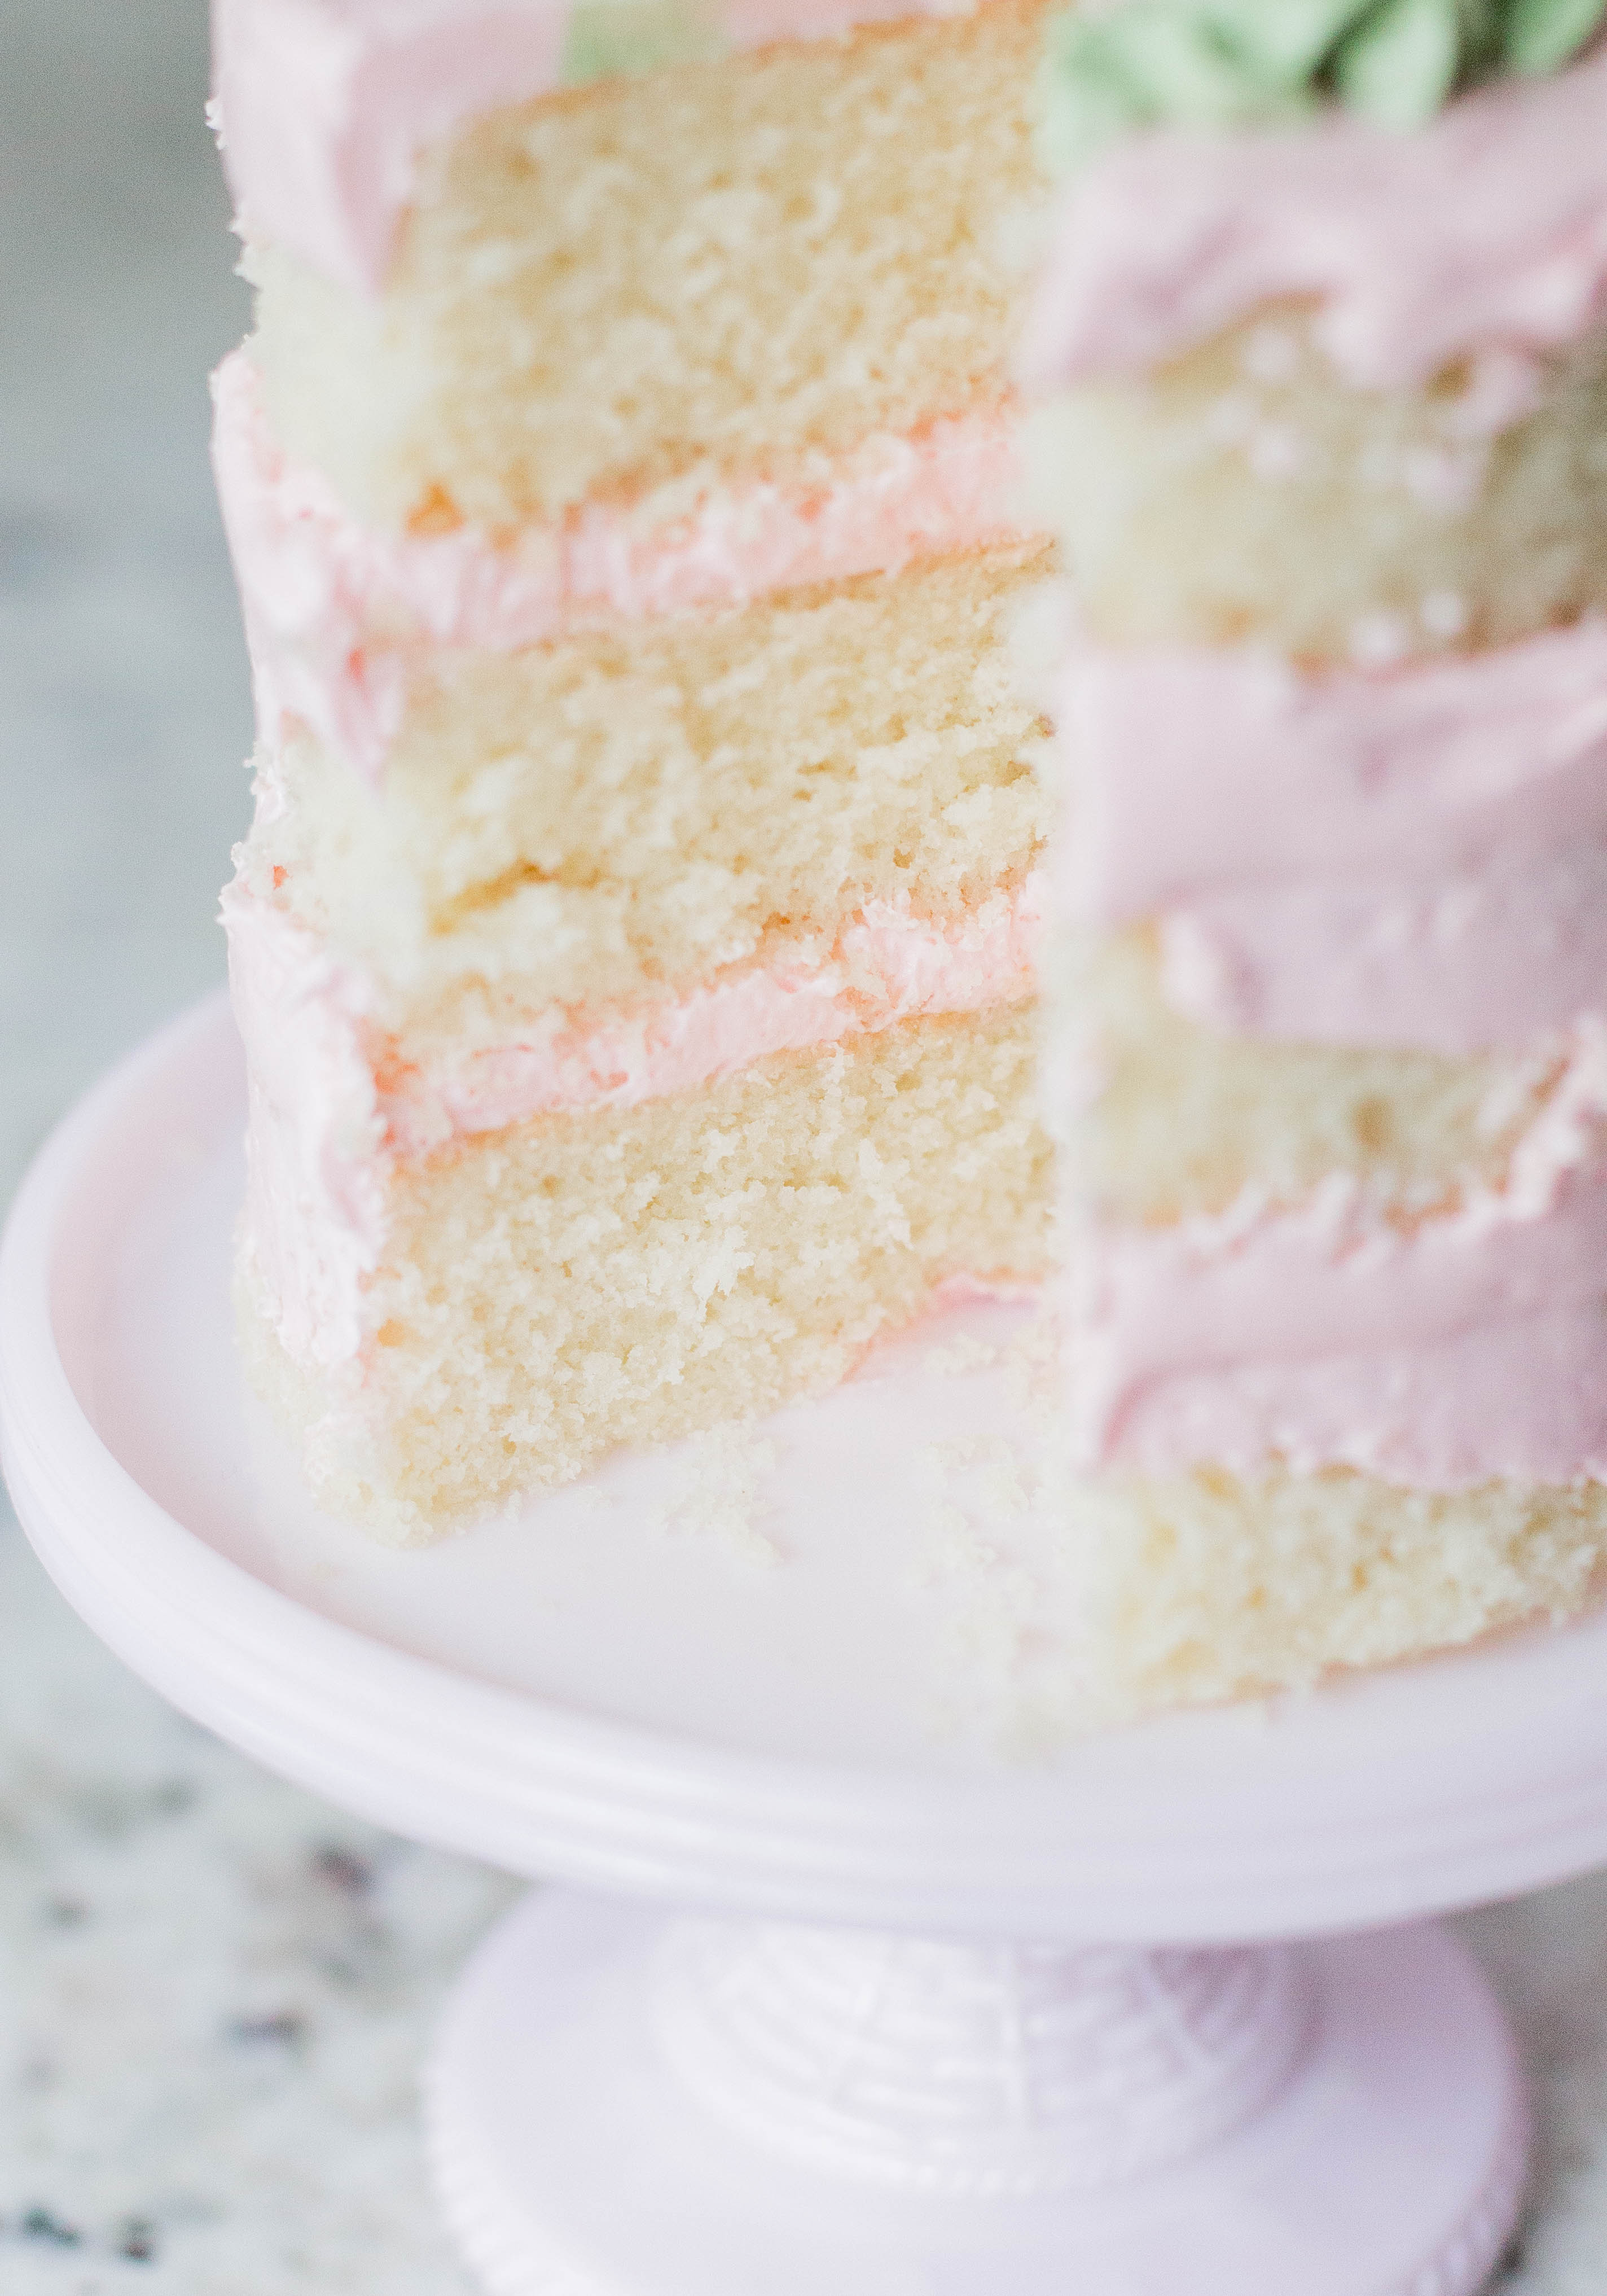 Some people find comfort and stress relief in working out, cranking out a to do list or binge watching one of their favorite shows, but for me it’s all done in the kitchen and with sweet, sweet layers of fluffy, cake goodness.
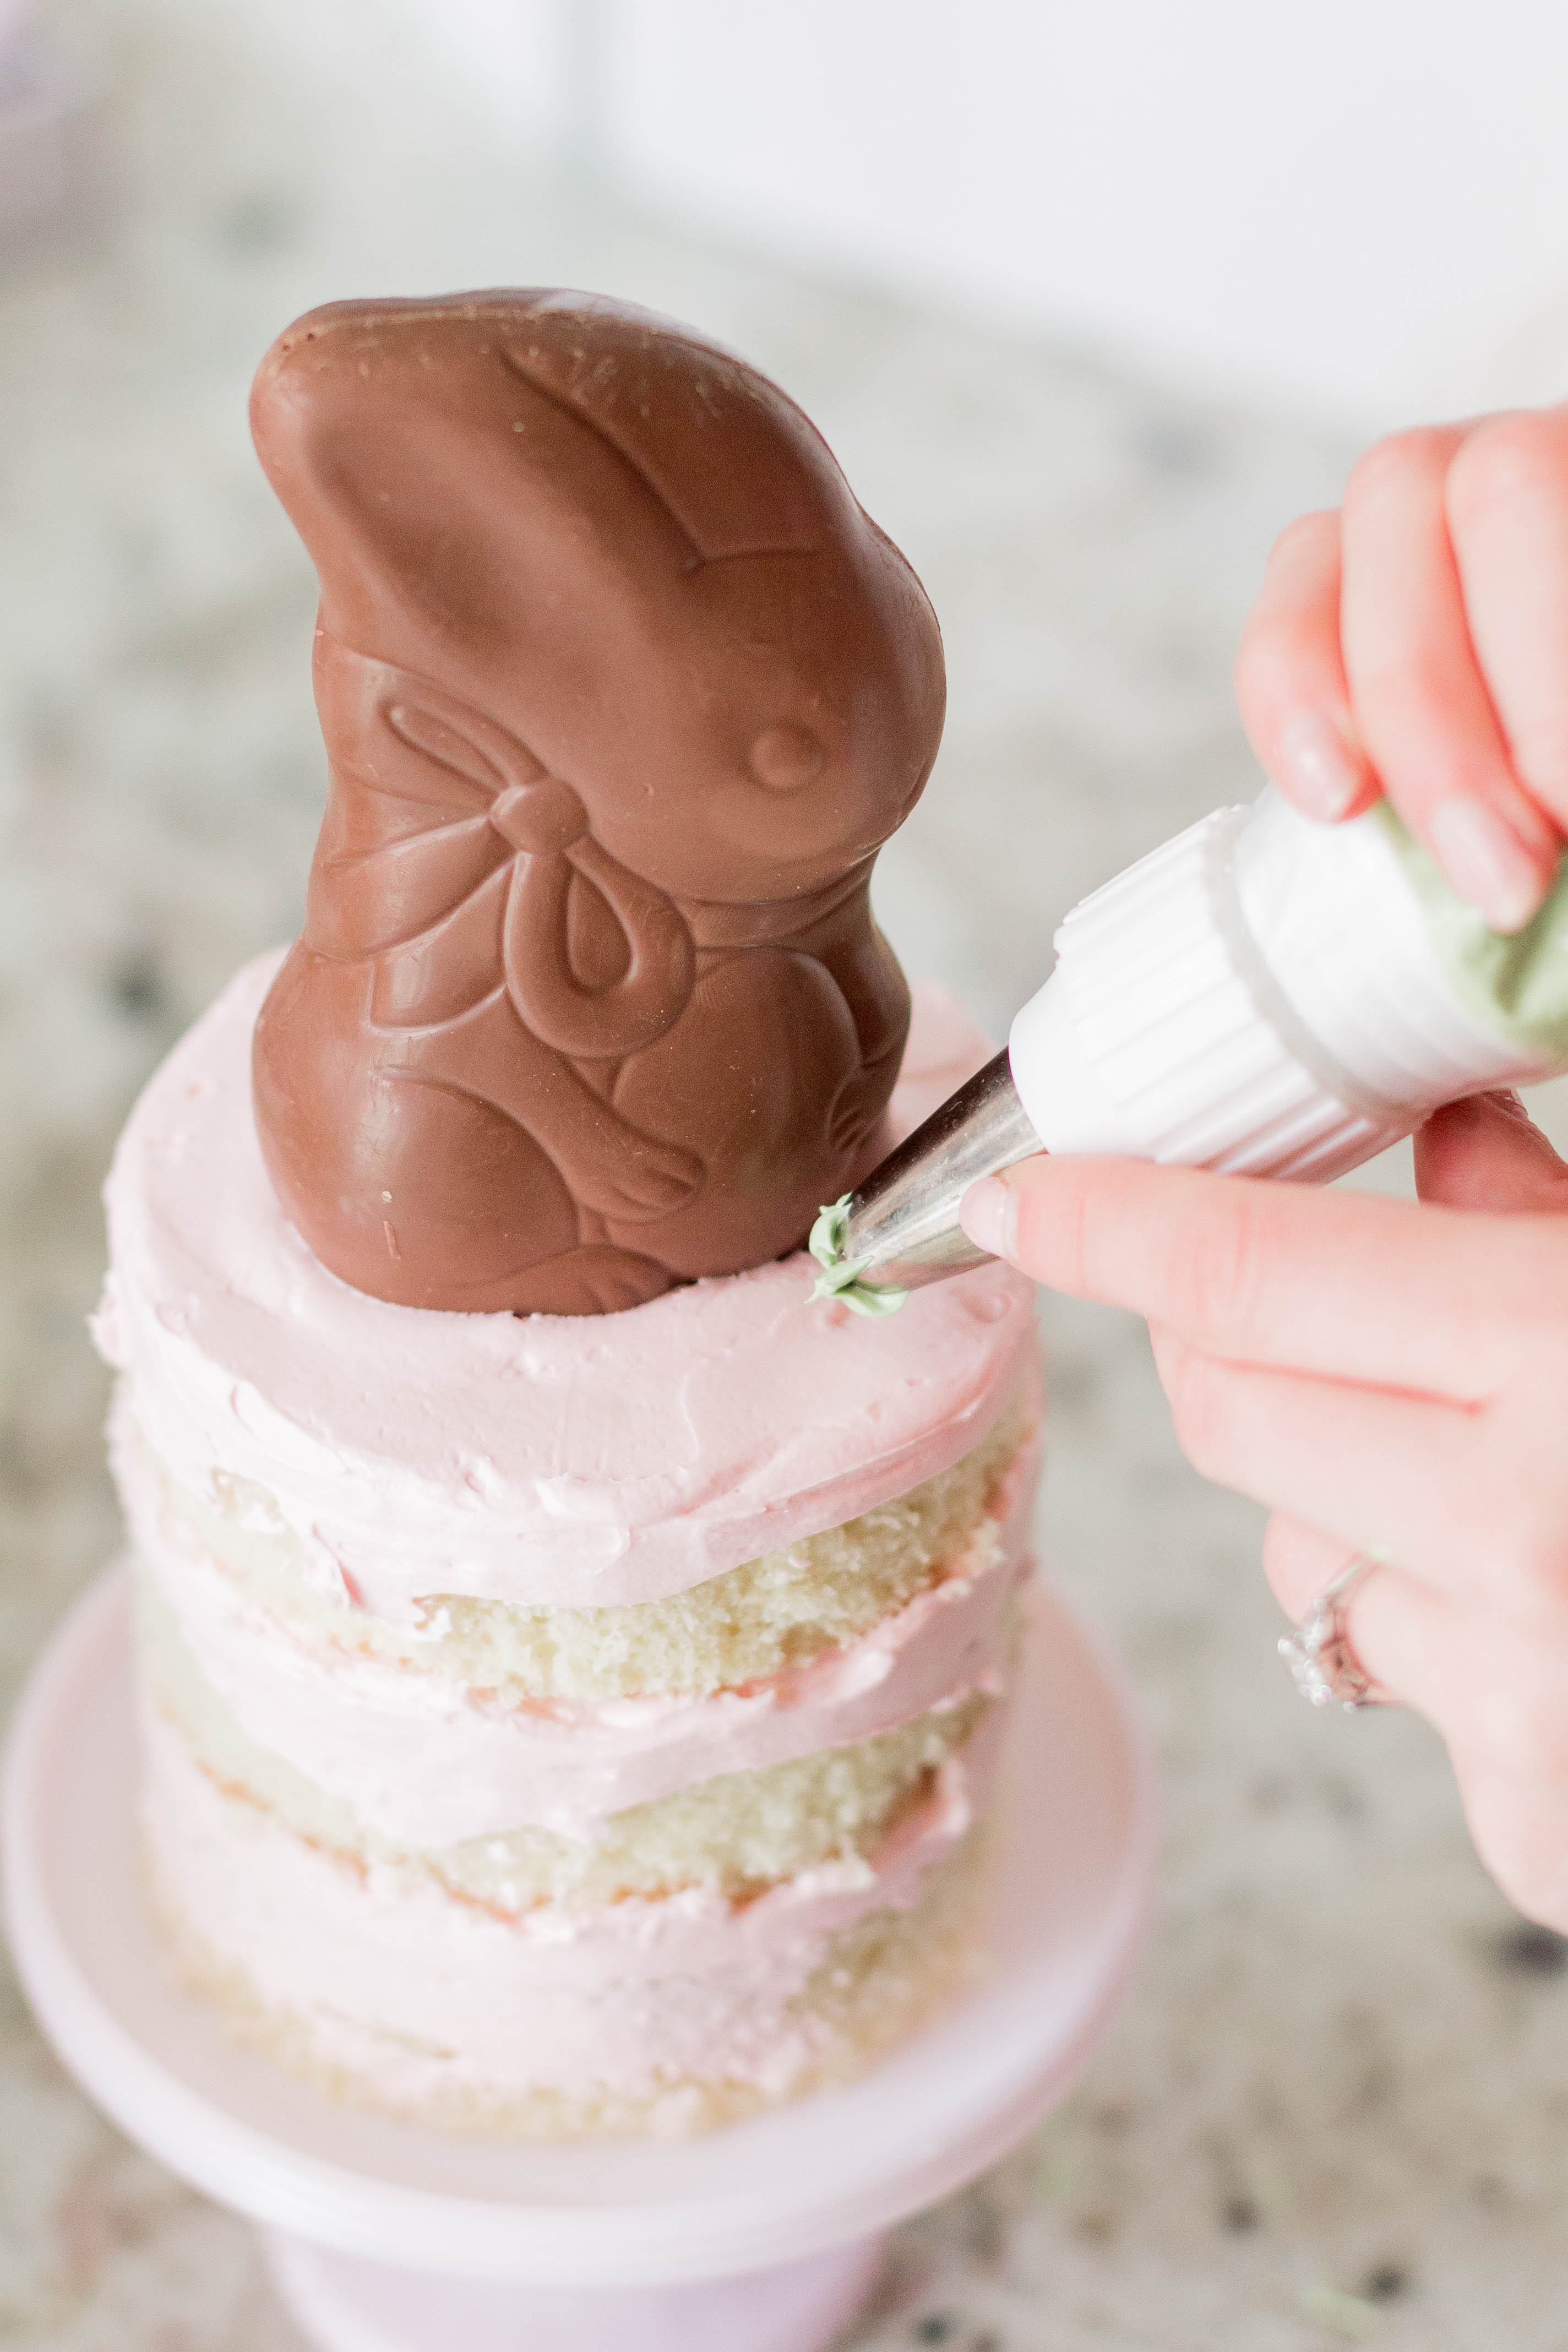
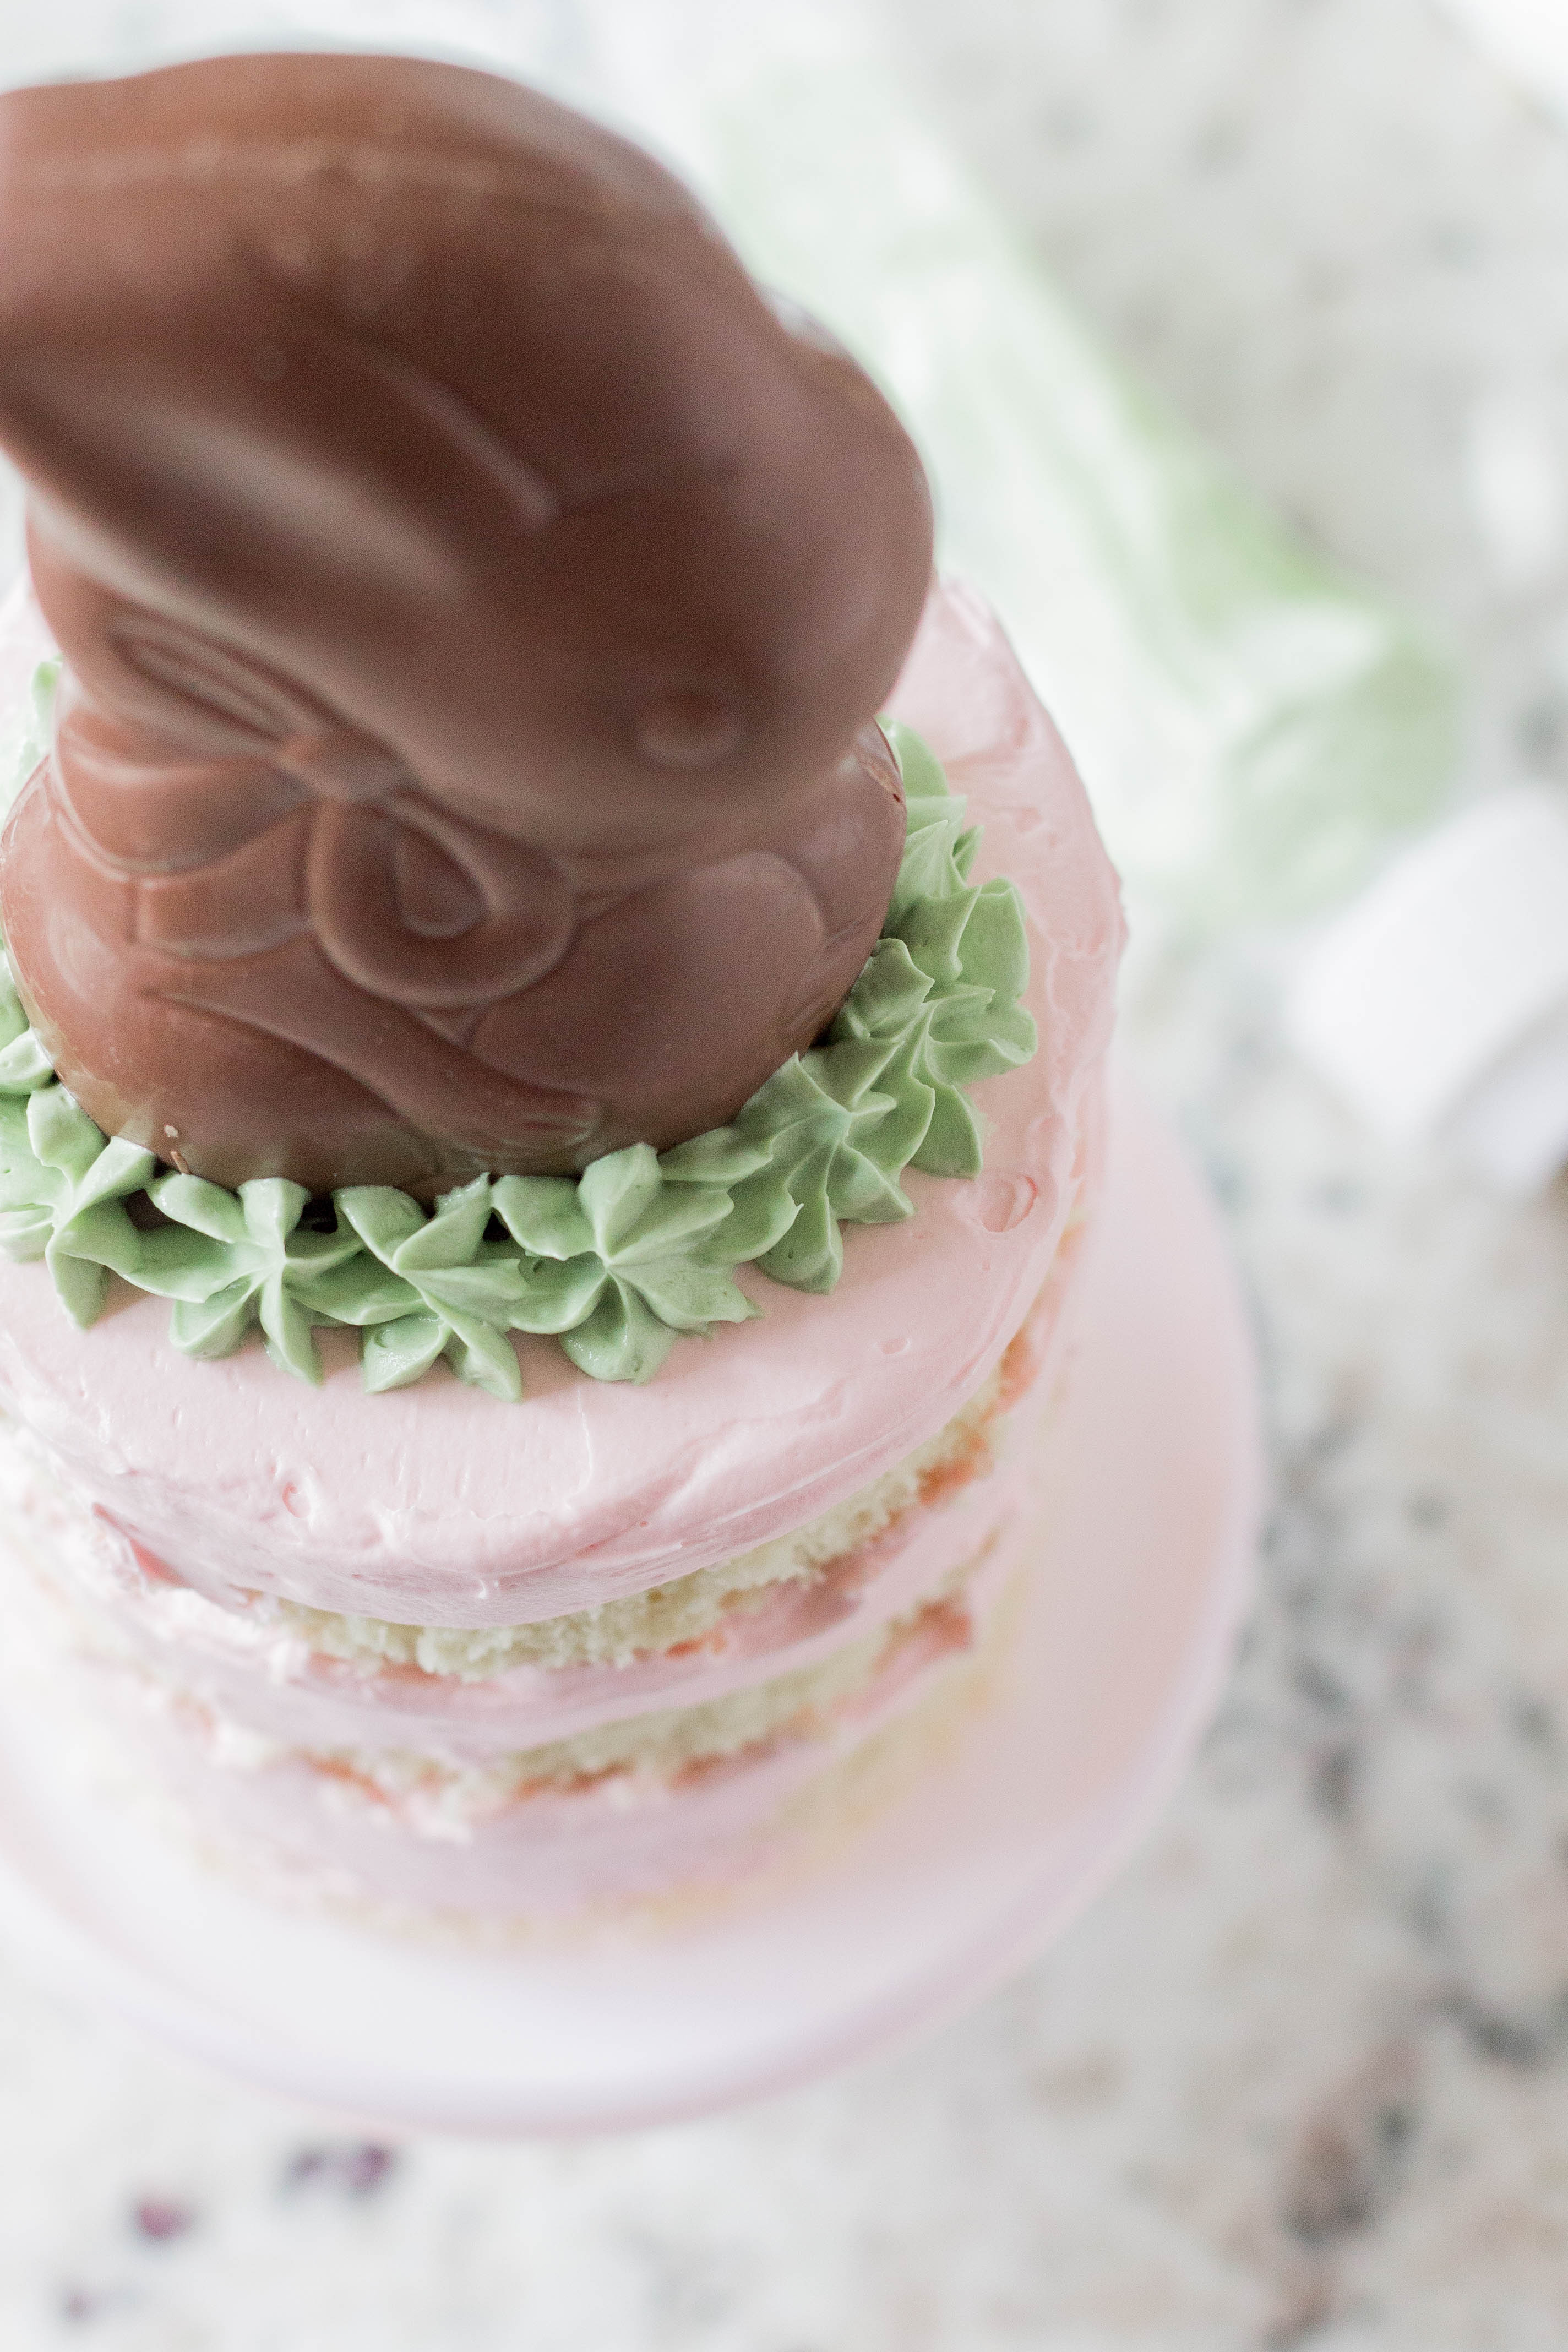
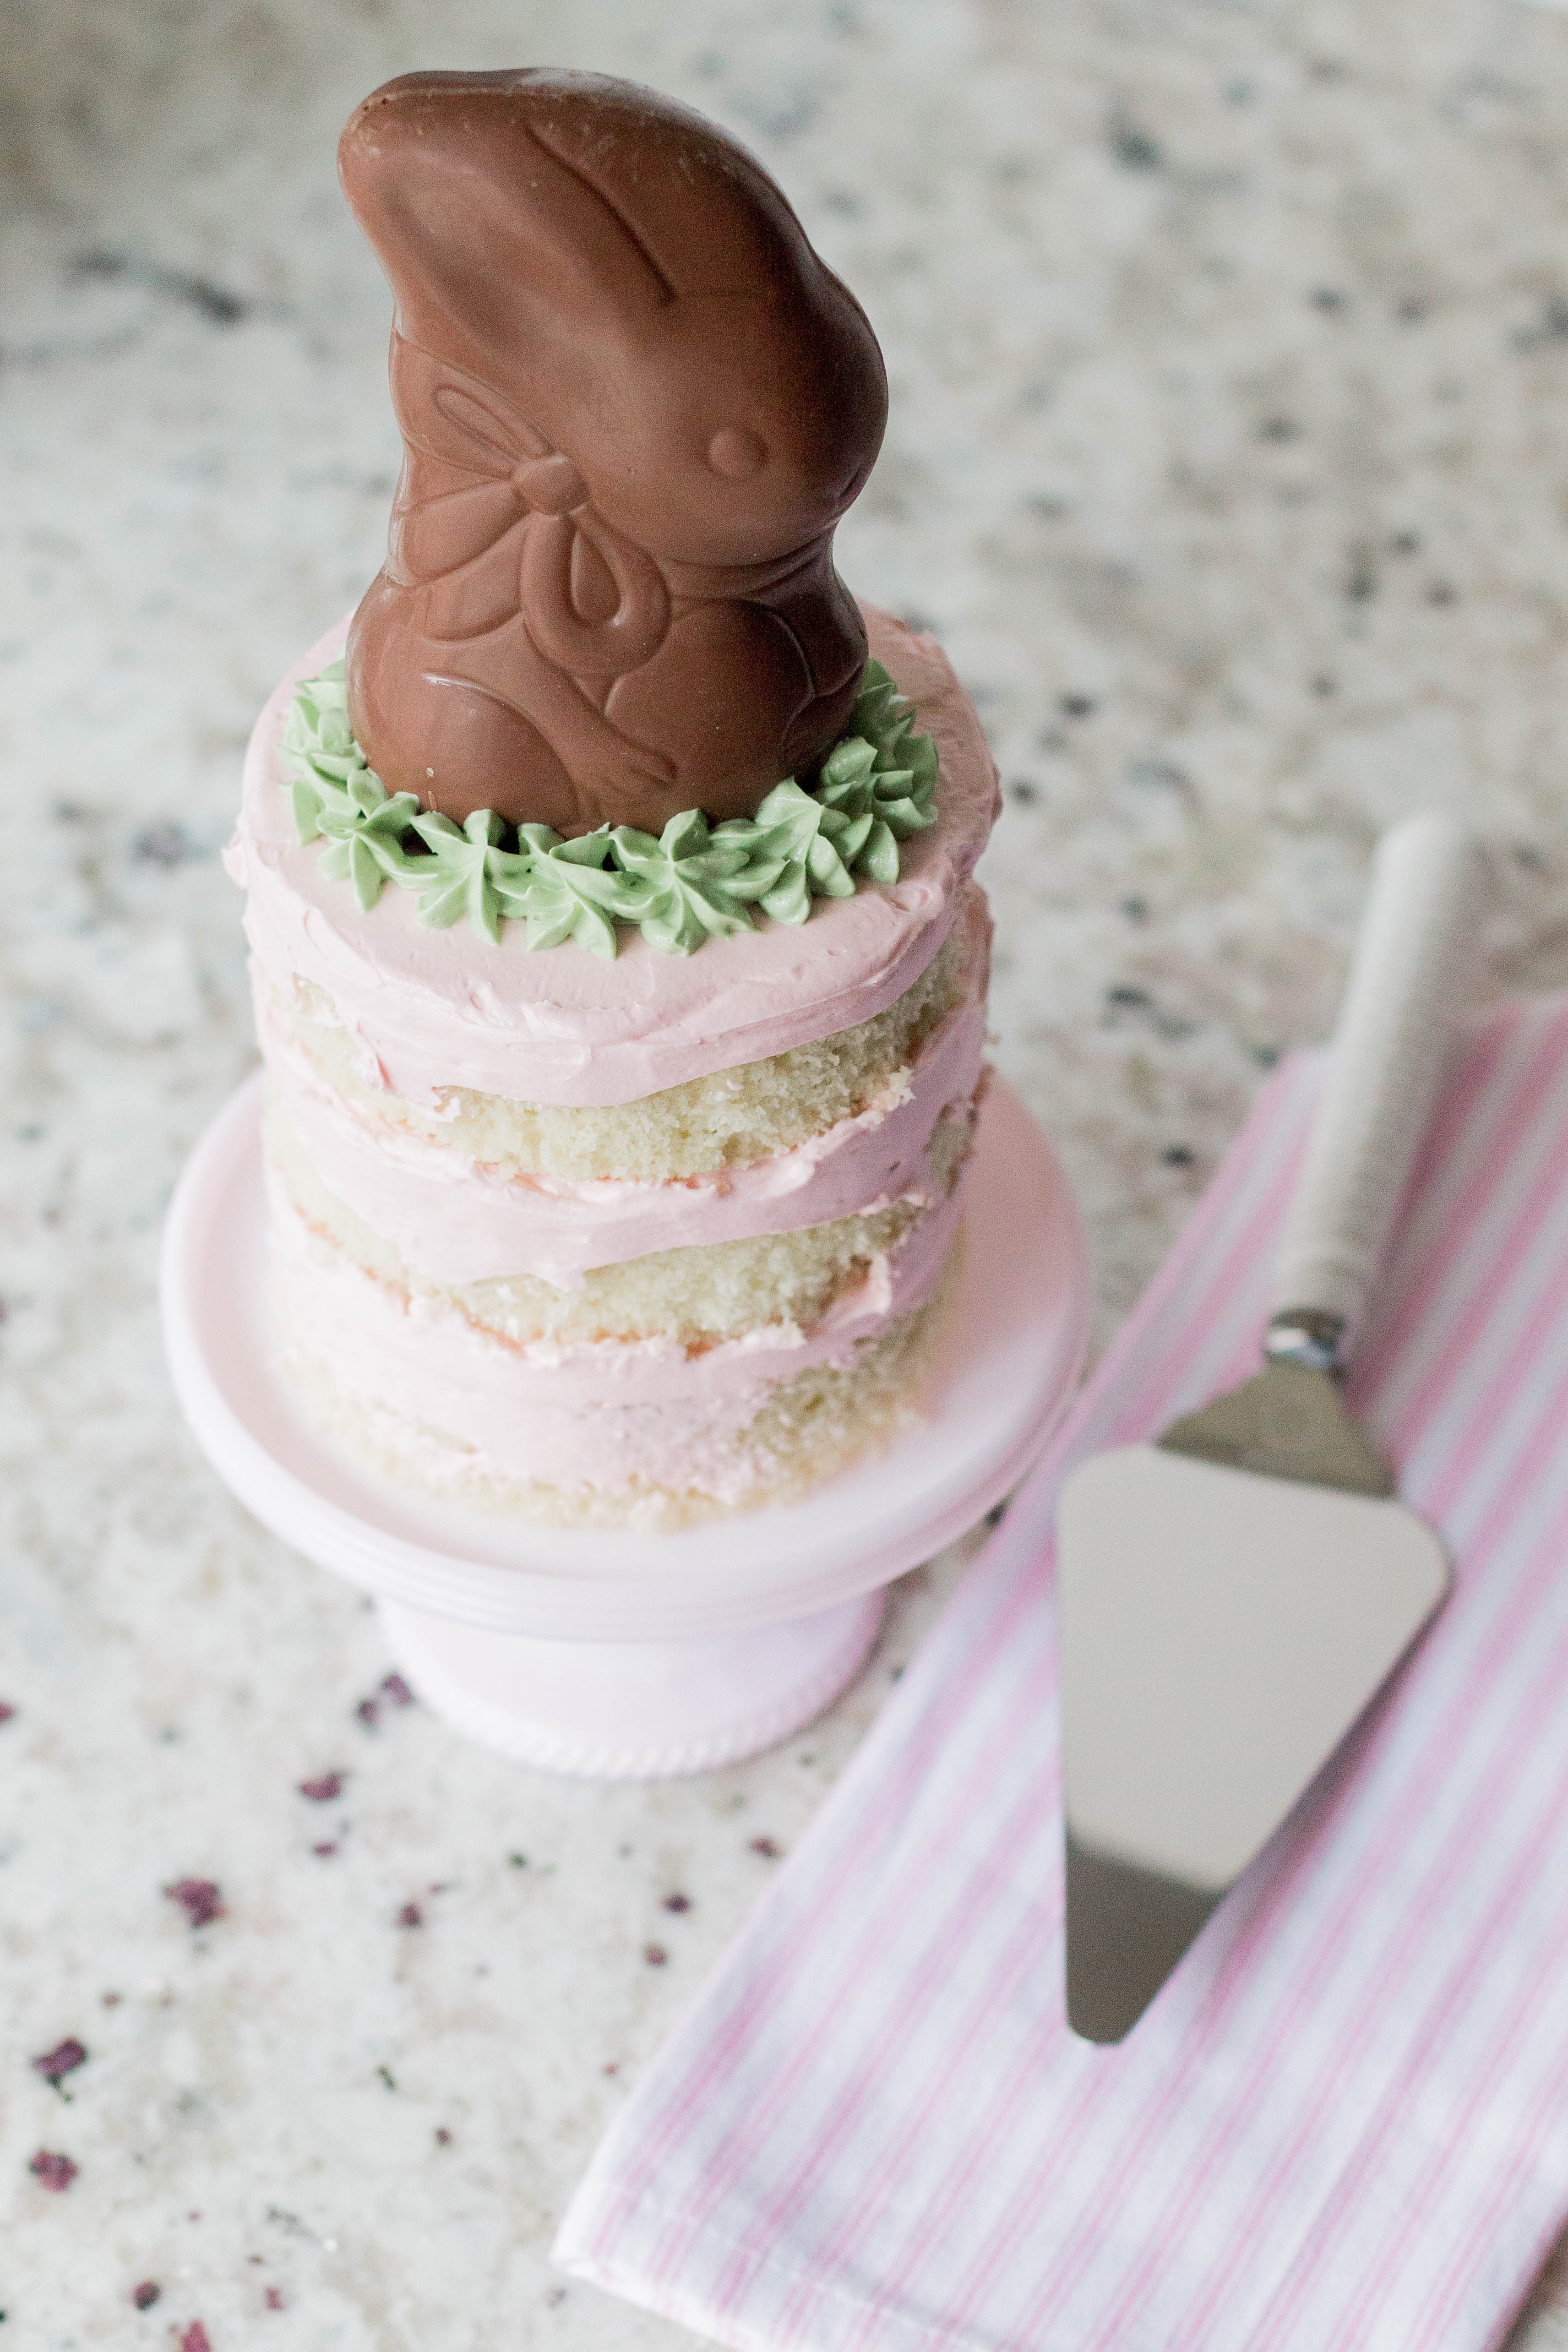
If you know my background, you know I’ve spent my fair share of days working in bakeries from an internship in college at a wedding cake shop in St. Louis where I leveled and frosted cakes all day to a cupcake shop in Chicago where I frosted and served cupcakes on the nights and weekends. Now while I don’t miss having many part time jobs, I do miss the joy that comes from baking up a homemade cake. So when I finally had a free weekend I dusted off the old offset spatula, grabbed the most adorable cake stand from the Martha Stewart collection at Macy’s and a decadent chocolate bunny from my favorite, Ghirardelli’s, and got to work on creating something delicious, easy and small since I knew it would end with me and Steve being the only ones eating it (not complaining, just trying to be mindful of our 1/2 marathon training;)).
So without further adue, I introduce to you my all time favorite layer cake and best part is you don’t need any fancy tools or cookware to create this one.
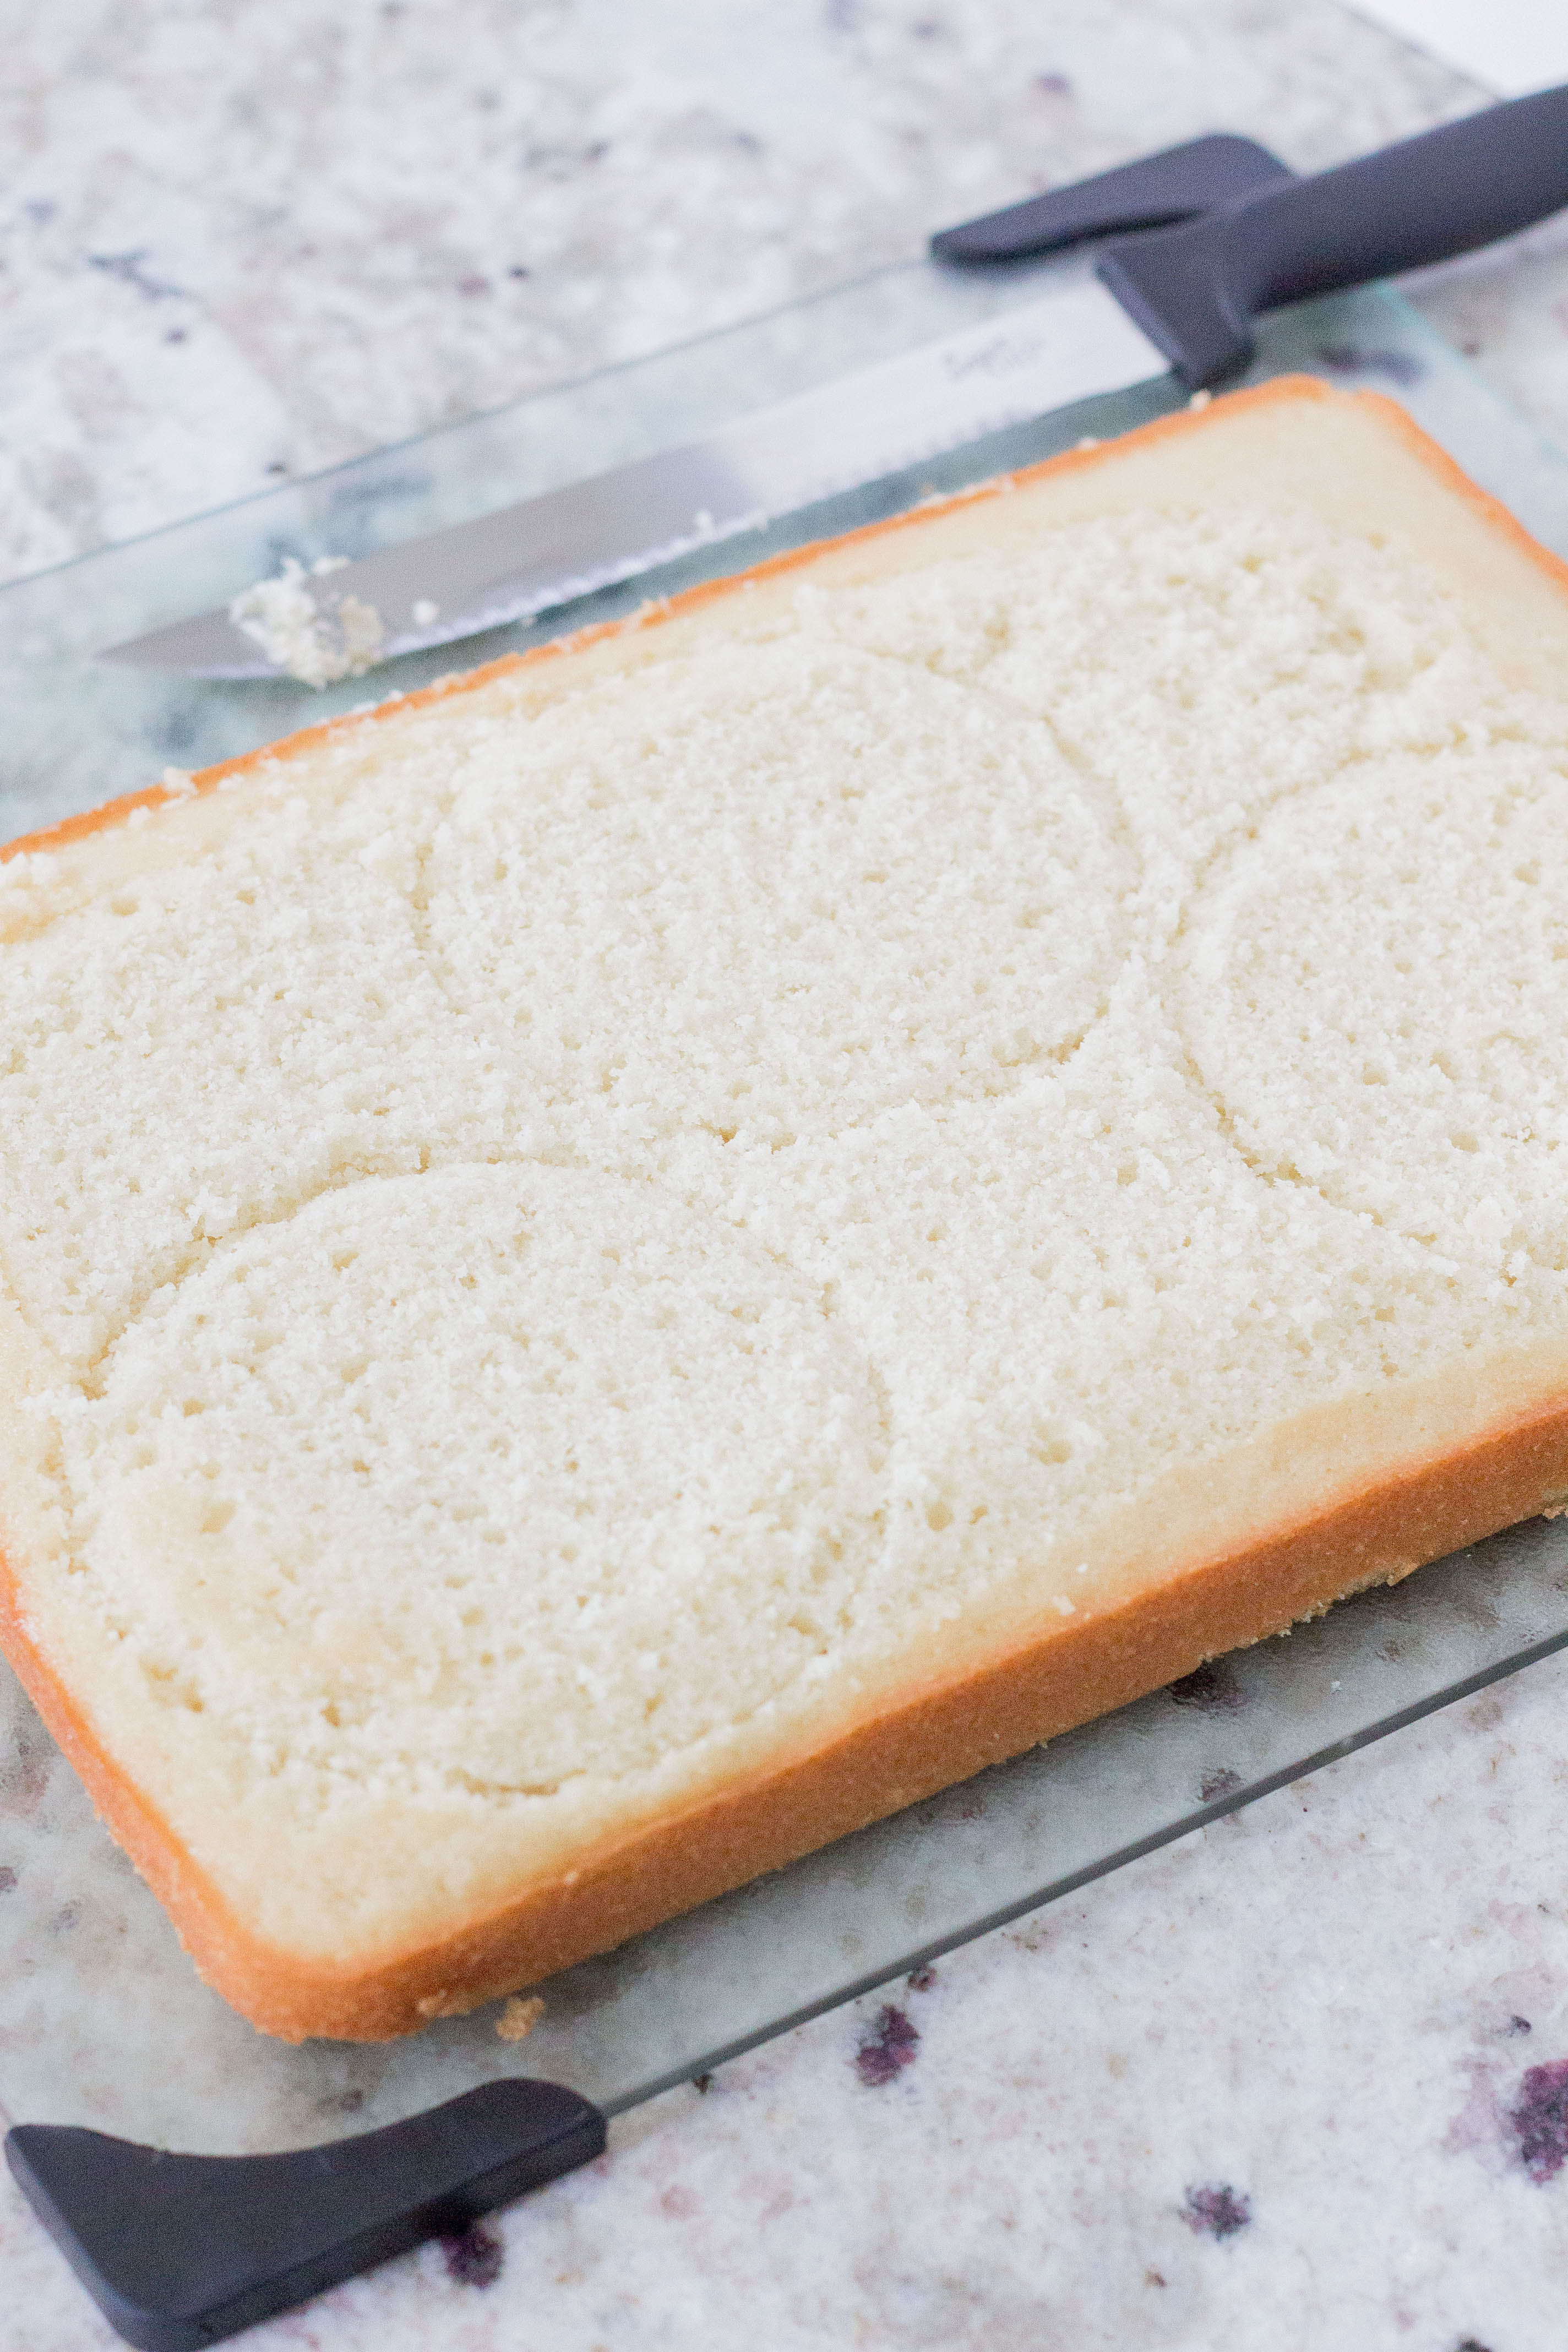
After the cake cooled, I use a large seated knife to shave off the top of my cake and create a nice even layer. I then used an oversized coffee mug to trace the three circles for my three layers.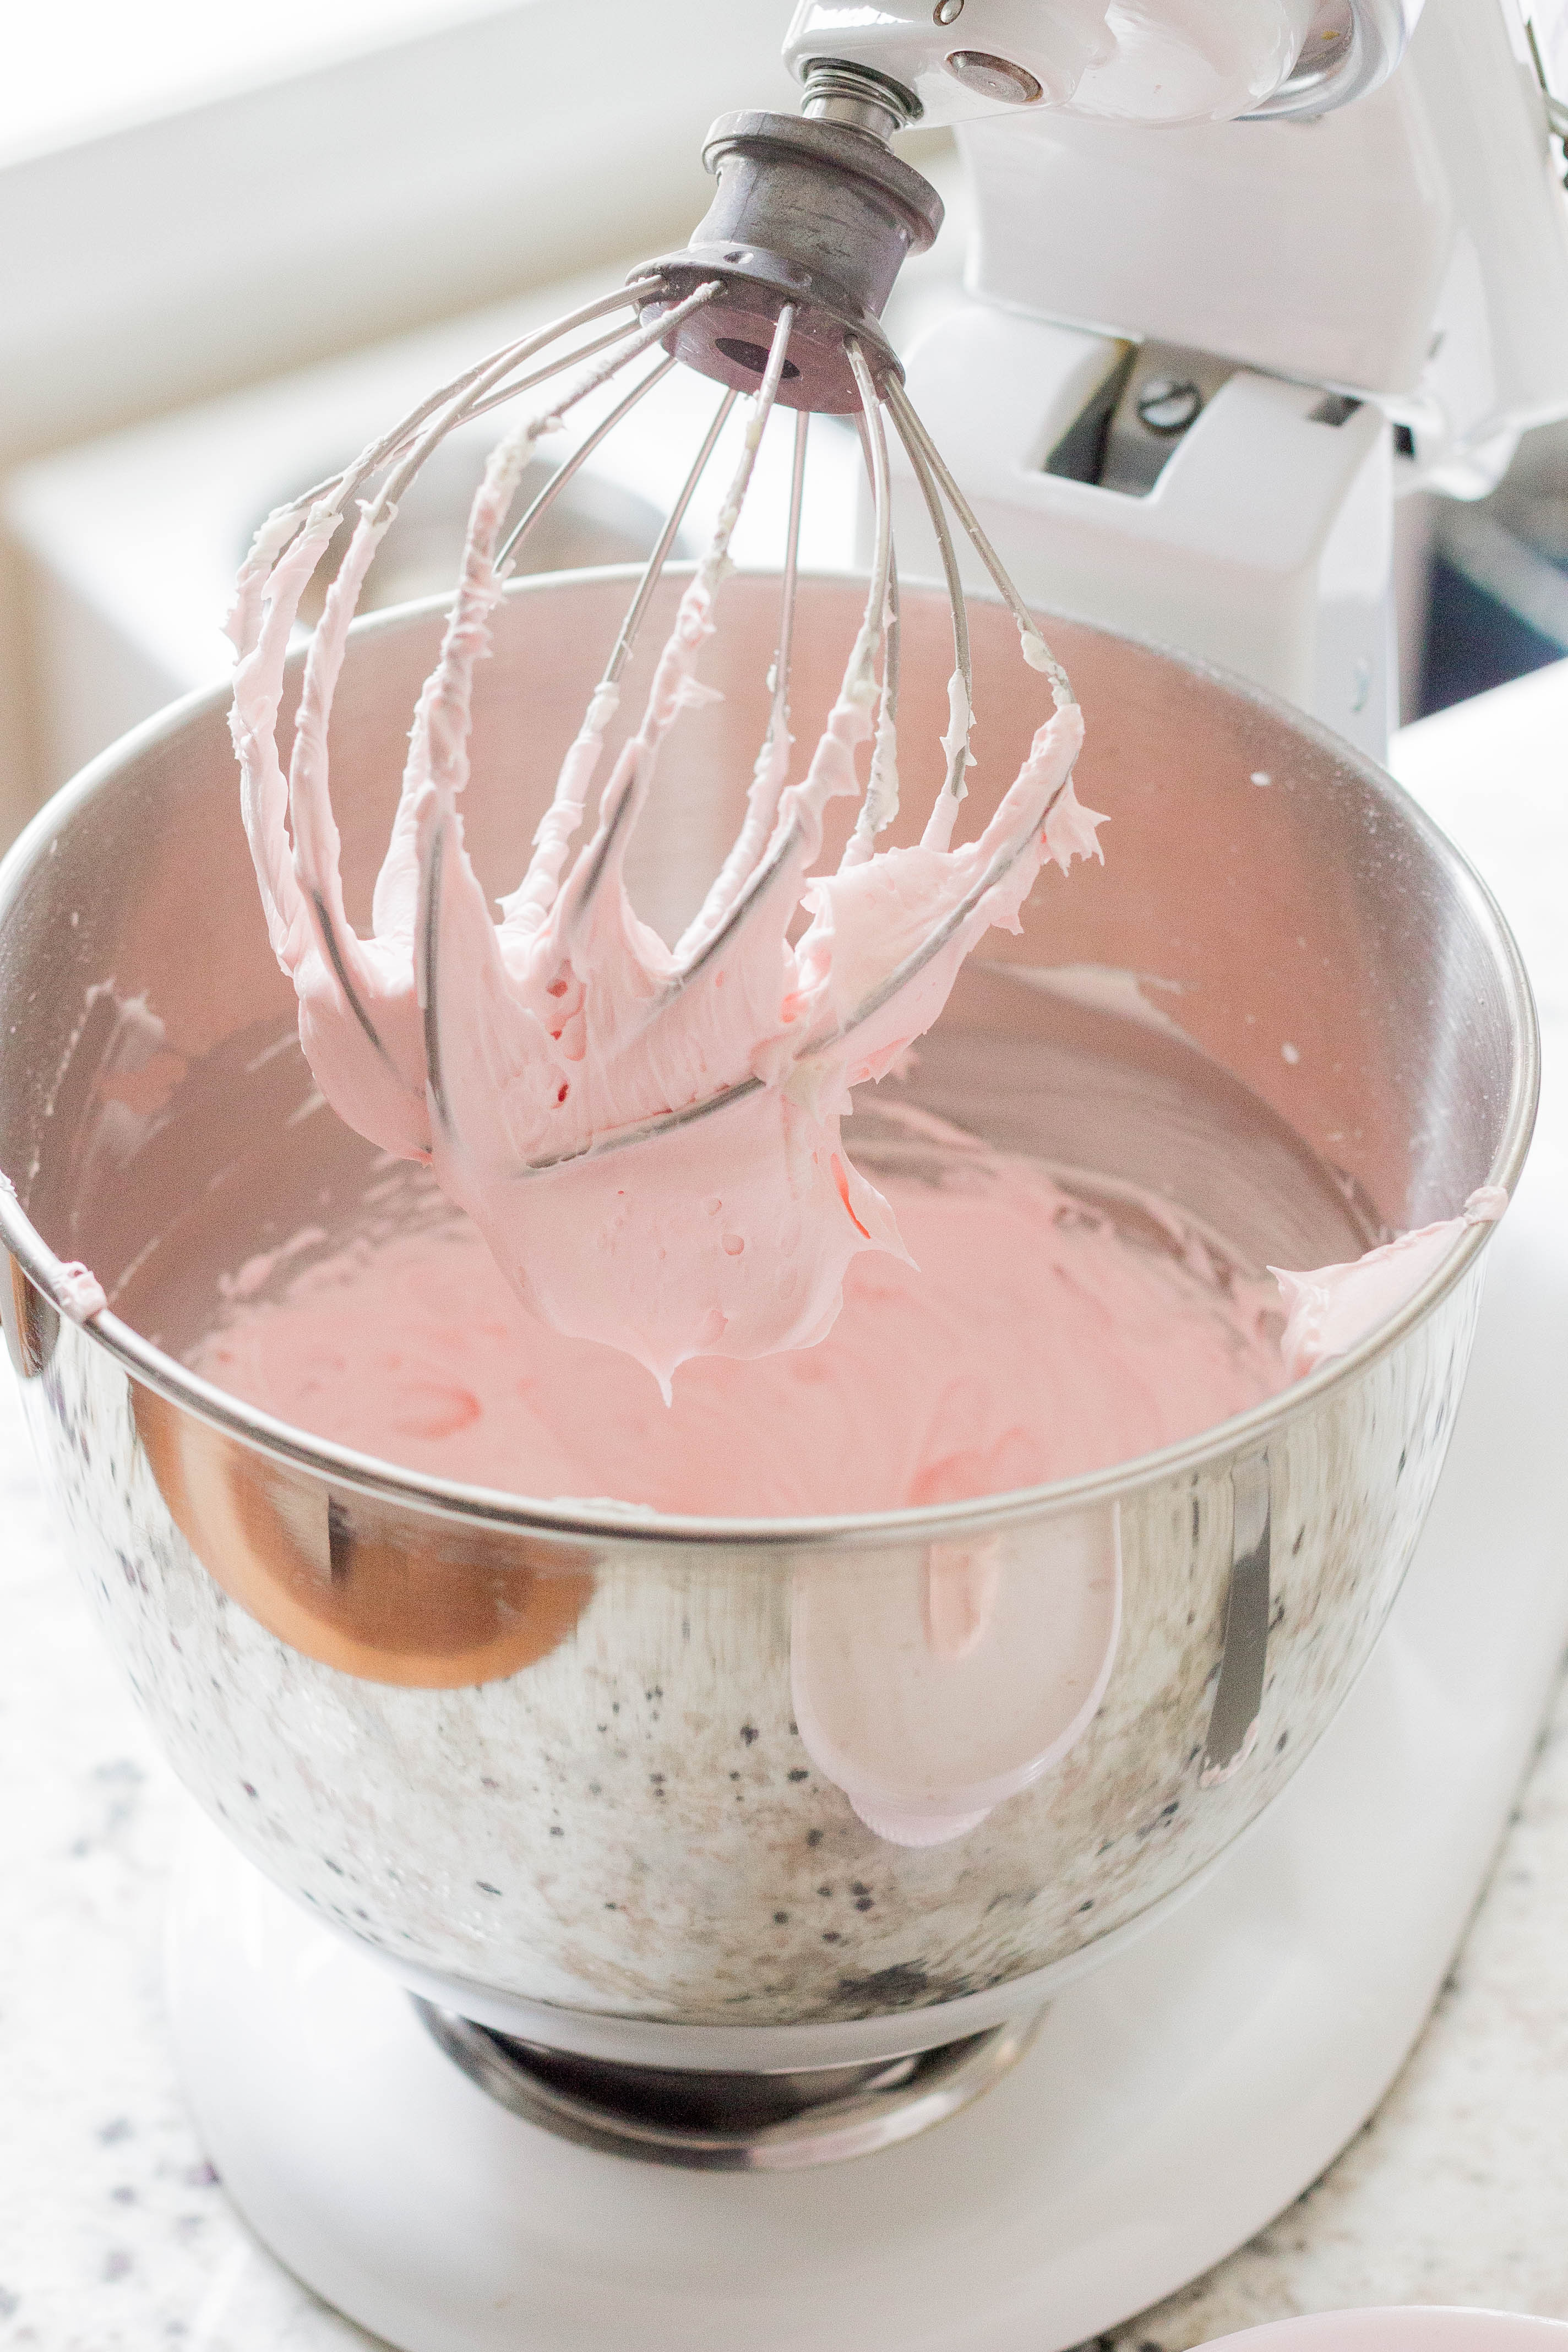

I always place a small dollop of frosting down before my first layer to hold the cake in place.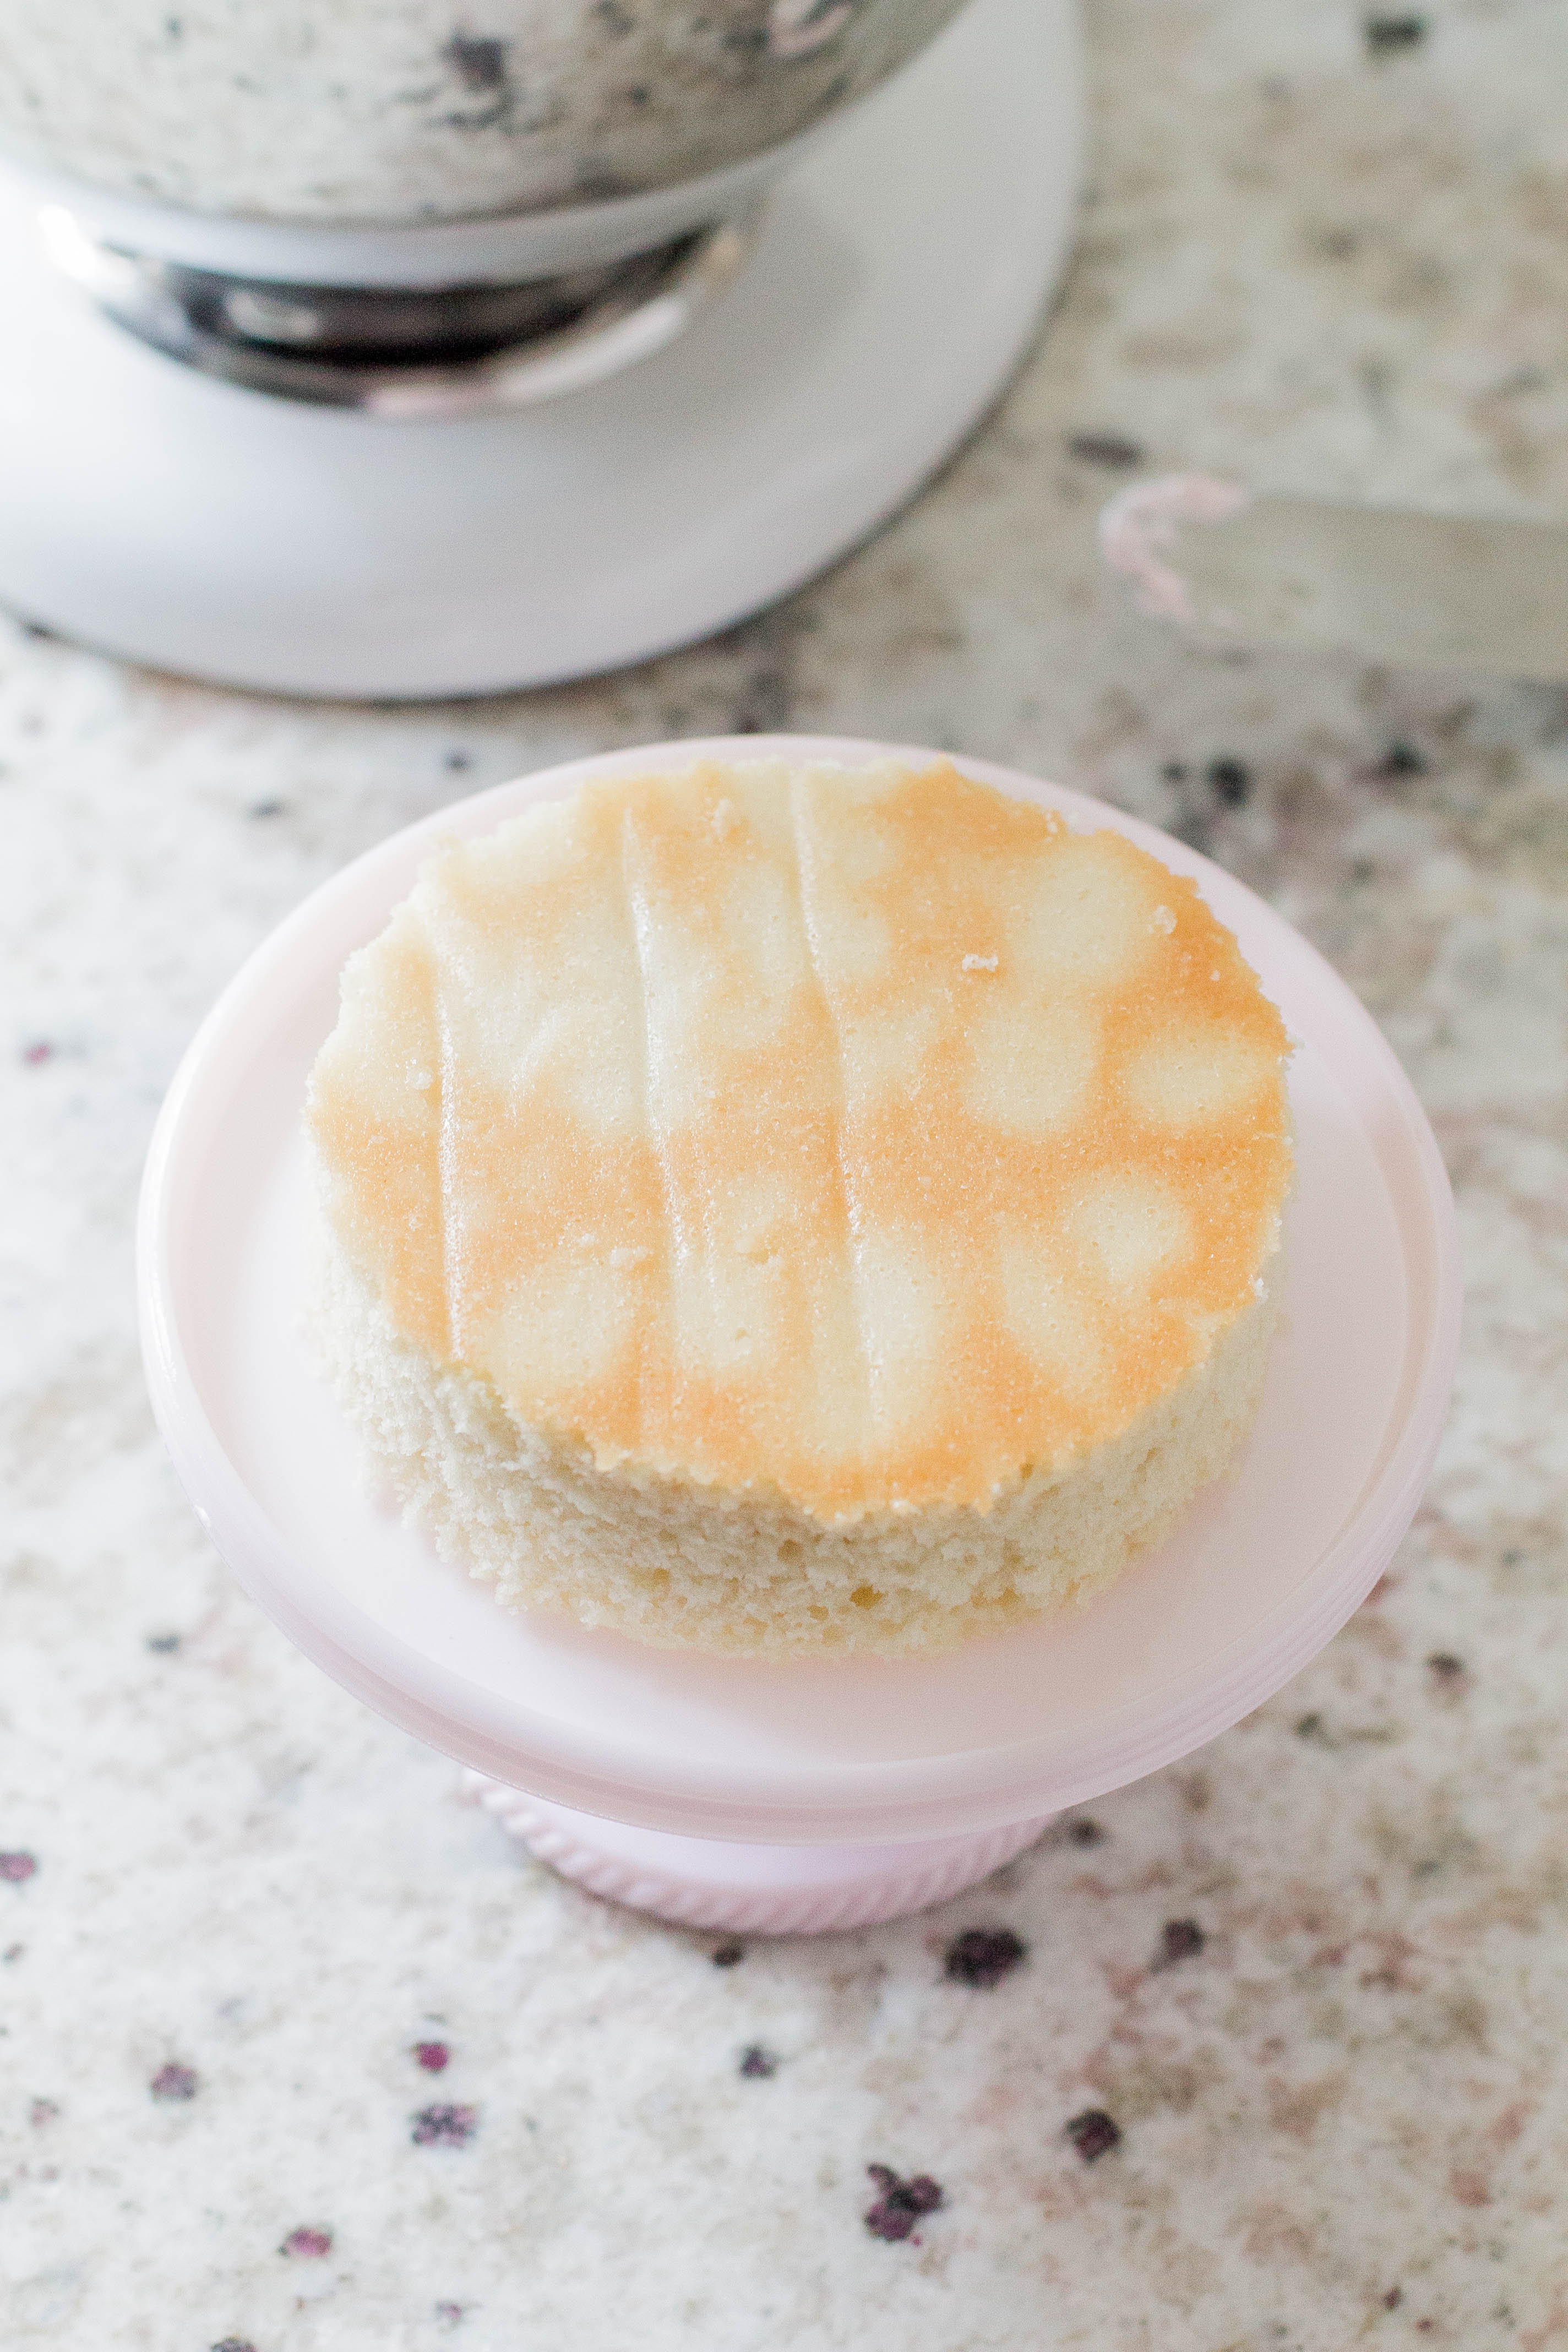
First layer is placed crumb side down as shown in this picture which means the bottom (the side that baked against the pan) is facing up so when you spread your icing on top it doesn’t catch all the crumbs.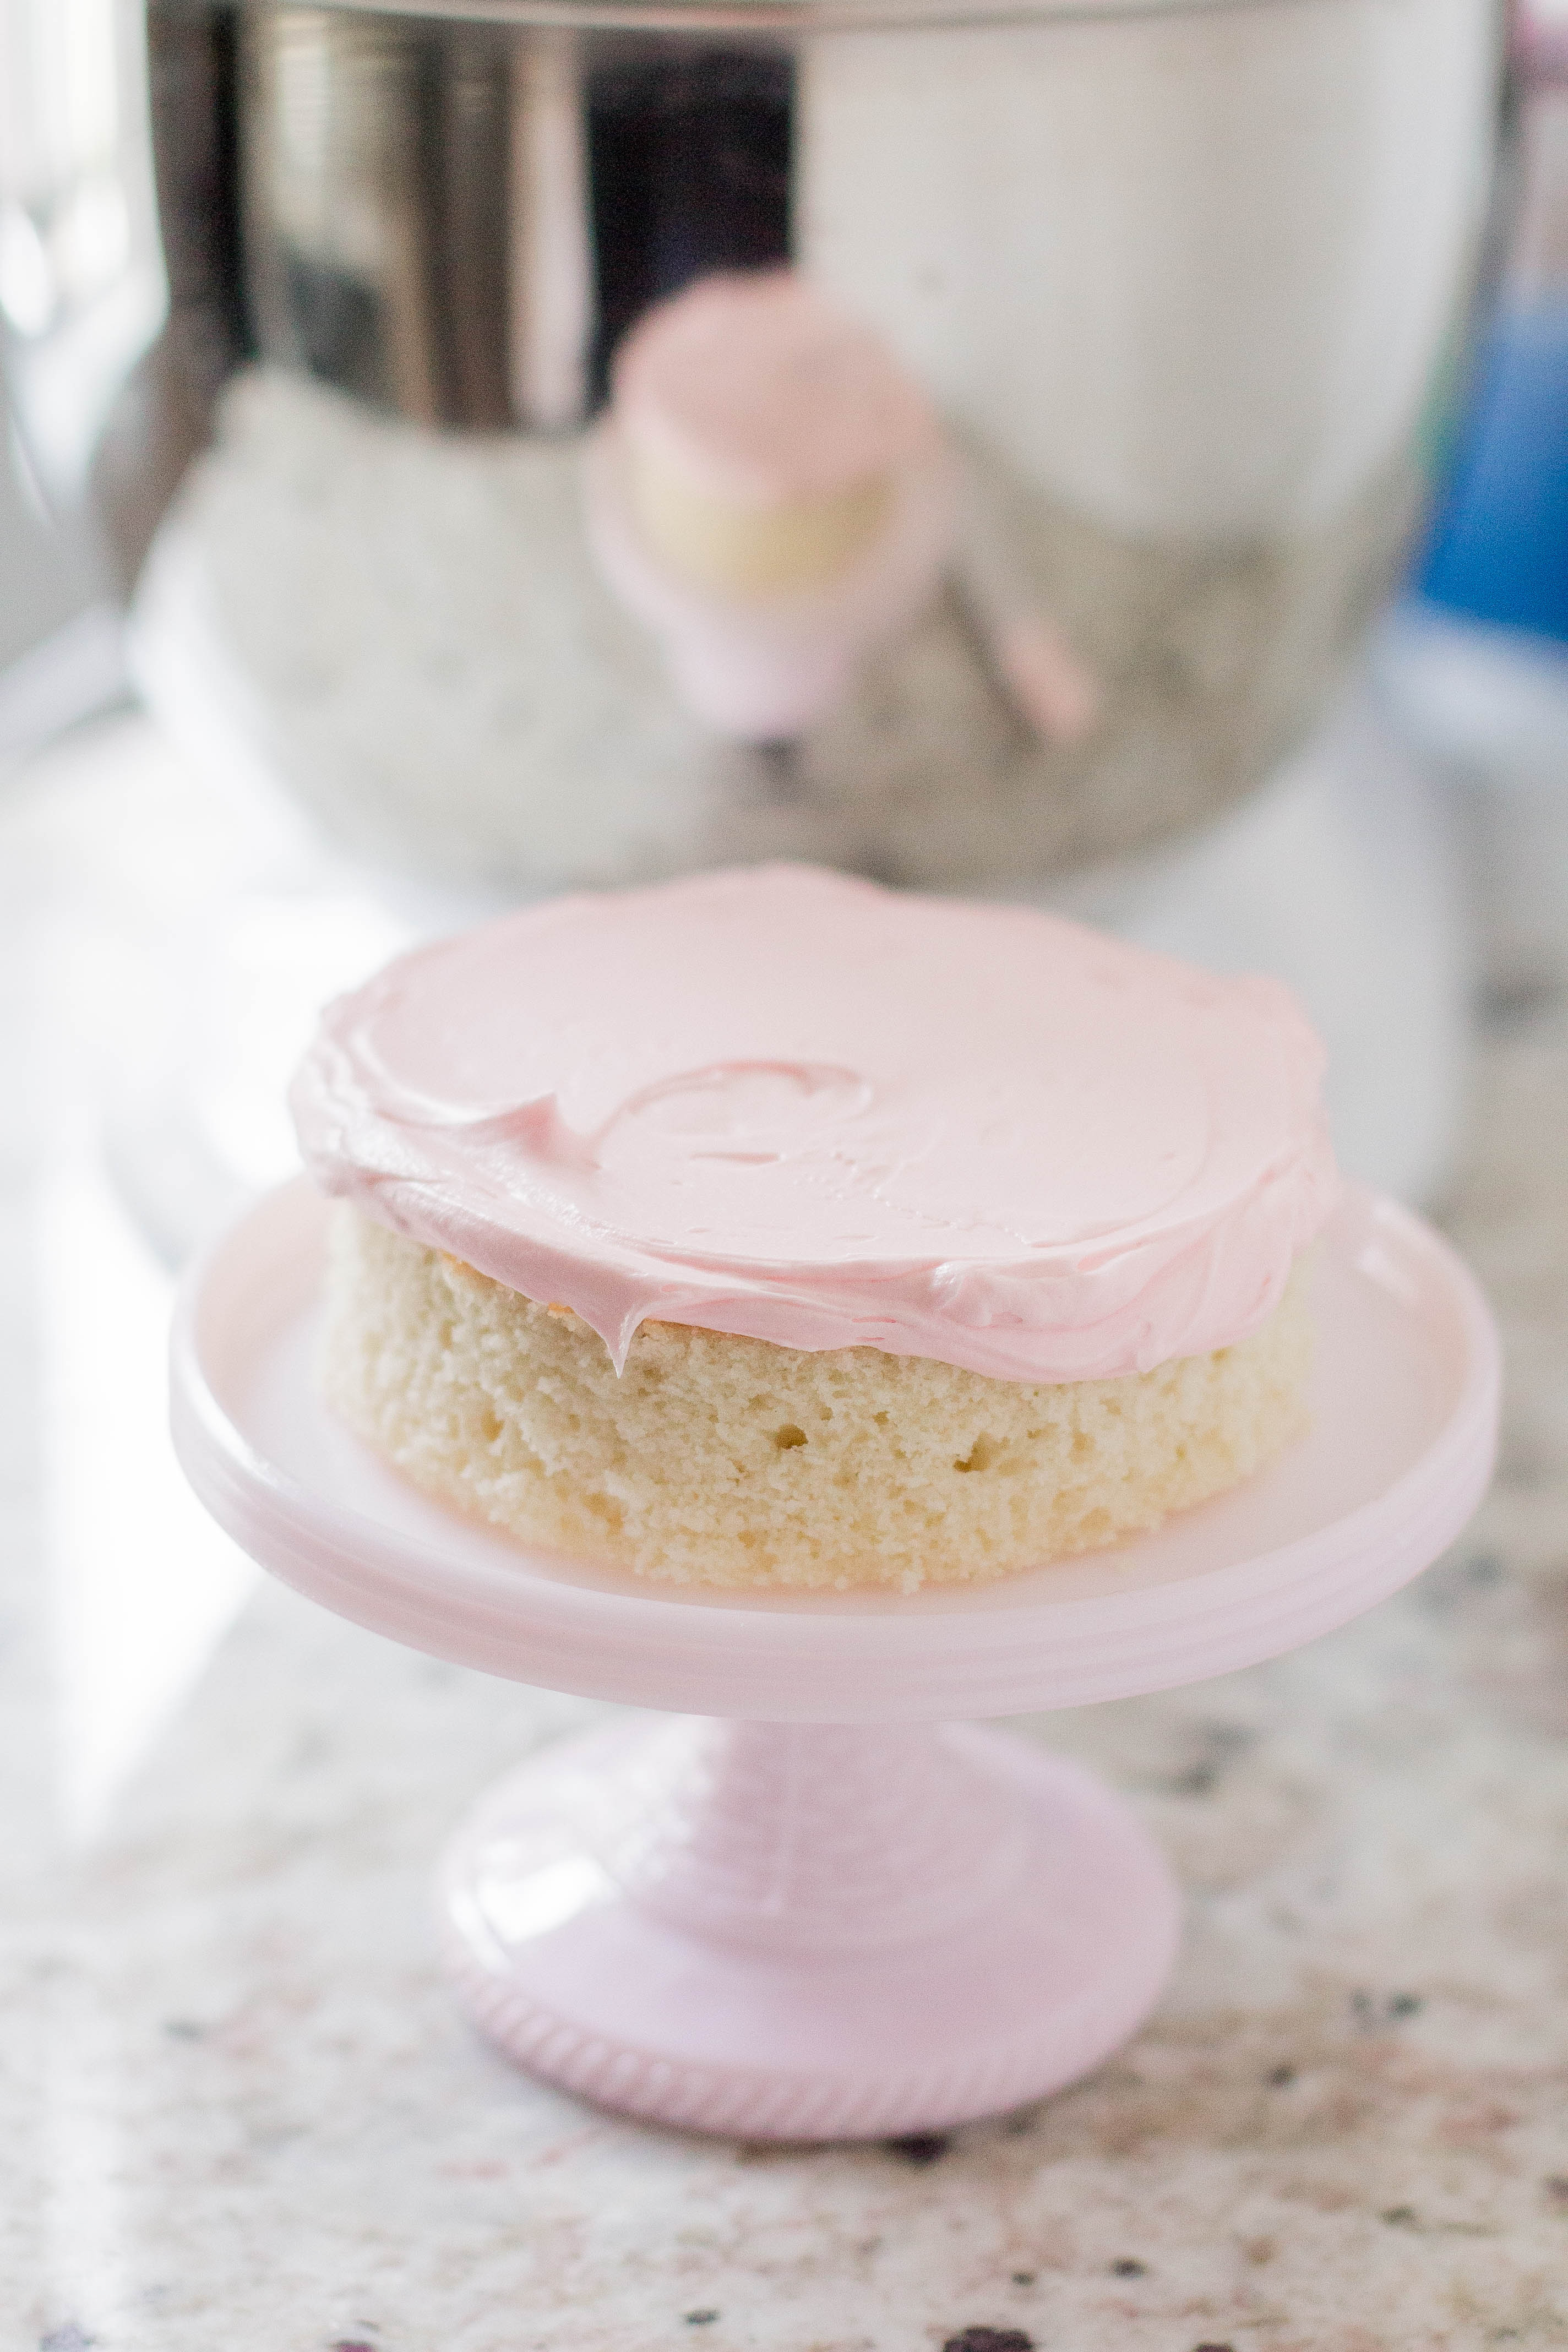
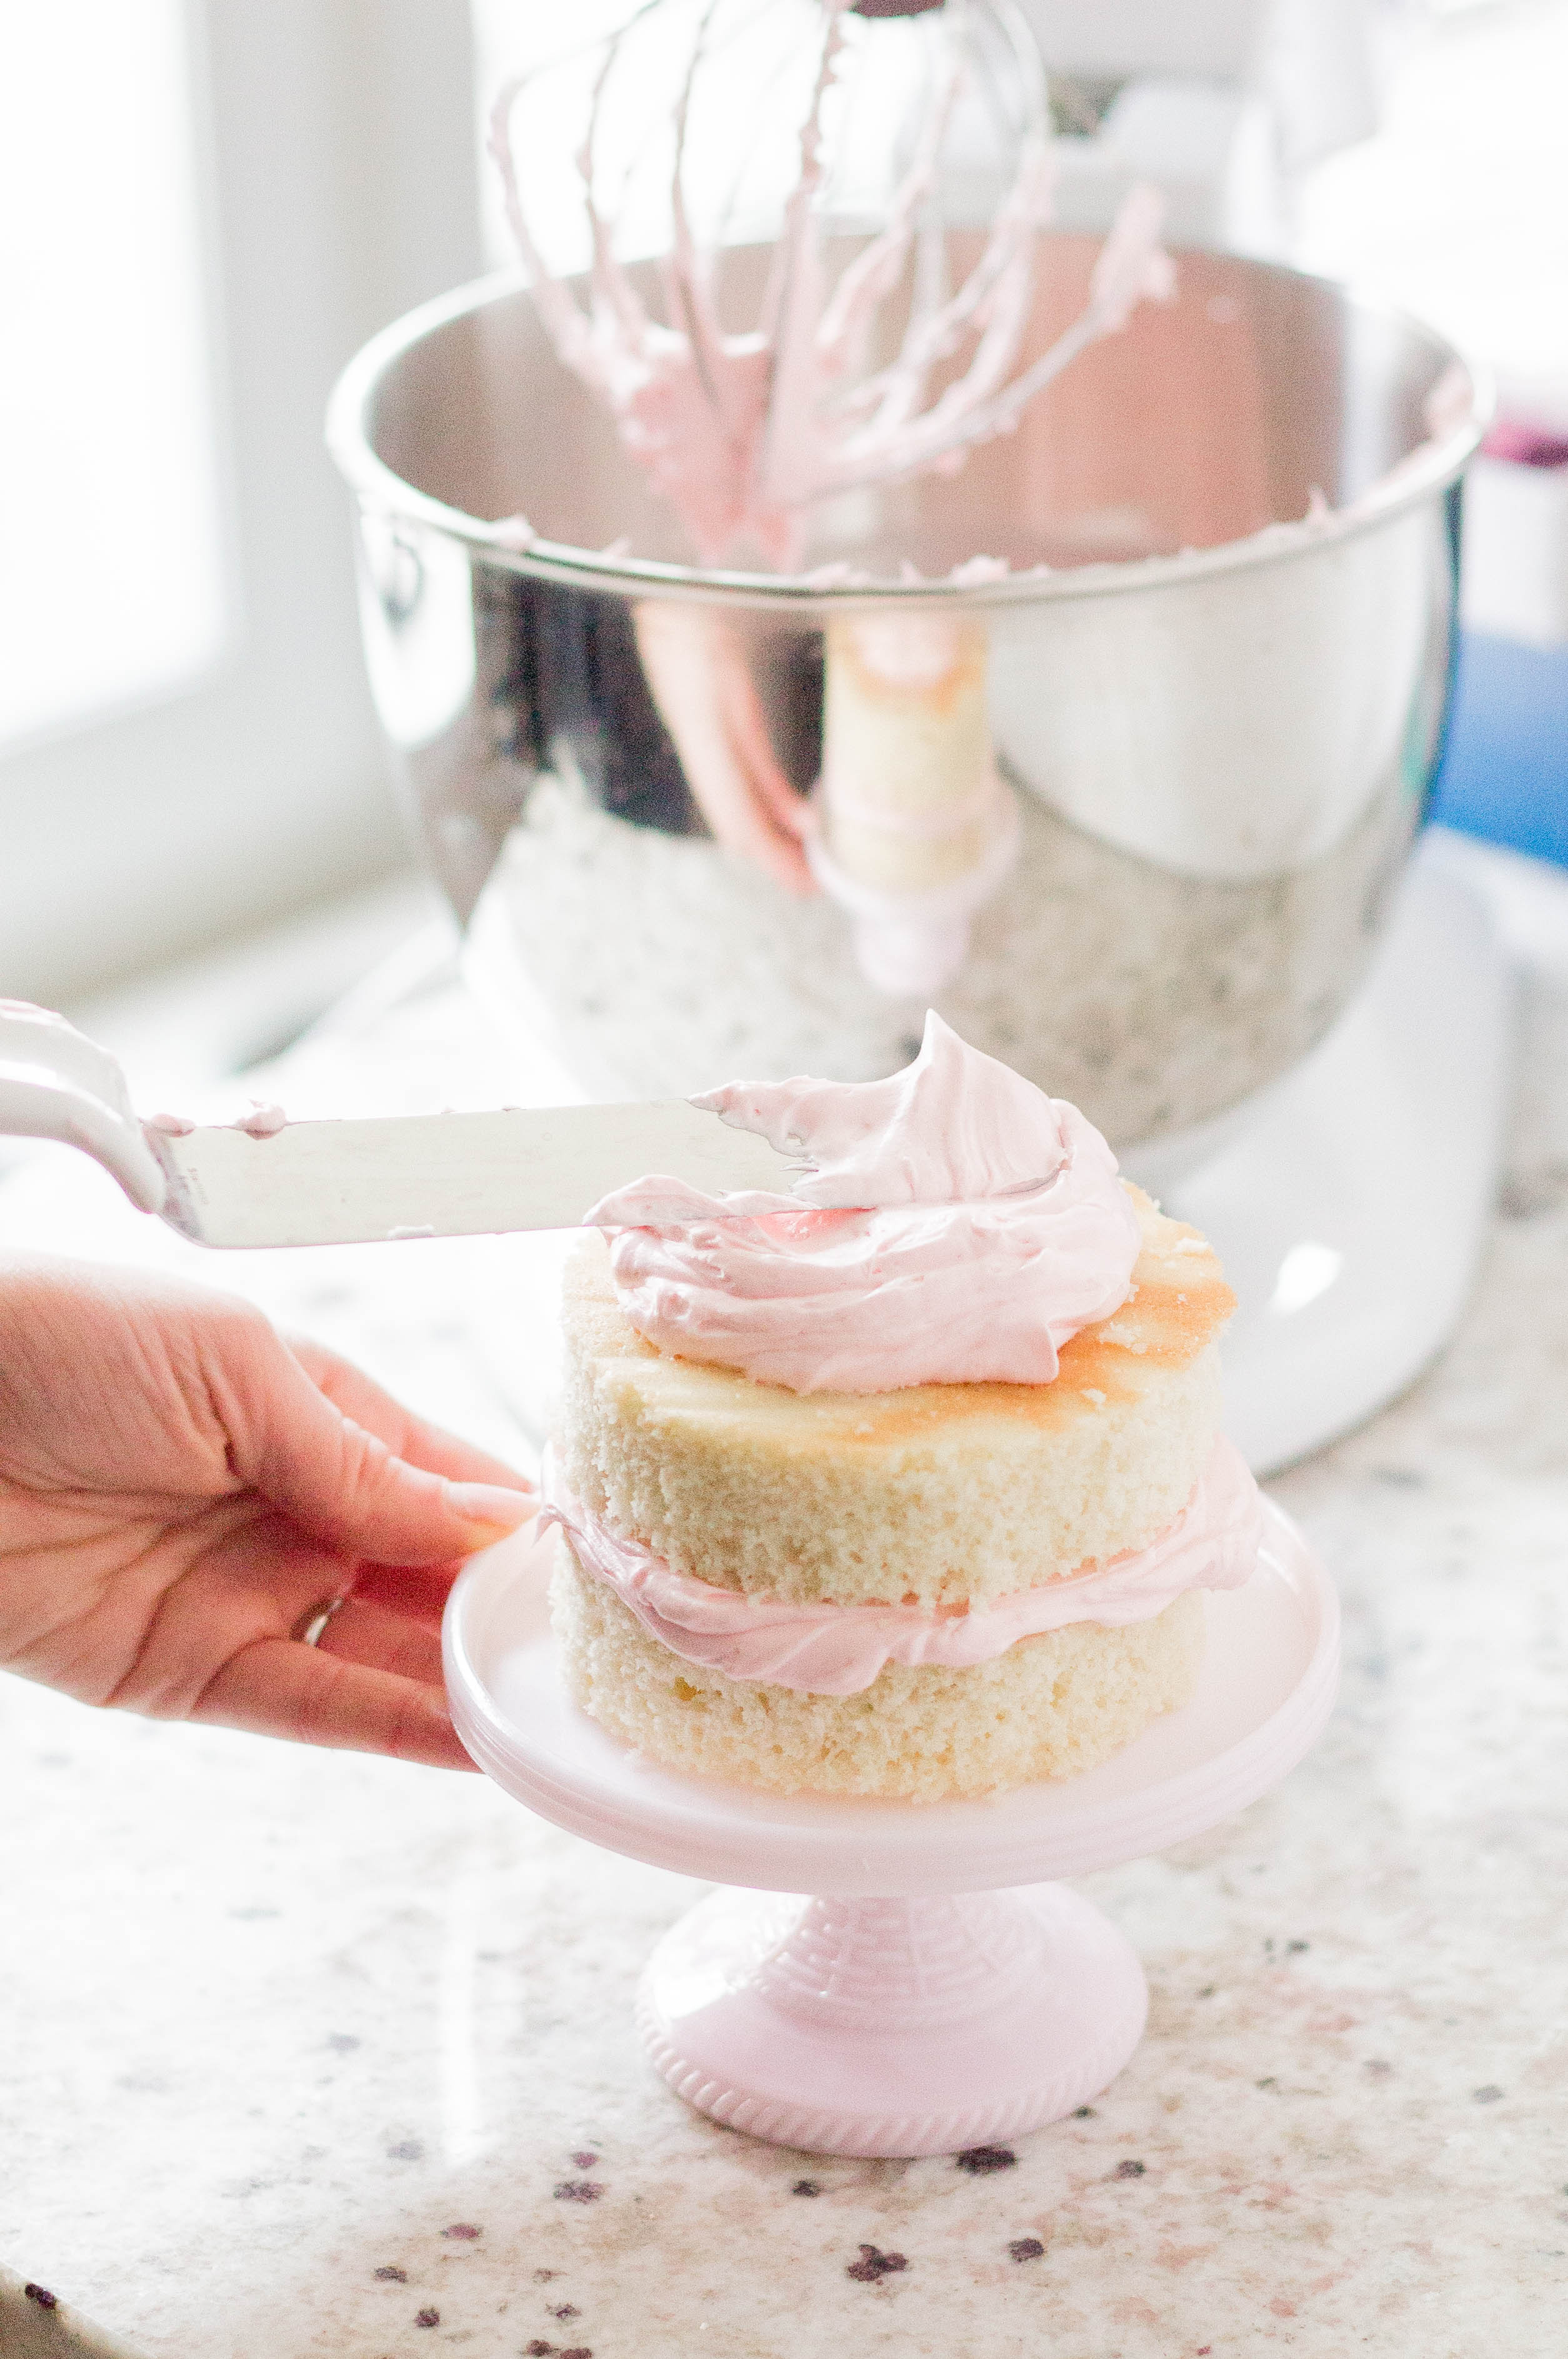
Apologies for the inconvenience my recipe plugin was discontinued so I lost the recipe for this post bu highly recommend these are great subs:)
Almond Cake – https://sweetapolita.com/2012/06/how-to-make-a-perfectly-delightful-vanilla-birthday-cake/
Strawberry Buttercream – https://www.lifeloveandsugar.com/homemade-strawberry-frosting-two-ways/
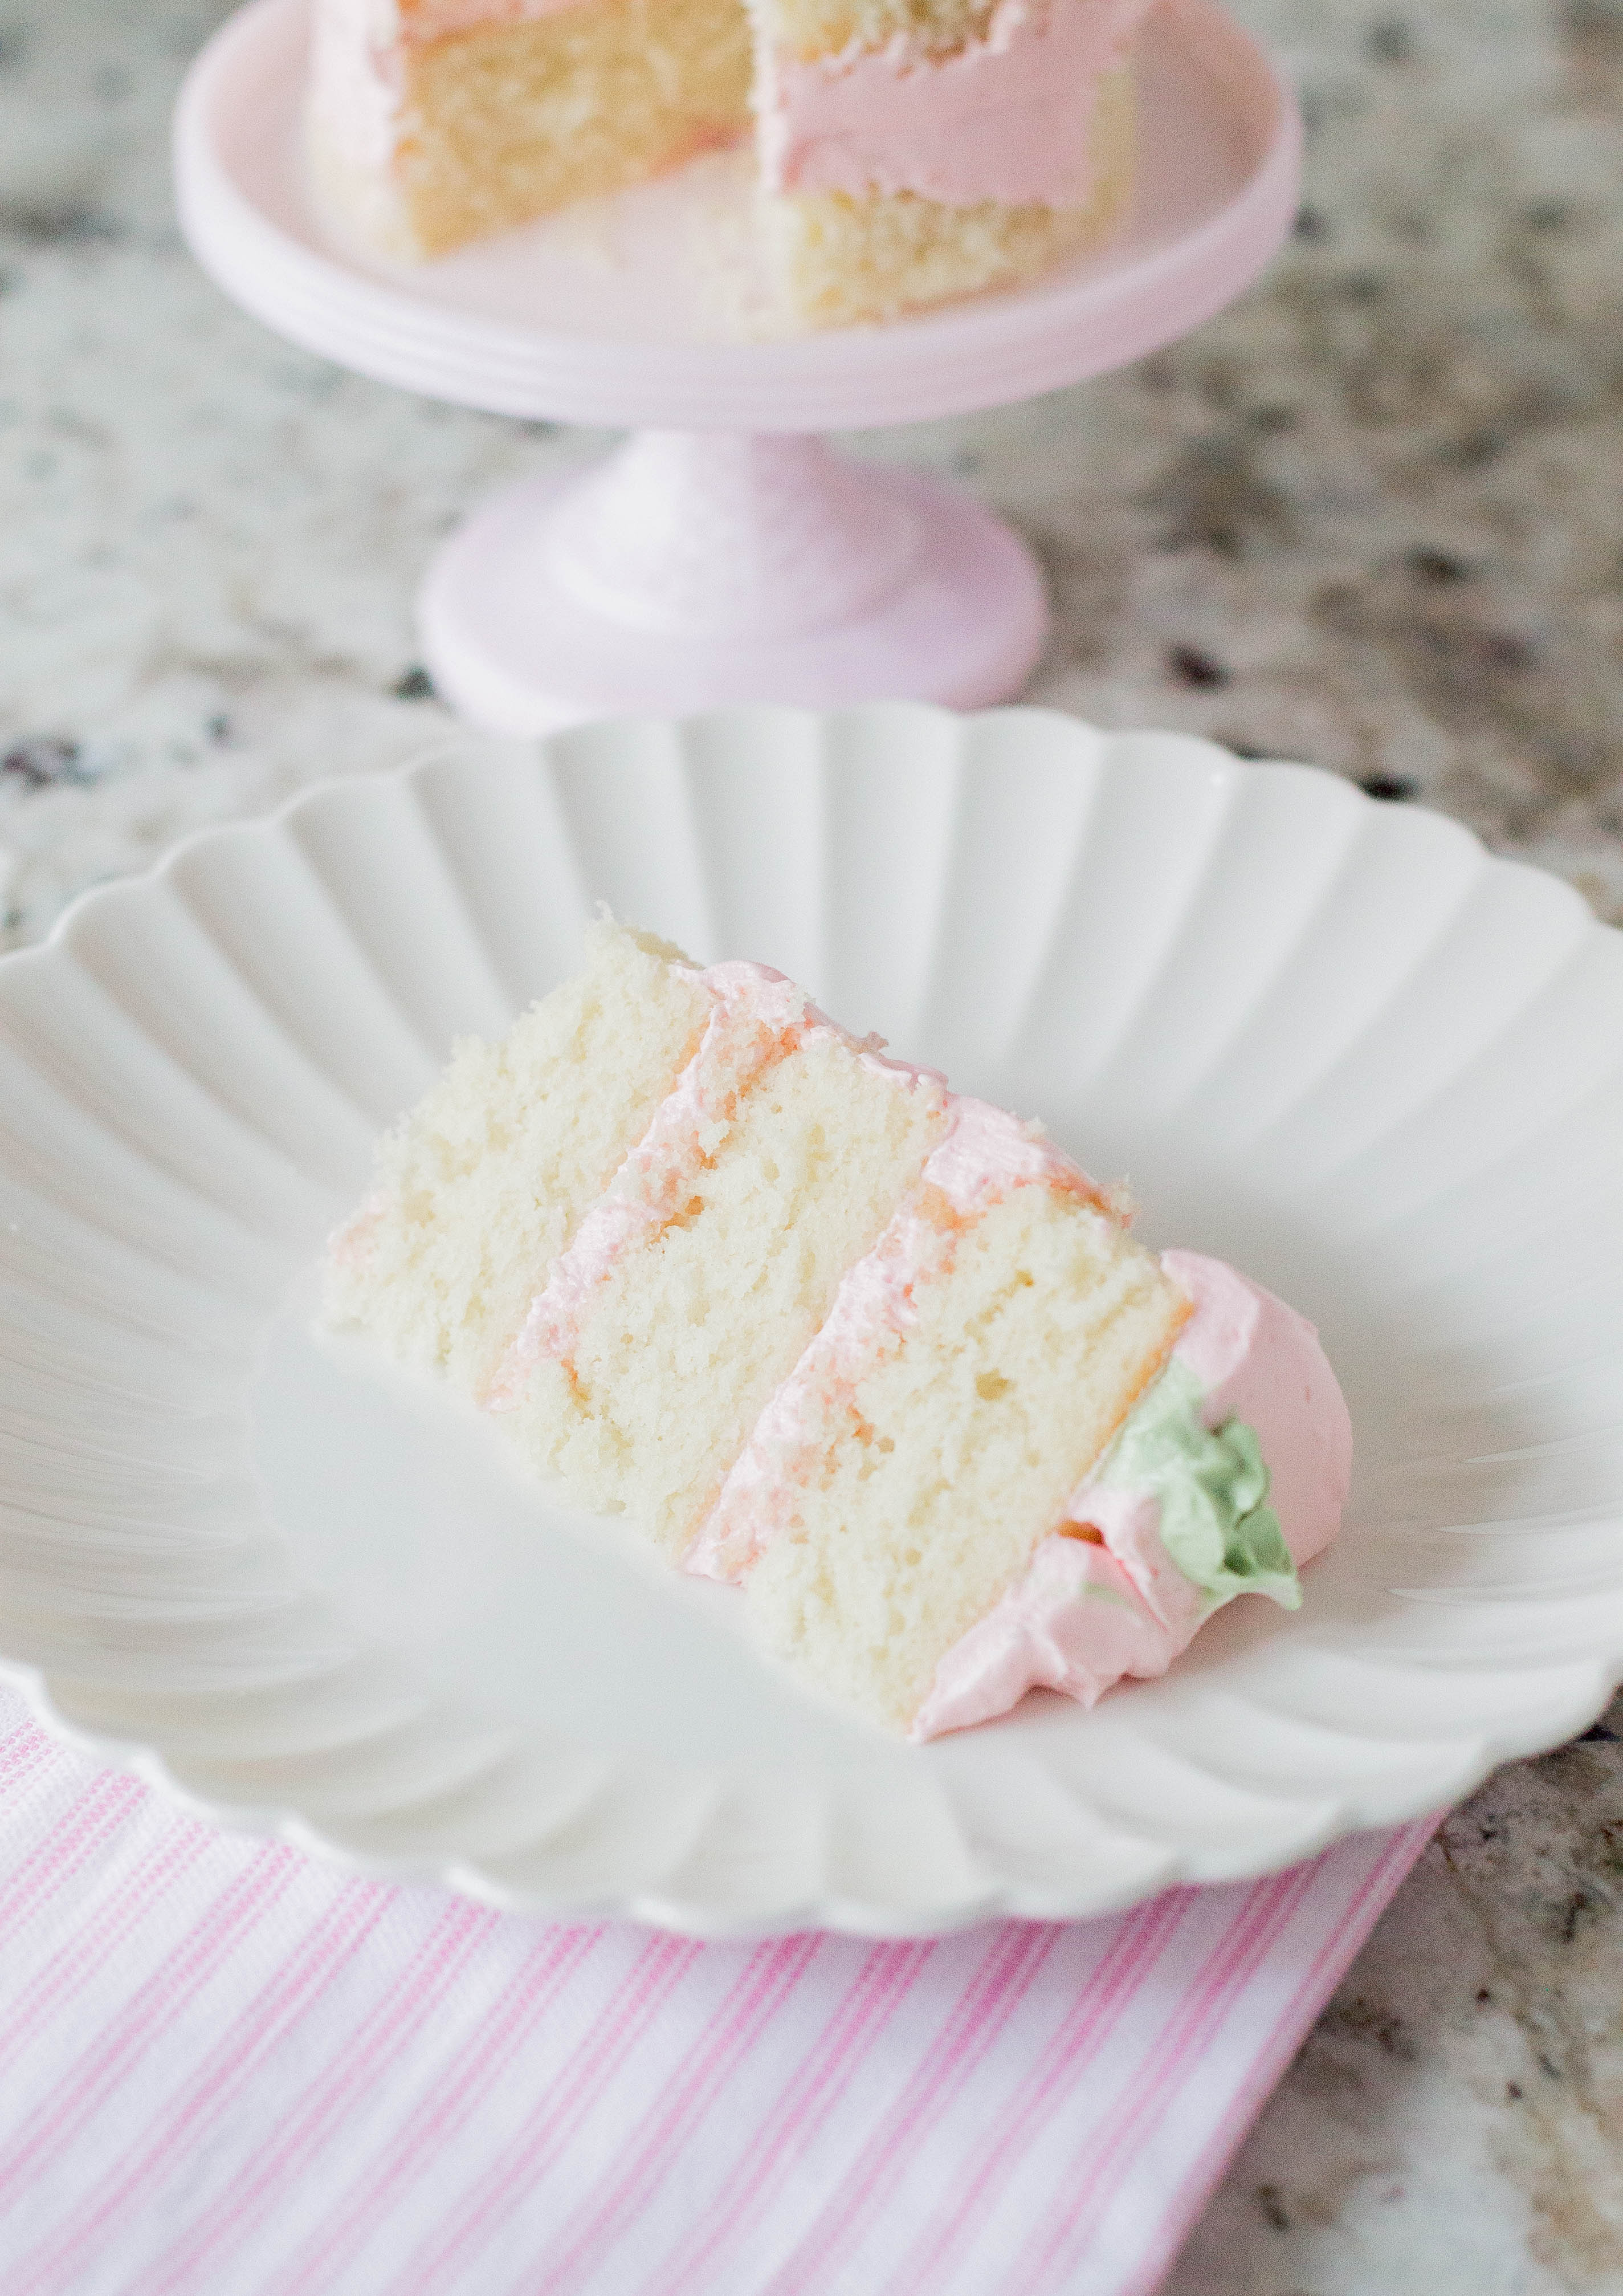
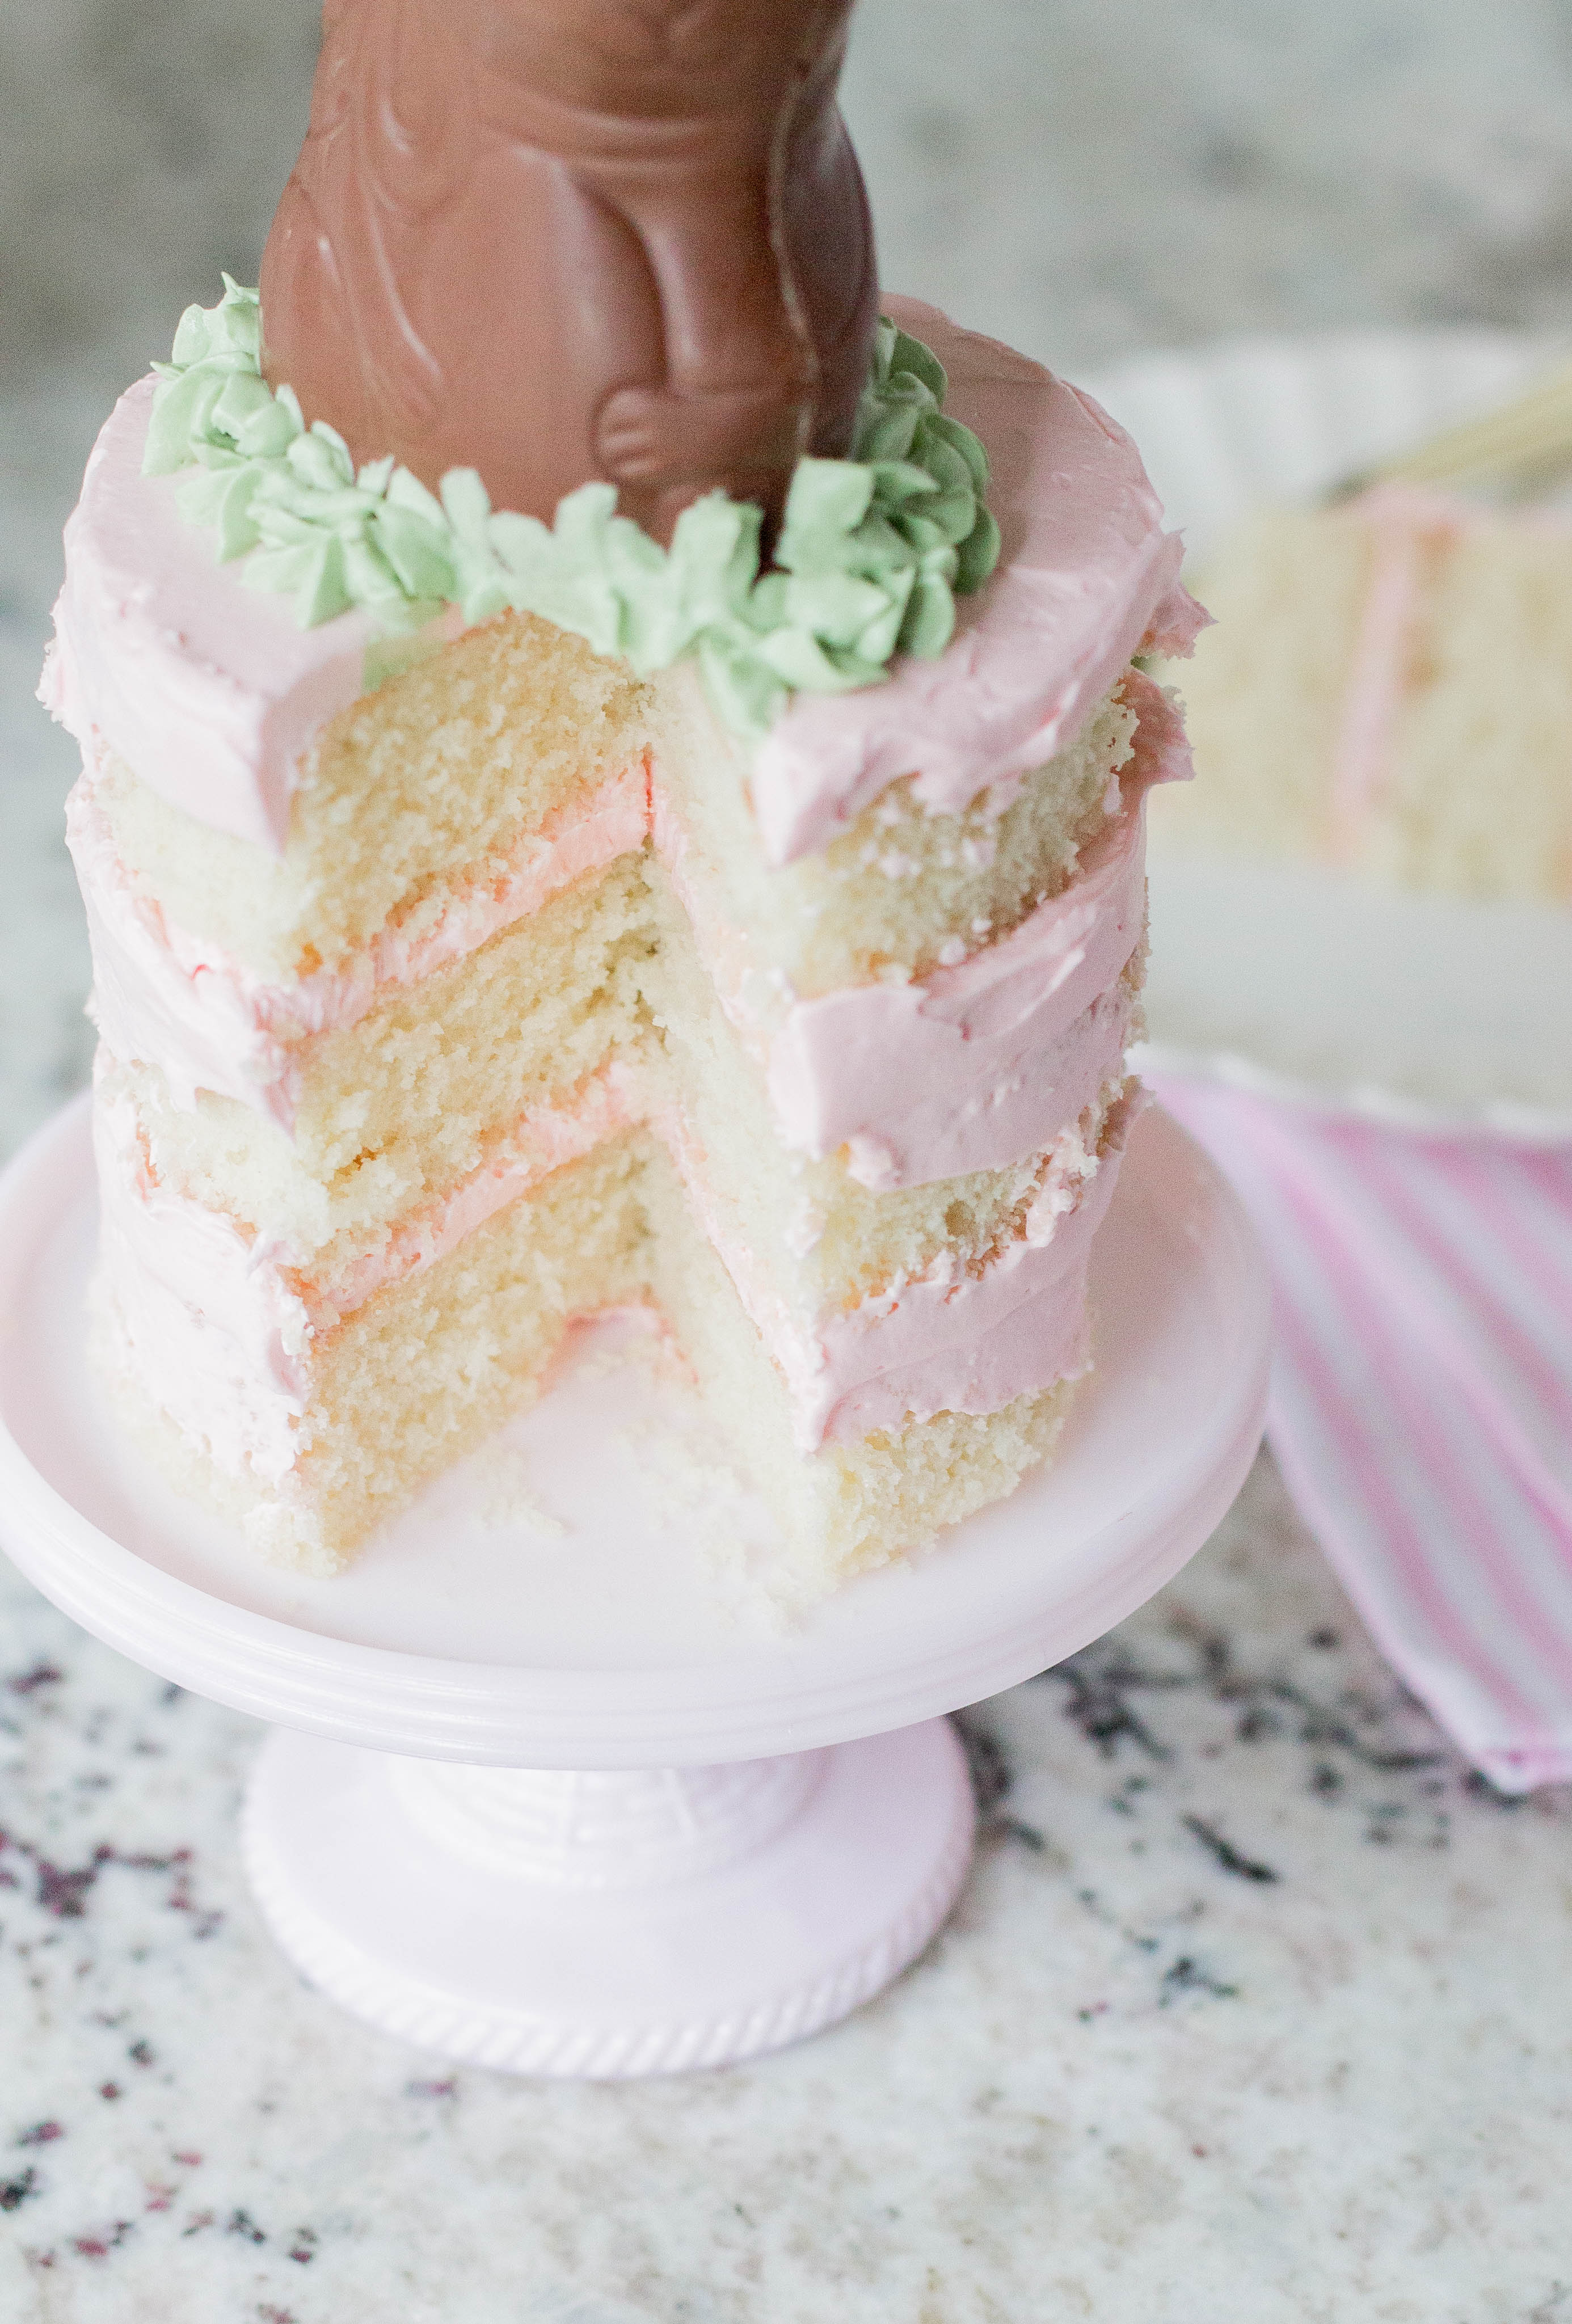
This looks delicious and it is so so so cute!
Aw thanks Rachel and I promise is tastes even better than it looks;) I may have even made it again last night haha