
This post has been sponsored by Ferrara. All thoughts and opinions are my own.

Frosting cakes is my new therapy because it”s been kind of crazy over here lately. Steve and I moved into our new apartment after living out of boxes for almost 2 months. Which by the way, I definitely do not recommend this. It’s actually kind of the worst, but we survived – whew. I’ve been traveling like crazy (work and personal), we’ve had visitors in town almost every week and pulling all nighters is my new norm as I get everything set up in the new place and prep for Bon Aprontit Holiday. It’s a busy time of year, but I love every second of the hustle and bustle. I just need a few extra hours in the day. Can we make that happen yet?
In between all the craziness, I’ve found time to squeeze in my ultimate stress reliever – baking cakes. Not sure if it’s the after part of eating it or the soothing feeling that comes with spreading the frosting across each layer, but man do I love a good cake baking session when things seem a little nutty.
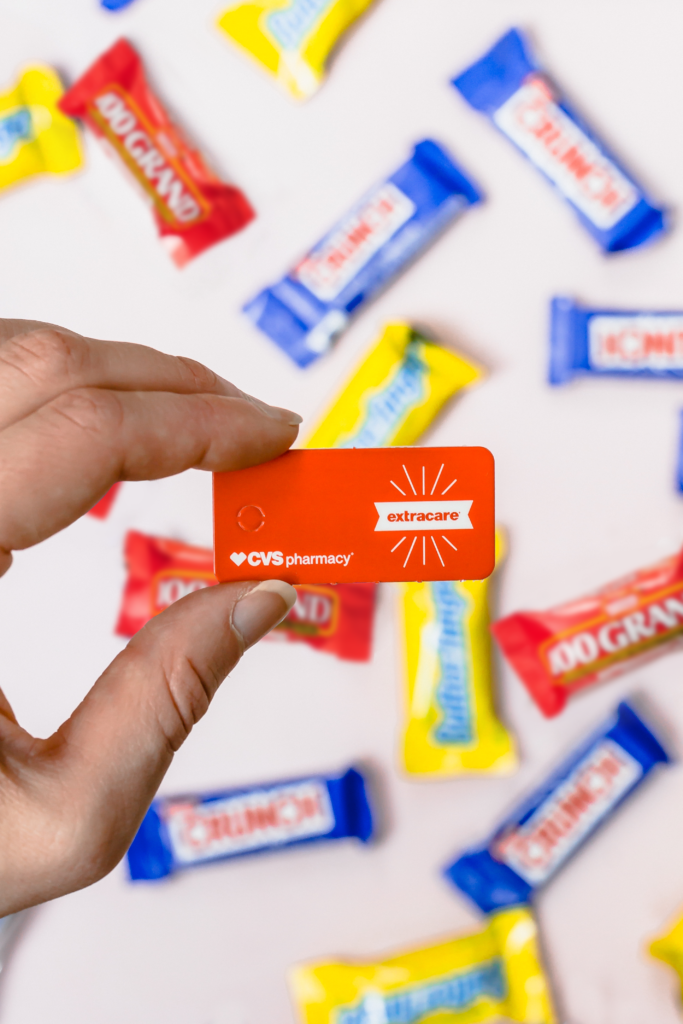
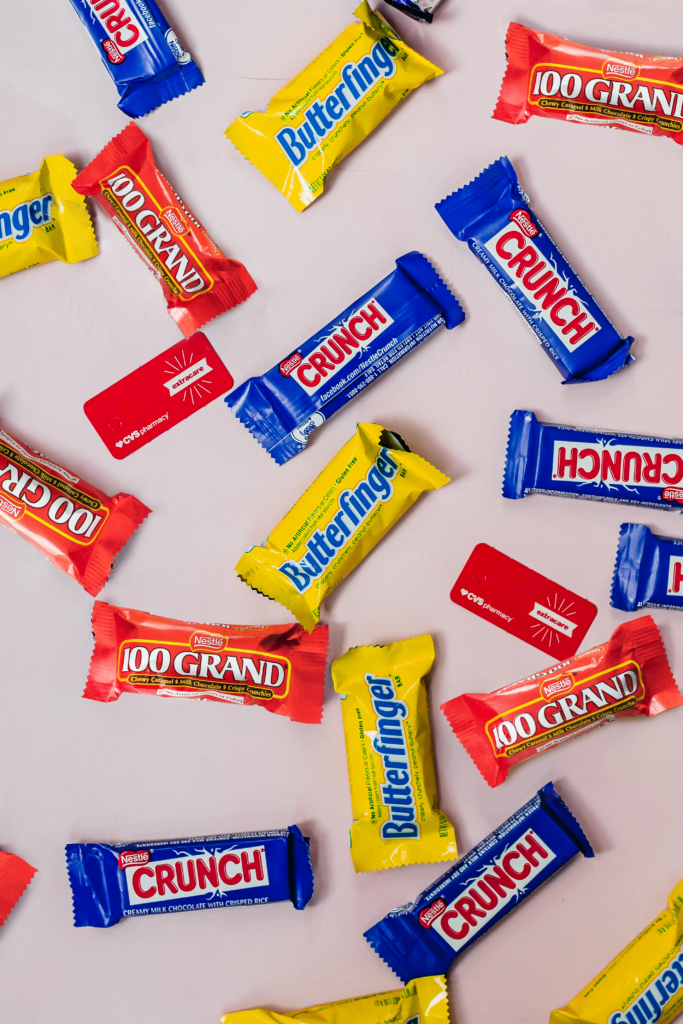
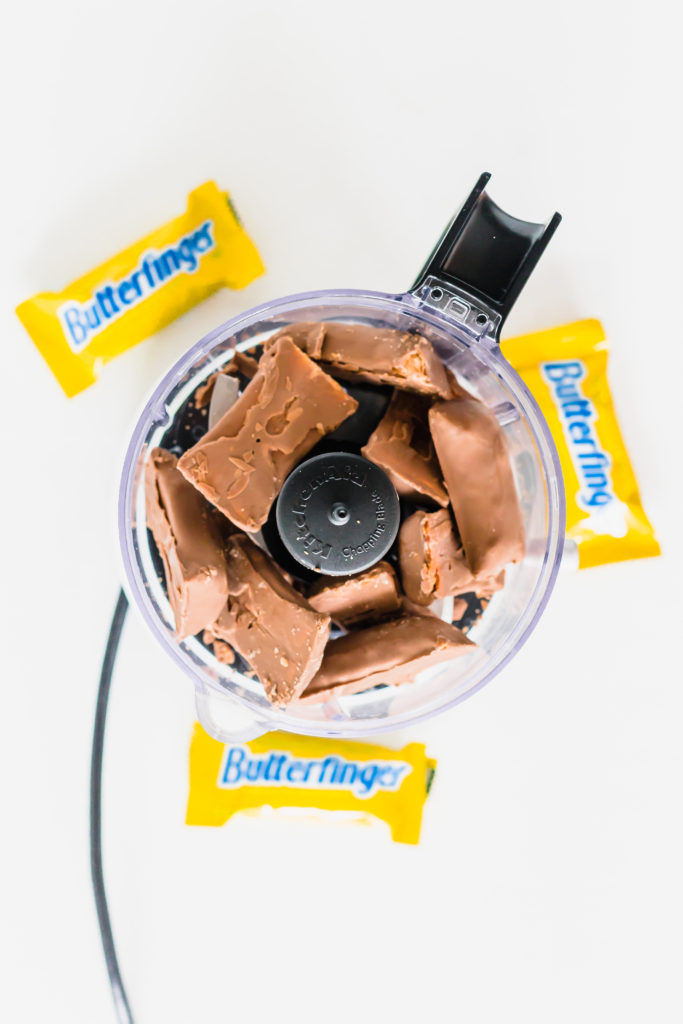
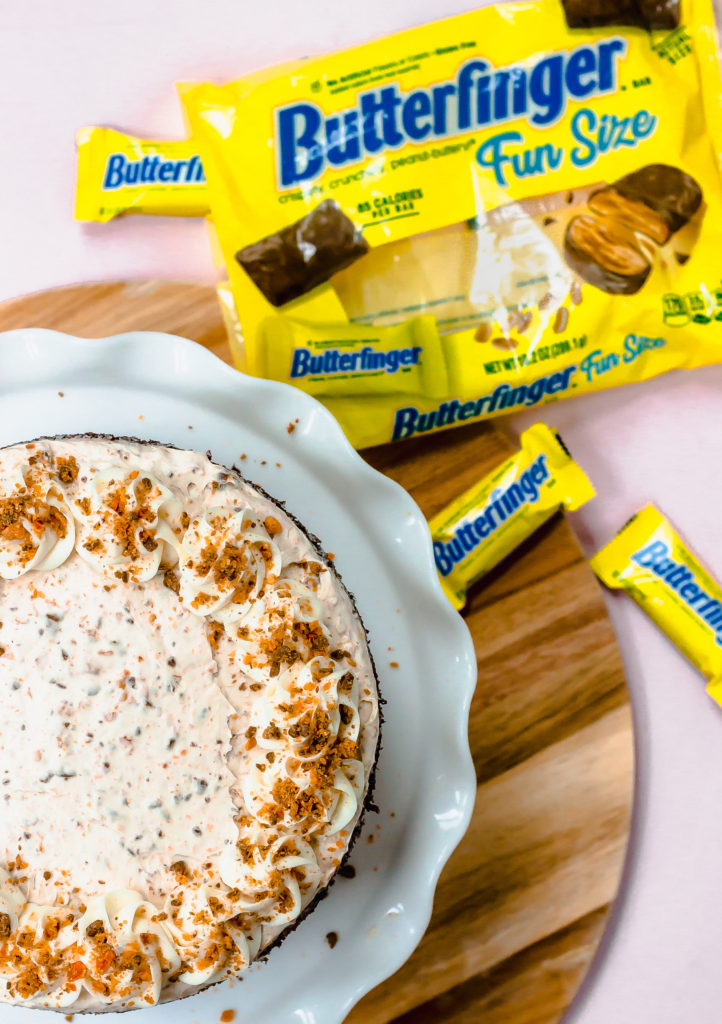
Plus, with Steve’s birthday this past weekend and my mother-in-law’s later this month, there is no shortage of reasons to make cakes, but just a little shortage of finding the time to make a full from scratch cake. So when I’m in a hurry I turn to cake mixes. Yes, I said it I used a boxed mix, but with my own twist of course. For this cake, I stopped by my local CVS because as we all know when we’re in a time crunch we need a store that is not only convenient but also easy to navigate so you waste no time wandering aisles to get what you need. After grabbing my cake mix, I popped into the candy aisle since my mother-in-law is the world’s biggest Butterfinger® fan. She said when she was pregnant with my brother-in-law she craved Butterfinger® and would eat a whole king size bar in one sitting. So I grabbed a bag of Butterfinger® – I recommend fun size as you get a better ratio of chocolate to peanut butter flavor inside when crumbling them for the frosting. Plus you can get a $1 off when you buy two fun-sized bags so of course, I grabbed some 100 Grand® and Crunch® as well.
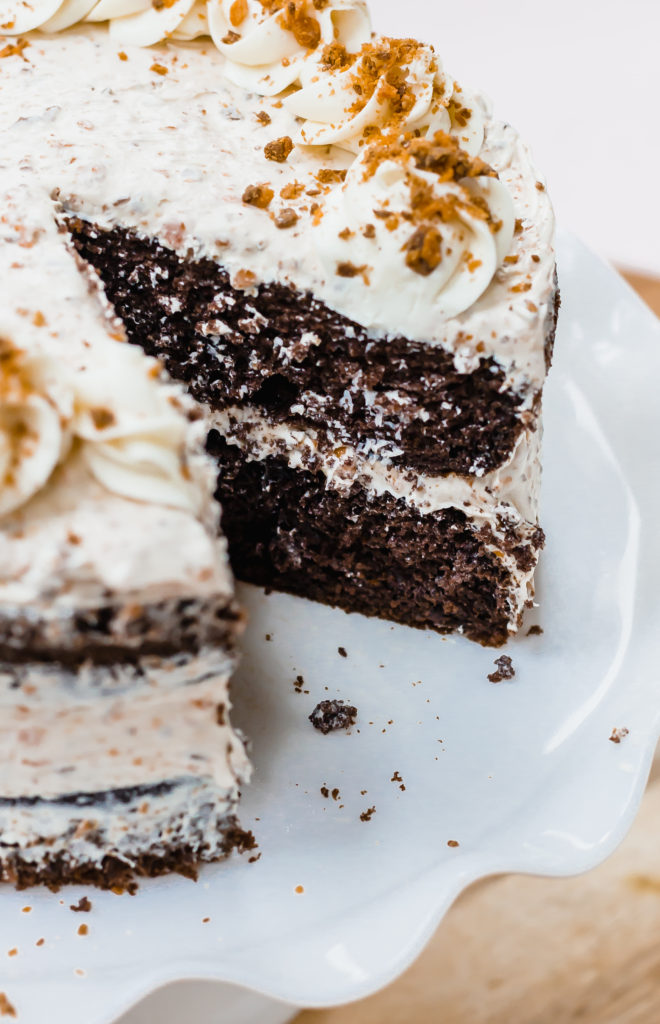
For this cake, I really wanted to highlight that unique peanut buttery flavor of a Butterfinger® combined with the decadent chocolate coating. So I did a devils food cake mix and don’t worry I didn’t cheat the frosting. I made my favorite homemade buttercream and added crumbled Butterfinger® pieces to bring out that Butterfinger® crunchy, goodness.

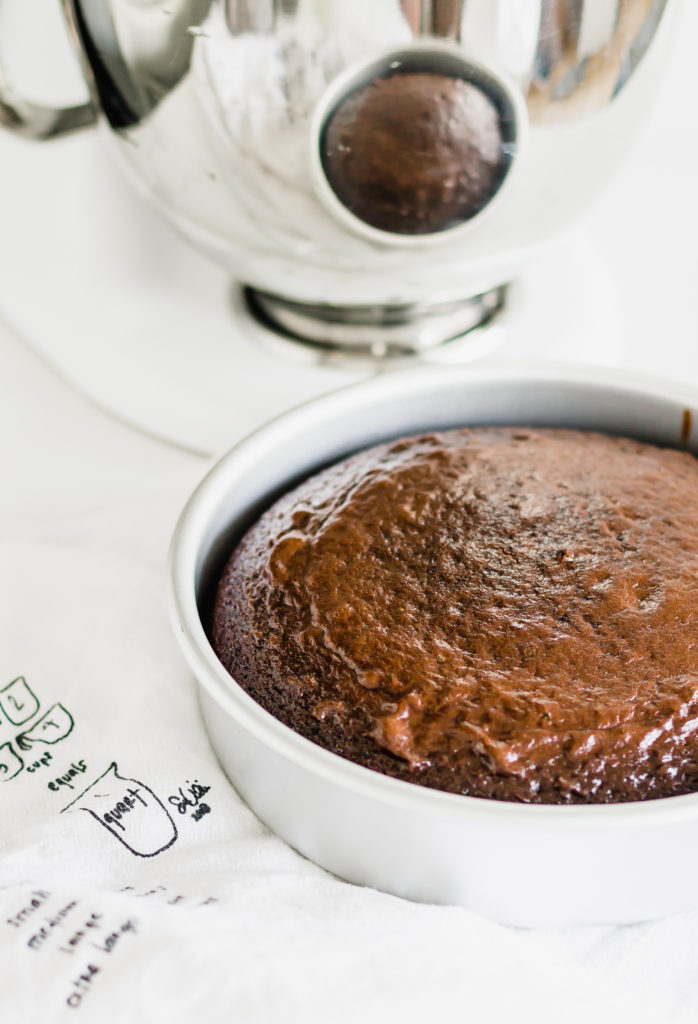
To save time, I started this cake off with a boxed cake mix. I mixed it according to back of the box but instead of doing two 9″ pans, I used two 8″ pans so my layers were a little thicker. This is just a personal preference as I prefer a taller cake, but you can bake it either way you prefer.
Next up, I let my cakes cool completely before leveling them – something I learned when I used to work at a local wedding cake shop. There are many fancy tools for doing this but it works just as well with a serrated knife. Simply pop your cakes out of the pans and using a knife ,shave off the top “bump” to create a leveled cake. The best way to do this is squat down eye level to the cake and then run your knife along the top until your cake looks flat and no longer has that rise in the middle. This will give you those pretty even layers with lots of room for buttercream in between.
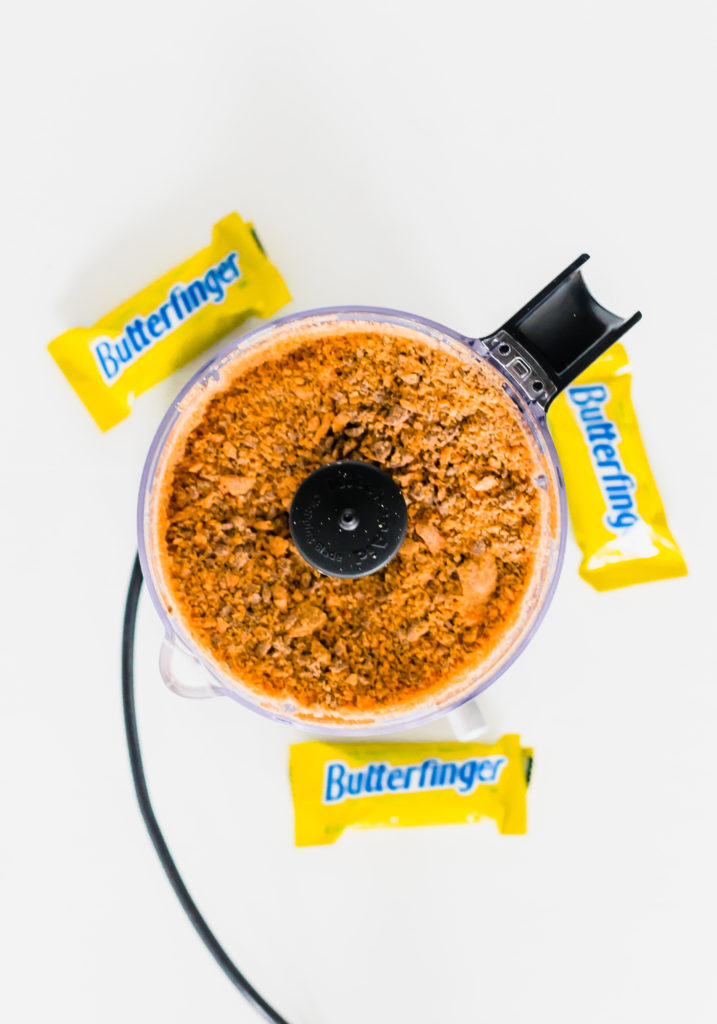
Next up, the buttercream. I used one of my favorite go-to buttercream recipes for this one. Then using a food processor, I finely chopped the whole bag of butterfingers and set a little aside to sprinkle on top and a little buttercream aside to decorate at the end. Add the remaining chopped butterfingers to the remaining buttercream and combine until incorporated.
Last step, assemble your cake. Place your first layer down onto your plate or cake stand “crumb side down” which is the side you just leveled. This is to help prevent crumbs from getting into your buttercream when you’re frosting it later. Next, drop a large dollop of buttercream on top and evenly spread it all over the first layer. Don’t be afraid to go over the edges as you’ll clean these up later. Lastly, top the buttercream with your second cake “crumb side down” into the buttercream and top with another layer of buttercream.
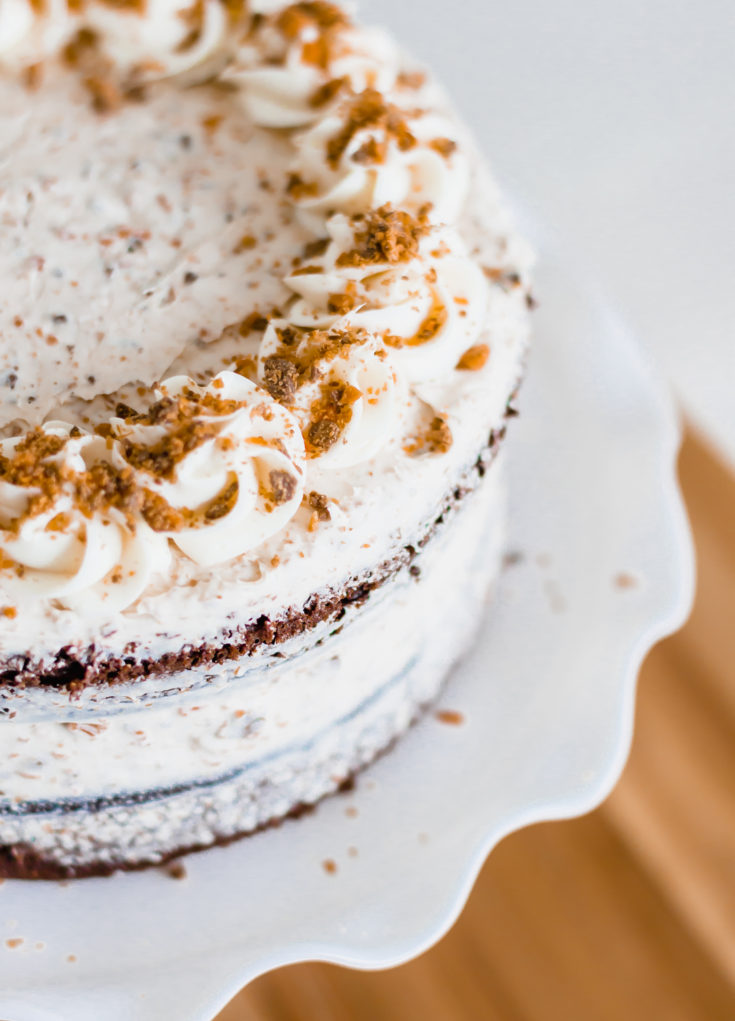
To finish it off, use an off set spatula and fill in the sides with more buttercream so you have no gaps. Using the spatula run it along the outside of the cake pushing slightly into the cake to scrap excess off and get that pretty naked cake look where you see both the buttercream and cake layers. For an added touch, fill a pastry bag with star tip with your plain buttercream you set aside earlier (you have to use the plain buttercream since the candy pieces will clog your tip). Pipe your buttercream in your favorite design on top and sprinkle with your chopped butterfingers you had set aside. Ta-da, now you eat it!
Chocolate Cake with Butterfinger® Buttercream
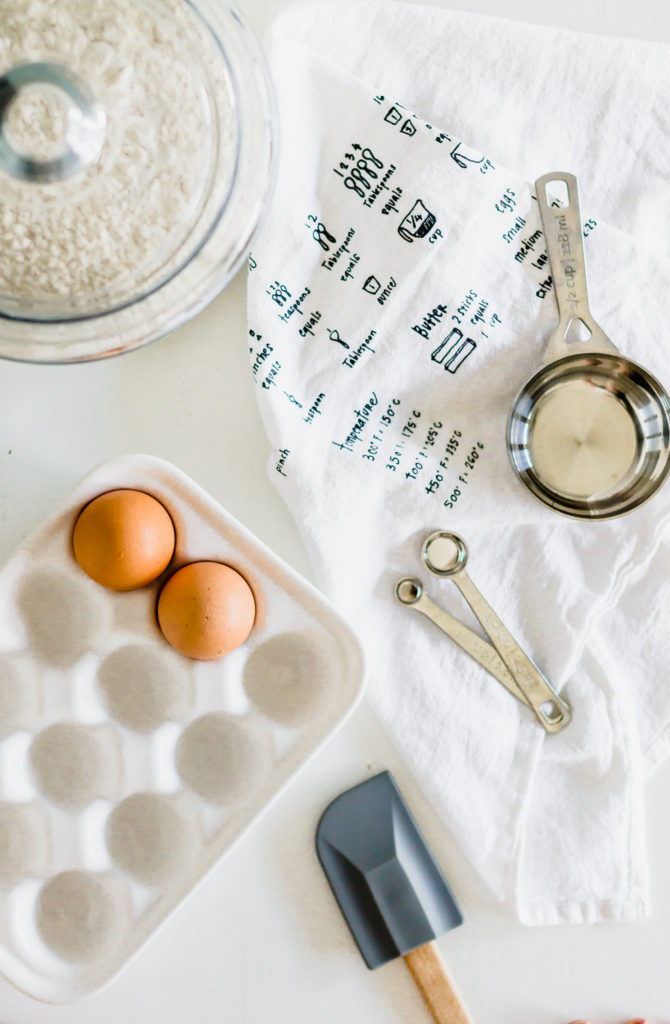
Ingredients
- 1 box of your favorite chocolate cake mix
- Mix-ins according to back of the box
- 2 cups unsalted butter, chilled (I take the butter out of the fridge 30 minutes before I make my frosting)
- 6 cups powdered sugar, measured and then sifted
- 3-4 tablespoons heavy whipping cream
- 2 teaspoons clear vanilla extract
- Pinch of salt
- 1 bag of Fun Size Butterfinger® bars
Instructions
Chocolate Cake
- Prepare according to back of the box instructions but bake in two 8" pans following the 9" baking instructions. I recommend the 8" instead as it will give you more height on your cake.
Butterfinger® Buttercream (Basic Buttercream Recipe Adapted from Cake by Courtney)
- In the bowl of a stand mixer fitted with a paddle attachment, cream the butter for about 2 minutes. This will soften the butter without it having to be warm.
- With the mixer on low speed, gradually add the sifted powdered sugar, one cup at a time, mixing a little in between each addition.
- With mixer on medium speed, add whipping cream, vanilla and salt.
- Turn the mixer to medium-high speed and beat for an additional 5 to 7 minutes. The frosting will become lighter in color and texture.
- Before adding the candy pieces, spend a couple minutes mixing the buttercream by hand with a wooden spoon to push out the air pockets. Set aside.
- Using a food processor or by hand, finely chop full bag of Butterfinger®. Reserve about 1/4 cup in a bowl and about 1/3 cup of buttercream, set both aside for topping.
- Add remaining chopped candy pieces to buttercream and mix on low speed until incorporated.
Notes
To assemble:
- First using a large knife, trim top of cakes to even them out. Do this by cutting horizontally across the cake so you create a flat even layer.
- Take the first layer and place it "crumb side up" (side that you just cut off) onto a cake plate.
- Cover first layer with buttercream, top with second layer and repeat.
- To get the naked cake affect, go back and fill in the sides with buttercream so no gaps are showing between the layers. Then using an off set spatula run it along the side to remove excess. For naked cakes, don't be afraid to push hard into the cake to create even sides. I don't suggest this when not doing a naked cake as you will pull up crumbs that will get into your frosting but for this type of cake, you kind of want that affect.
- Using a pastry bag with a star tip, pipe swirls using the plain buttercream you set aside on top of the cake and sprinkle with remaining Butterfinger® pieces.
Hahahahaha OMG!! That’s my Birthday Cake!!! I SO LOVE MY BUTTERFINGERS!!! No bringing home the small size! It’s King size or Go Home!! Hahahahaha
It sure is and I had a feeling you might say that, king size all the way lol.