Warning: These pumpkins you are about to paint are not edible.
Going home this past weekend meant staying in my pjs all day and painting pumpkins all night. I would say I’m joking, but then I’d be lying to you and when it comes to sweets and crafting…I don’t lie.
Now if you don’t know by now, my family is all about the holidays. Growing up we were never allowed to have store bought costumes, we always had to go all out and create something from scratch. Guess that’s where I get my costume craze from;)
And when it came to decorating, no tombstone was spared. From our garage being turned into a haunted house to a smoke machine being blasted in the front yard turned grave yard, my parents made sure we made the most of each holiday. Since my brother and I are a little past the trick or treating stage, my parents have cut back a little on the decorating and holiday crafting. So of course when I mentioned doing a holiday craft while home, it became a family affair.
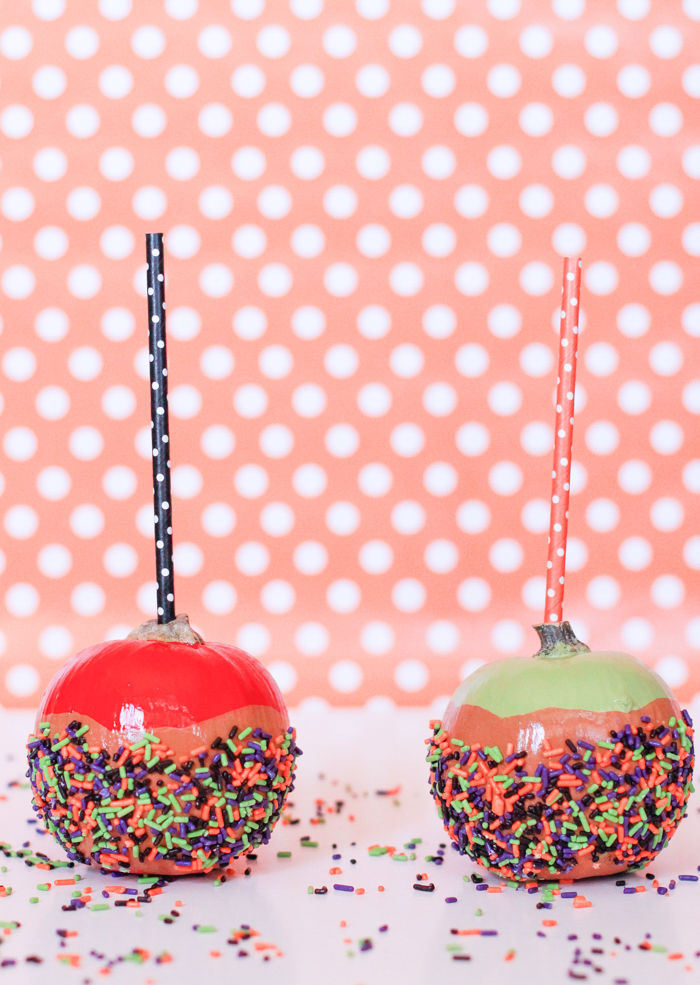
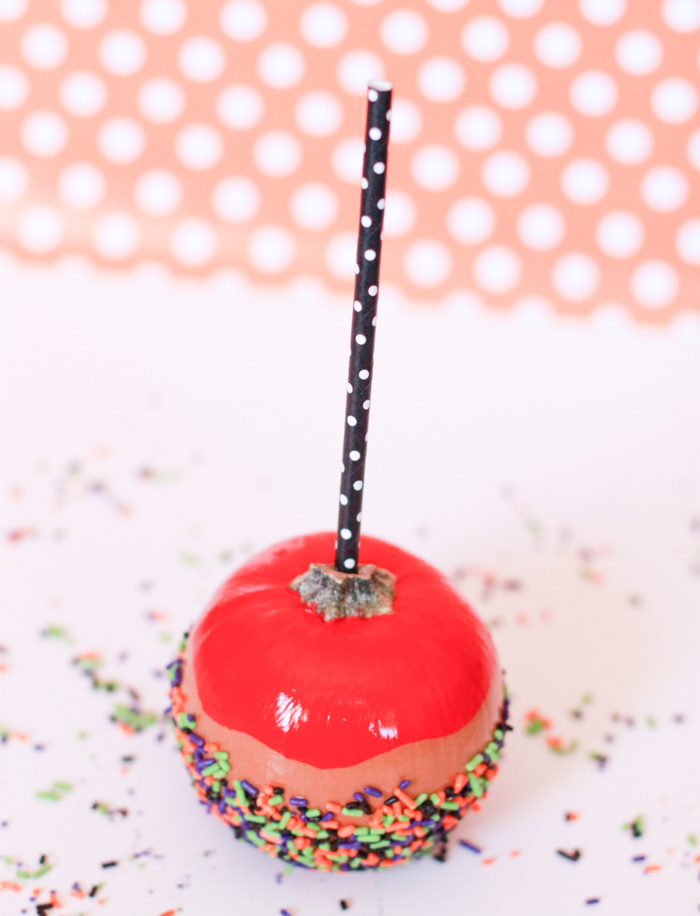
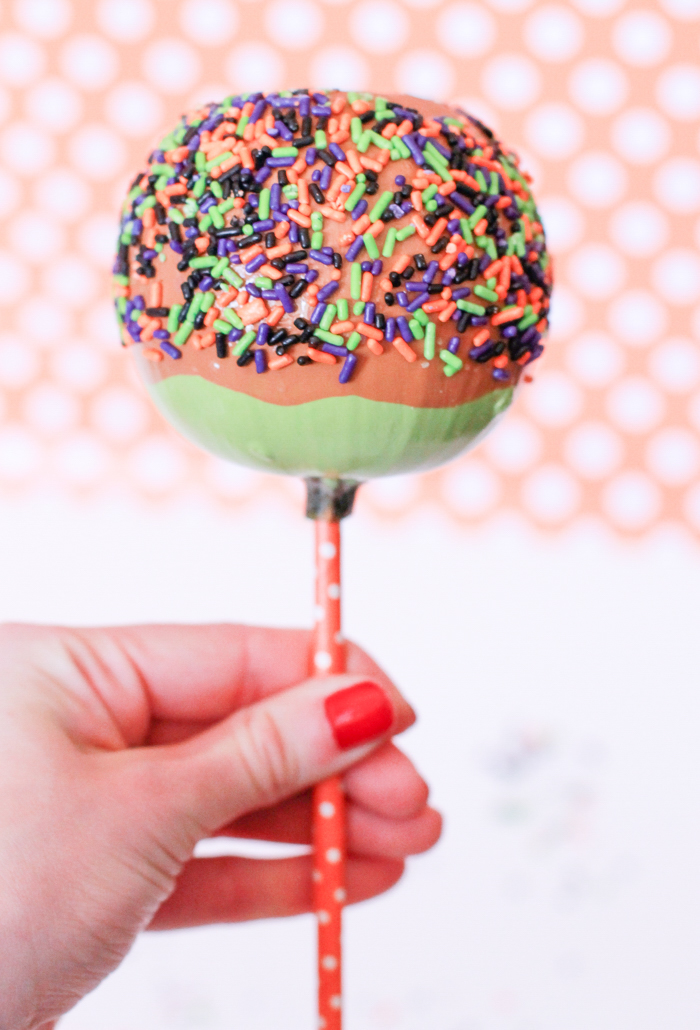
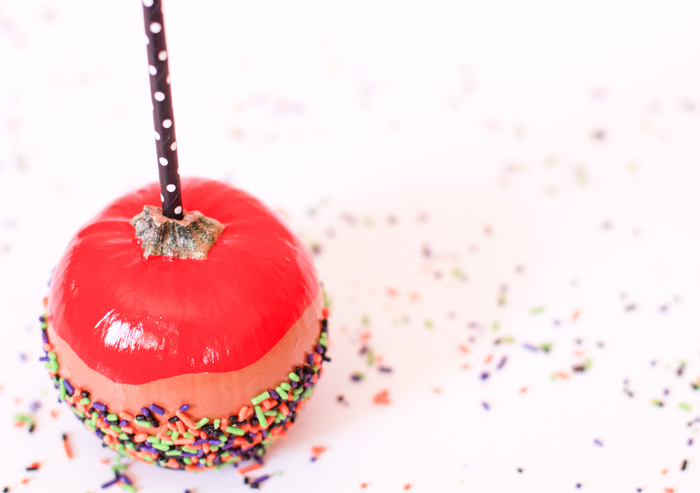
My dad got his power drill out, my mom put her smock on and well, things got serious. We stayed up until 2am chatting each others’ ears off while painting pumpkins and brainstorming costume ideas. It was the perfect Saturday night with the family and look how cute these pumpkins turned out thanks to their help!
While the parents’ help was much appreciated, this little DIY is quite simple and the perfect last minute pumpkin idea that only requires a few materials.
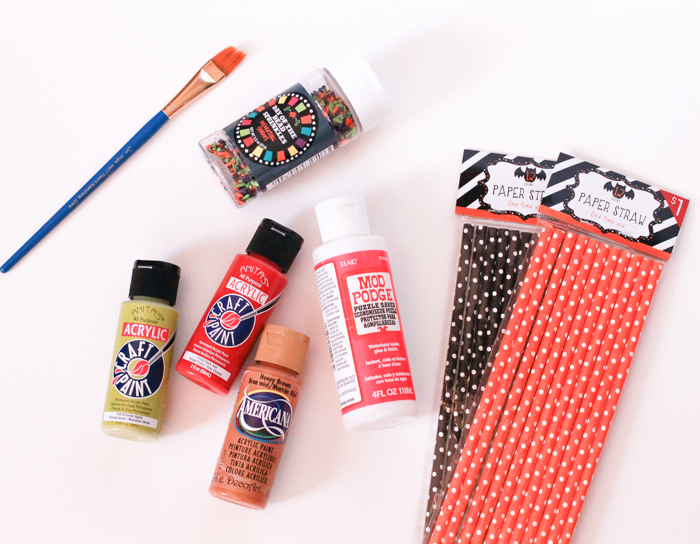
Materials Needed:
-mini pumpkins
-Halloween colored sprinkles (I prefer the jimmies since they stick the best)
-paper straws
-mod podge
-acrylic paint: green, red and caramel color
Instructions:
1. Start by drilling a hole in the stem for your straw. I used a power drill for this part, but if you don’t own one you can also hot glue the straw to the stem too.
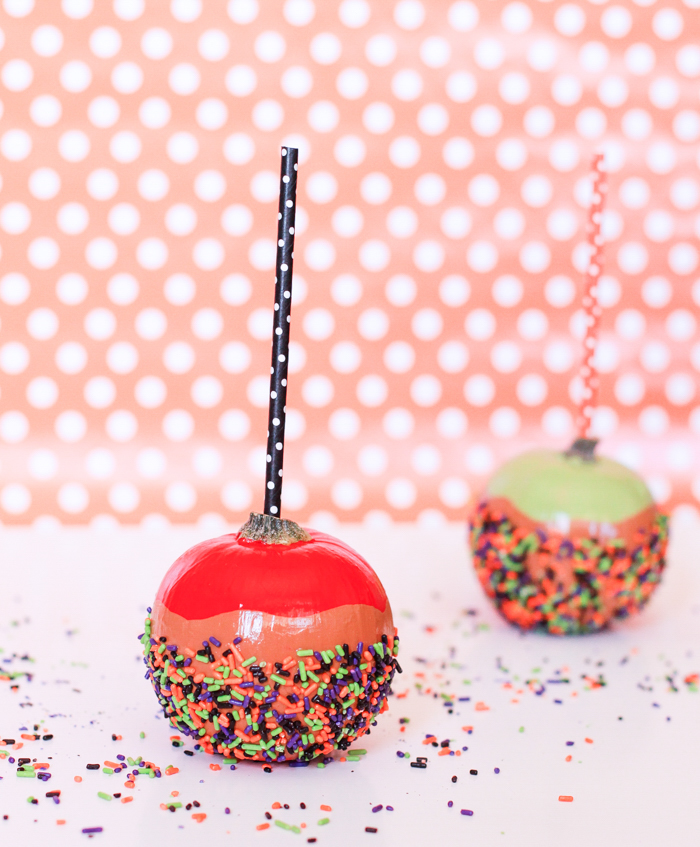
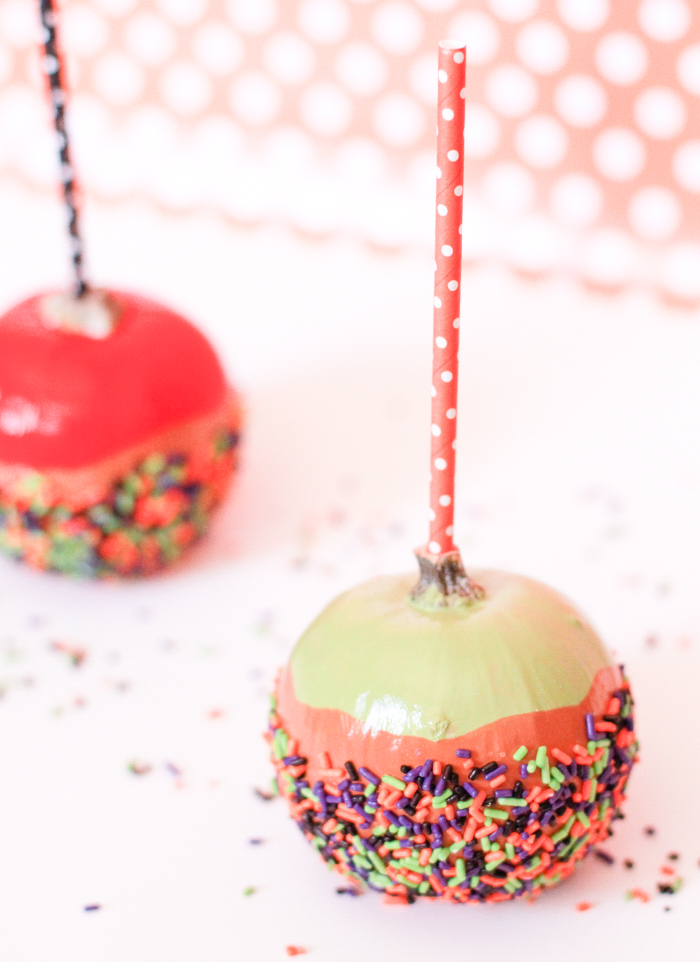
2. Next paint the pumpkin green or red, this will be your base coat and your apple color. (I had to do two coats to completely cover the orange)
3. Once the base coat is dry, paint the bottom half the caramel color with a wave look on top as if it was dipped into caramel.
4. Pour sprinkles onto a plate and set aside. Once dry, coat the whole pumpkin with mod podge to give it a shine and a glue coat for the sprinkles. Quickly after finished coating roll the bottom half of the pumpkin in the sprinkles, be careful to only roll the part that you want covered in sprinkles. Allow to dry completely then place your straw in the stem.

yumm! these look super delicious! great post! xoxo
NEW BLOG POST!! Today we talk about FASHION “CAMEL COAT 3 STYLE” – Learn how to mix and match the perfect and most versatile trend of the year! One coat infinite styles!! check streetstyle and looks ready to shop!!
http://www.influencerdiaries.com