I know, I know the temperatures are heating up and I’m still
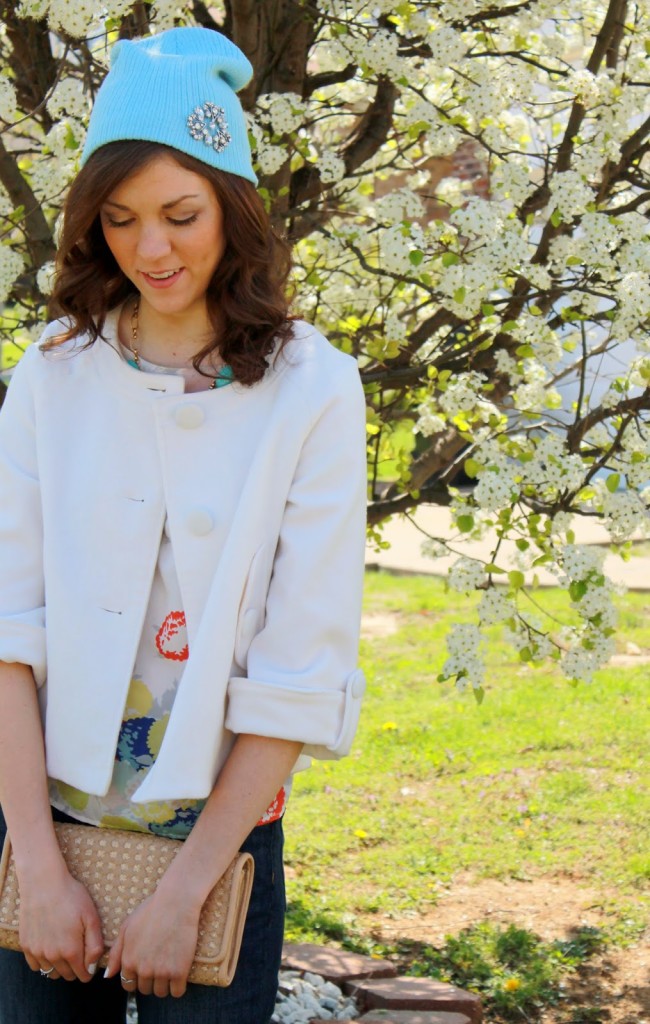
posting winter items, but this hat is too great to pass up. I bought it from Forever 21 for $2.50 (what a
steal) and it’s perfect for chilly Spring weather! However, I’m not really the hipster type that can pull off a beanie so I decided
to add a little sparkle to it! What can I say, I’m attracted to shiny things…this
will be dangerous one day for my future husband haha.
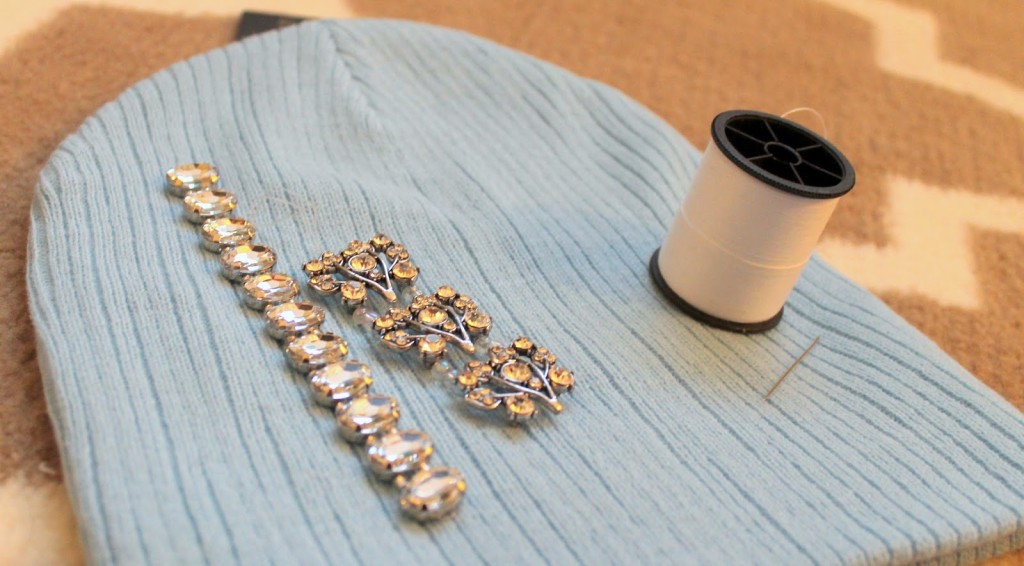
The best part is this requires no sewing machine and no
sewing experience, just two hands, a needle, and thread!
sewing experience, just two hands, a needle, and thread!
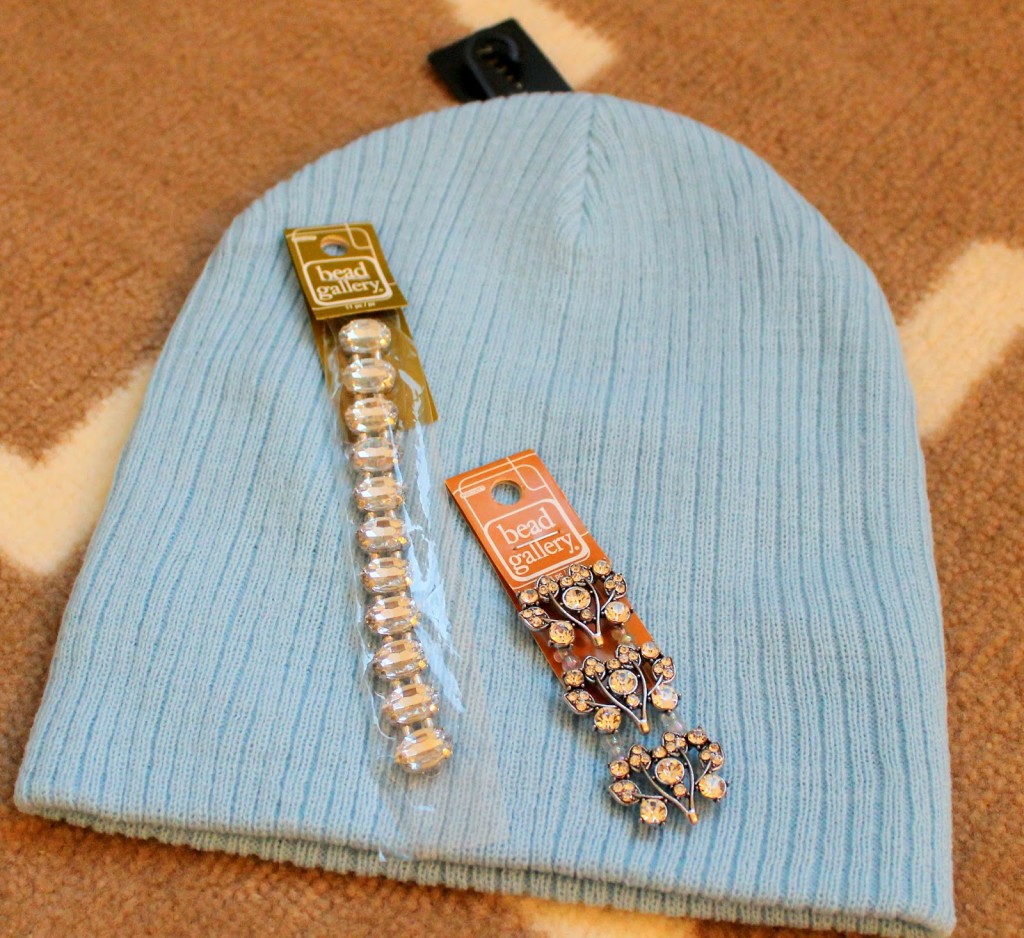
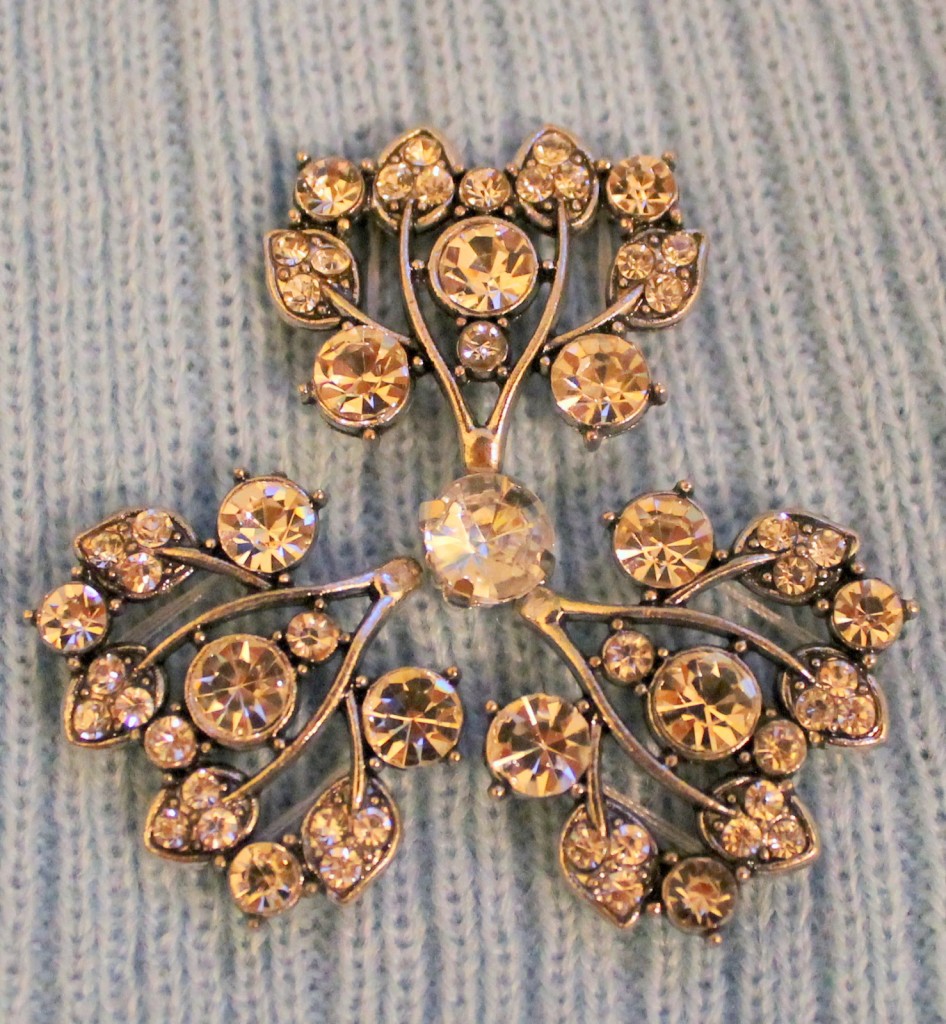
I ordered the hat from Forever21.com and found these
gorgeous beads from Michaels craft store.
There are so many great ways you can arrange these beads,
plus many different beads to choose from! I was looking for more of a brooch
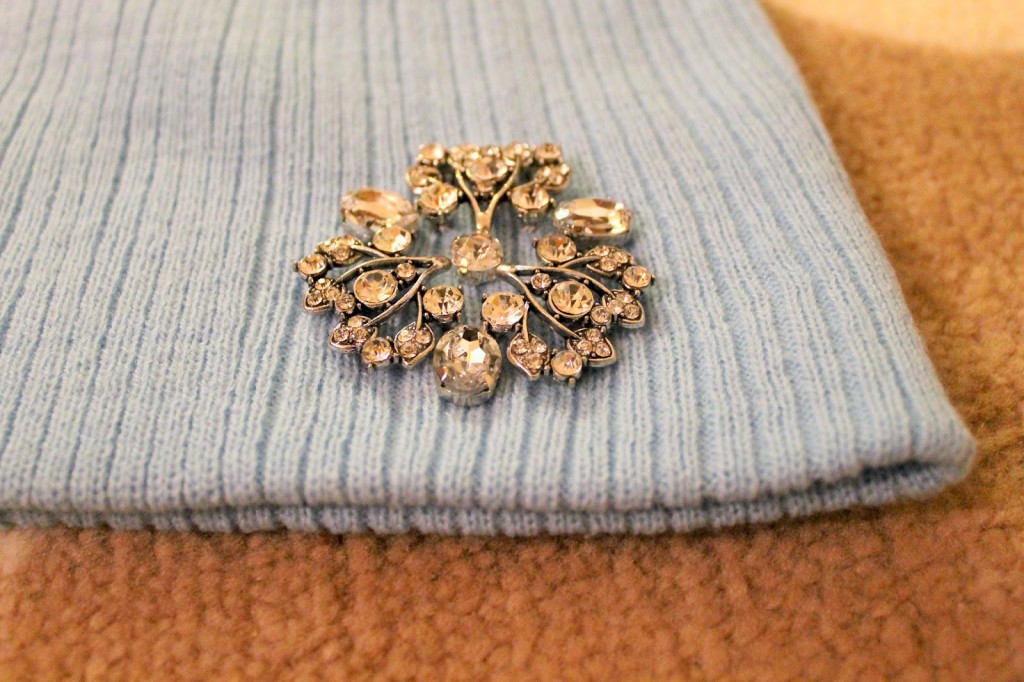
look, so I clustered them together and put the jewels in between (as shown above)
plus many different beads to choose from! I was looking for more of a brooch
look, so I clustered them together and put the jewels in between (as shown above)
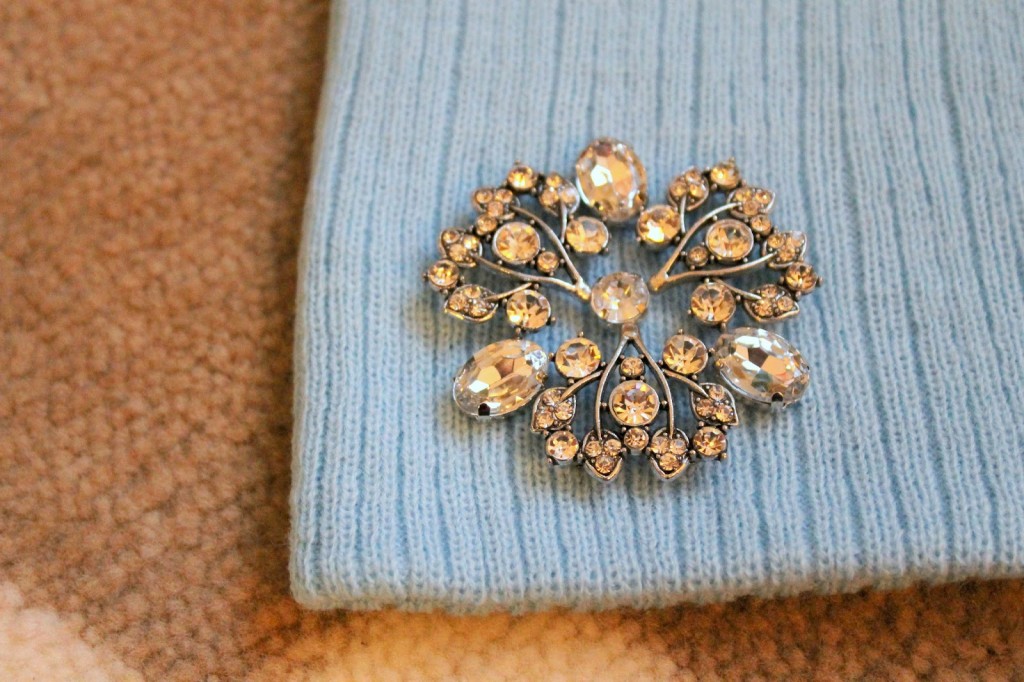
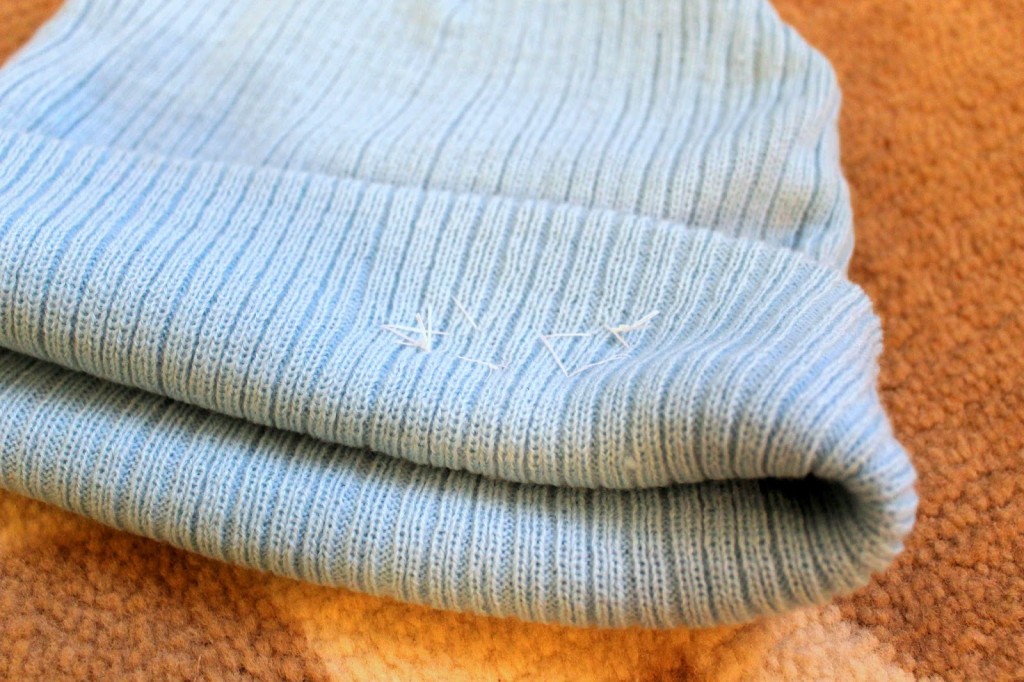
After I laid out where I wanted my jewels to be I started
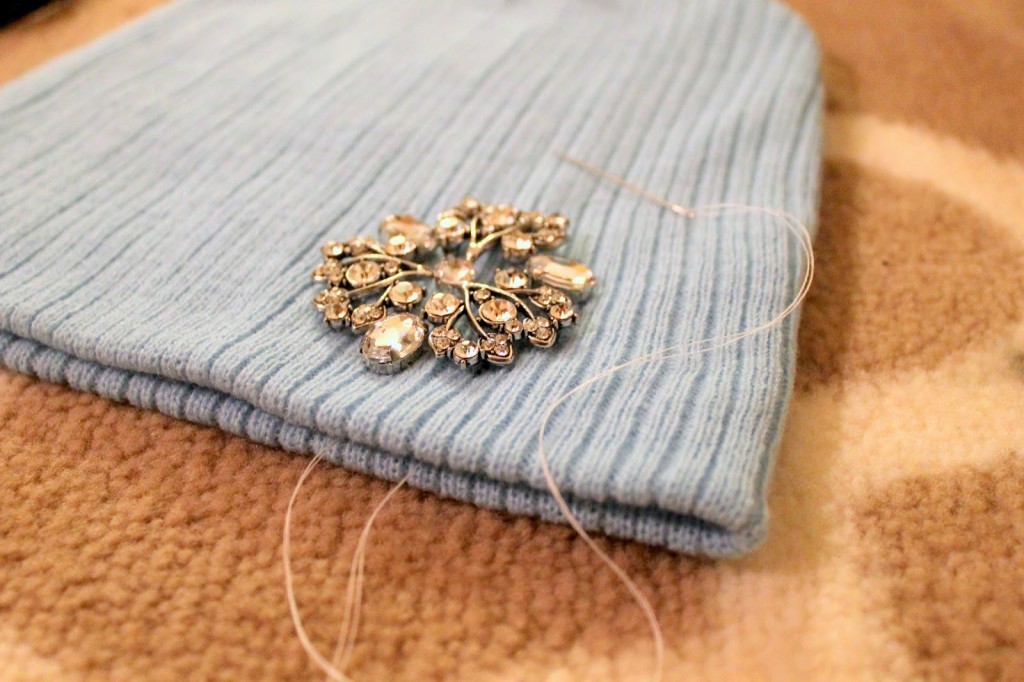
with the middle bead and did a simple thread through the bead holes and then through the hat and repeated on the other side of the bead. I then stitched the larger beads on, working my way to the
jewels in between. I tied off each bead individually so if down the road one
happens to fall off, I don’t have to redo the whole thing.
I told you, no sewing skills required haha. This is what the
inside of my hat looked like after stitching the beads on.
inside of my hat looked like after stitching the beads on.
After all the beads were individually sewn on, I strung a
piece of thread through the first hole of all the beads forming a circle to tie them together on top of the hat. This way when you put the beanie on and it stretches a
little, your beads won’t stretch apart.
piece of thread through the first hole of all the beads forming a circle to tie them together on top of the hat. This way when you put the beanie on and it stretches a
little, your beads won’t stretch apart.
Simple and super cute! I found myself hoping the weathermen
were correct about the snow the other day, just so I could wear this hat. To my
luck it did snow and a few people asked me where I got my brooch from;)
were correct about the snow the other day, just so I could wear this hat. To my
luck it did snow and a few people asked me where I got my brooch from;)
I’m off to St. Louis for the weekend and this hat is already
in my suitcase. Hope everyone has a blessed and joyous Easter!
in my suitcase. Hope everyone has a blessed and joyous Easter!
