
This post has been compensated by Command Brand to help keep Sparkles & Sprinkles running and my creative juices flowing. All opinions are mine alone. #DamageFreeDIY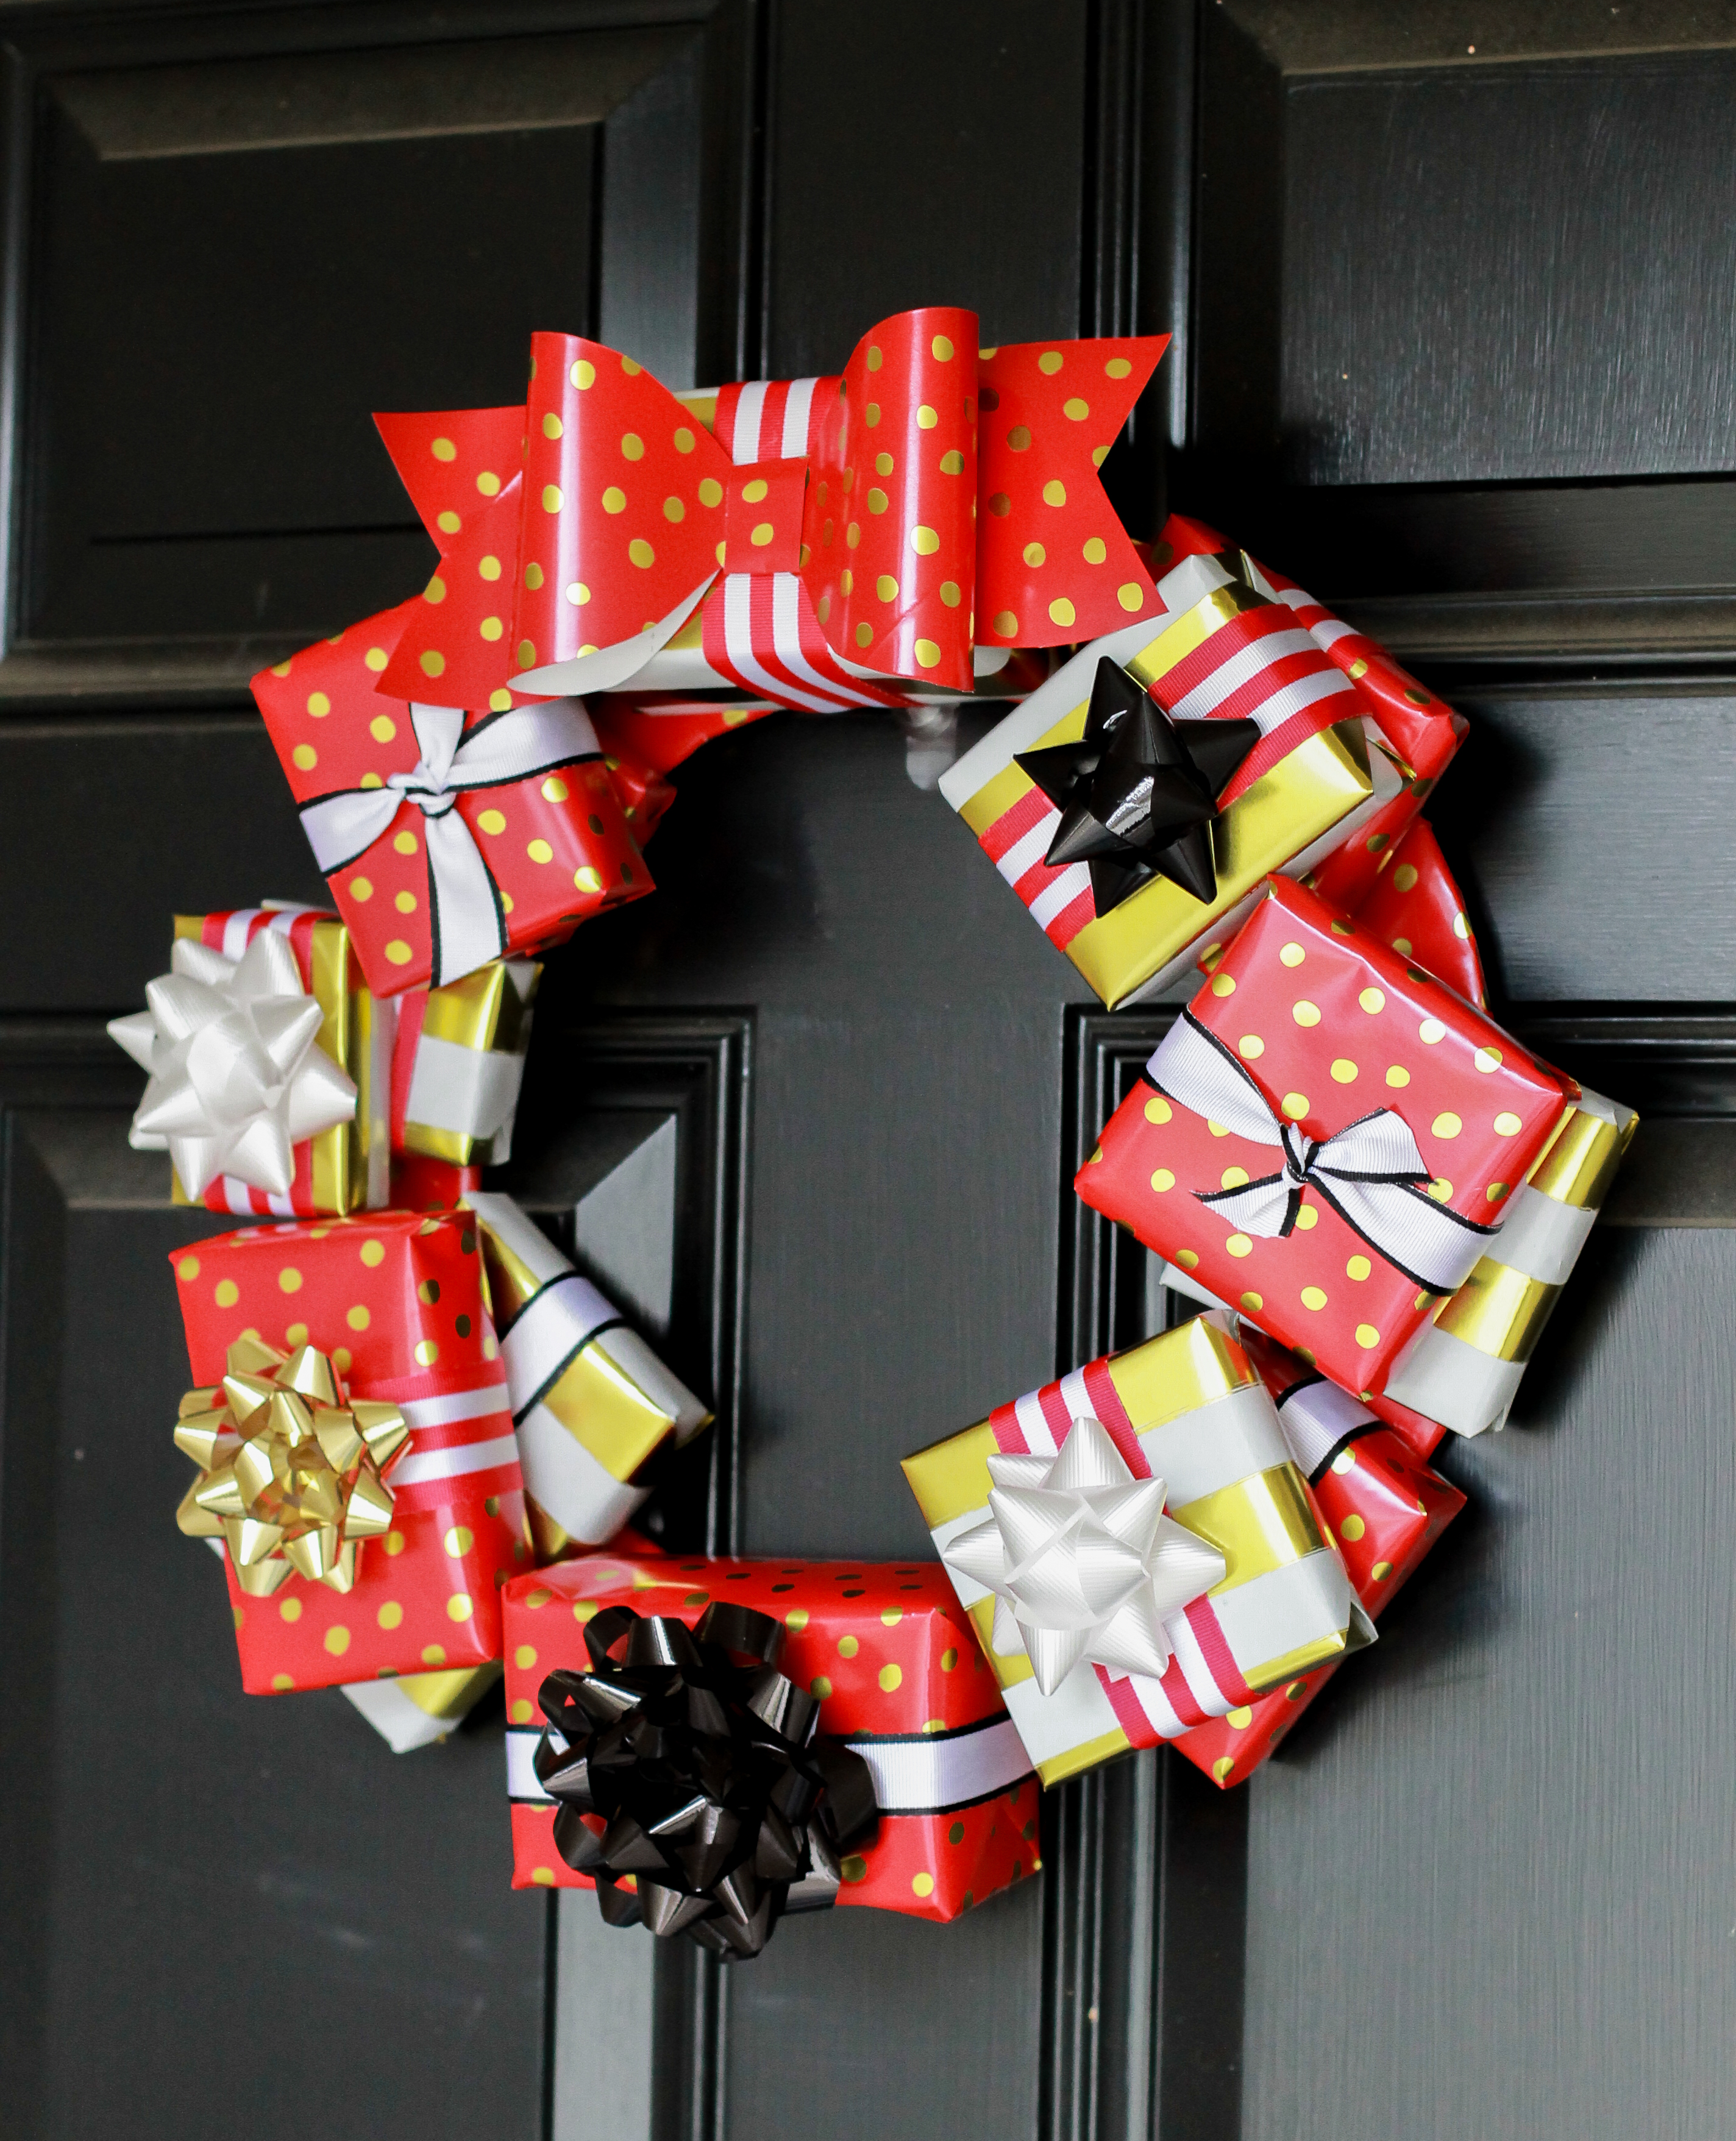
Nothing beats being home for the holidays and getting time to bond with your family, especially when it’s over DIY projects for your blog.
I grew up in an extremely crafty household. My mom was the maker of pretty much everything we had in our house and every holiday dress I wore (of course, to match hers), while my dad was the insanely talented artist/math wiz who would draw everything out beforehand and measure to make sure things were even and straight. We crafted everything from homemade ornaments for family christmas gifts to painted plates to serve Santa his cookies on.
Since moving away, we don’t really get the chance to craft all together anymore and I don’t think we really need matching dresses nor Santa plates. I’m thinking I may have outgrown that stage…maybe just a little.
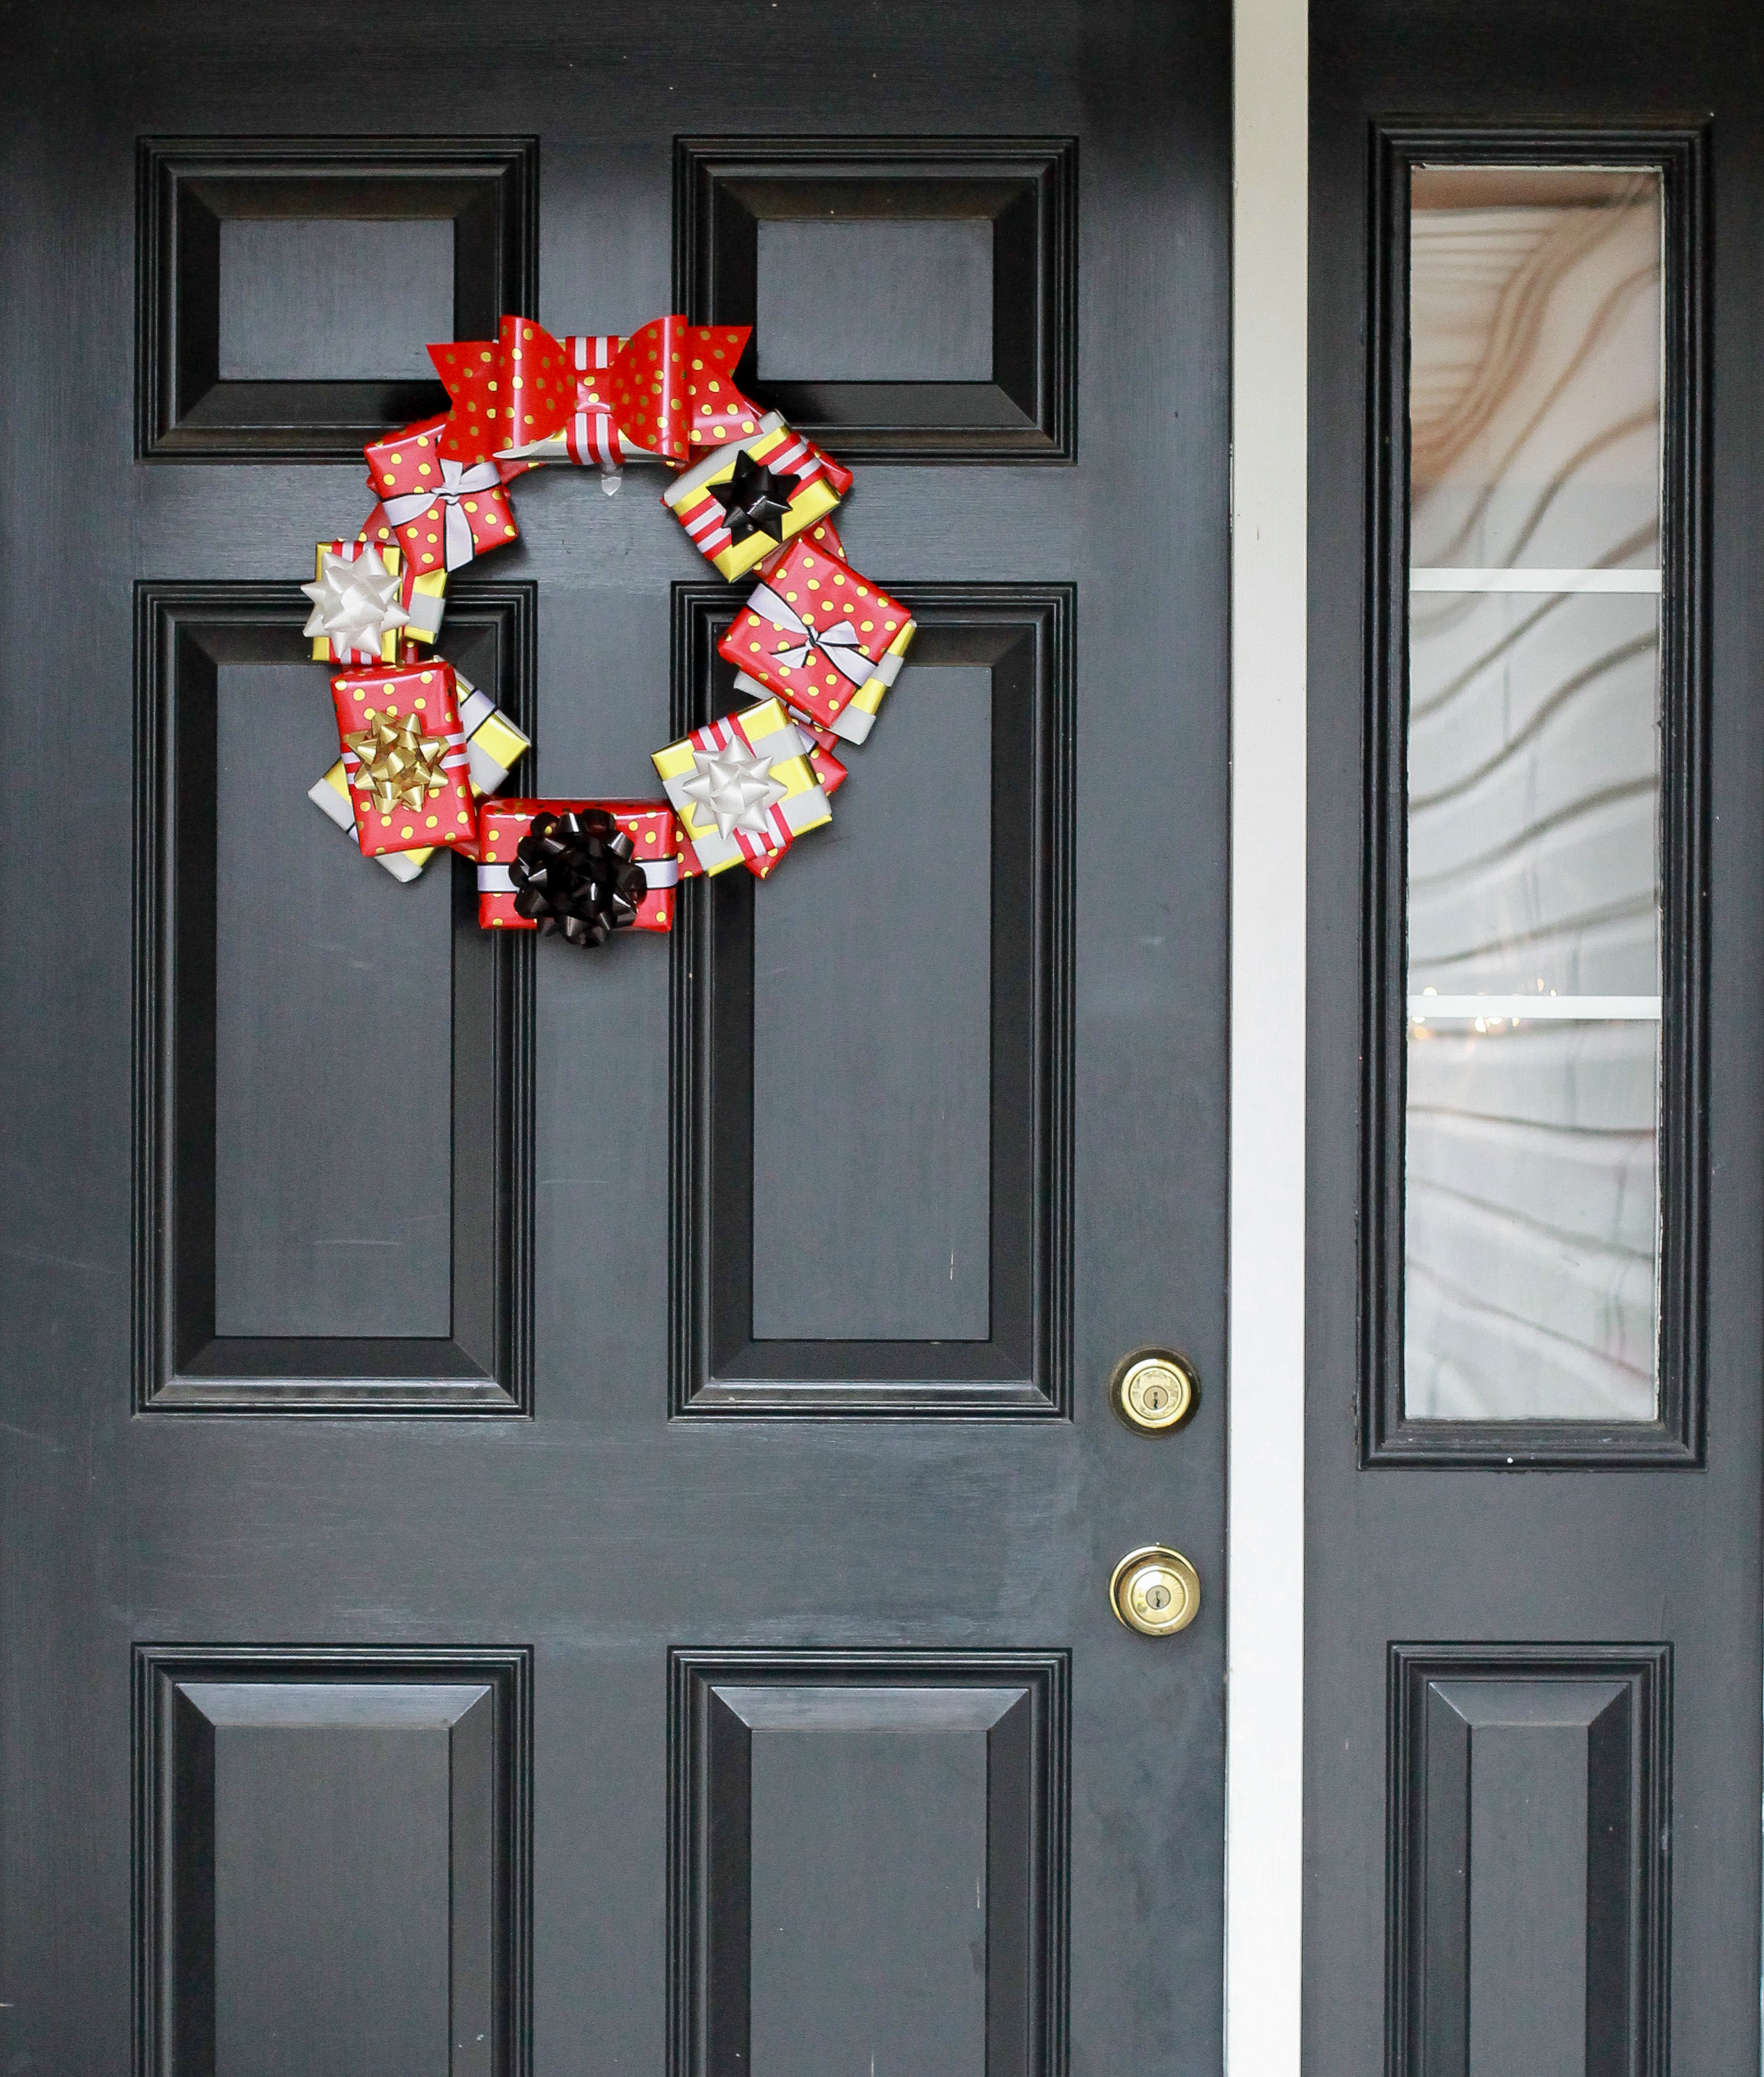
So last weekend when I came home my parents first question was “What cool things are you doing for the blog?” and while they still don’t 100% understand what a blog is and usually refer to it as “Sprinkles & Sprinkles”, I was excited to tell them I was working with Command Brand‘s new outdoor line of hooks because A. this meant a crafting project they could get involved with and B. the hooks are damage-free and reusable with their refill strips so I could do the shoot on my boyfriend’s parent’s pretty door and re-use the hook when I got back to Chicago. Got to love the perks of being home.
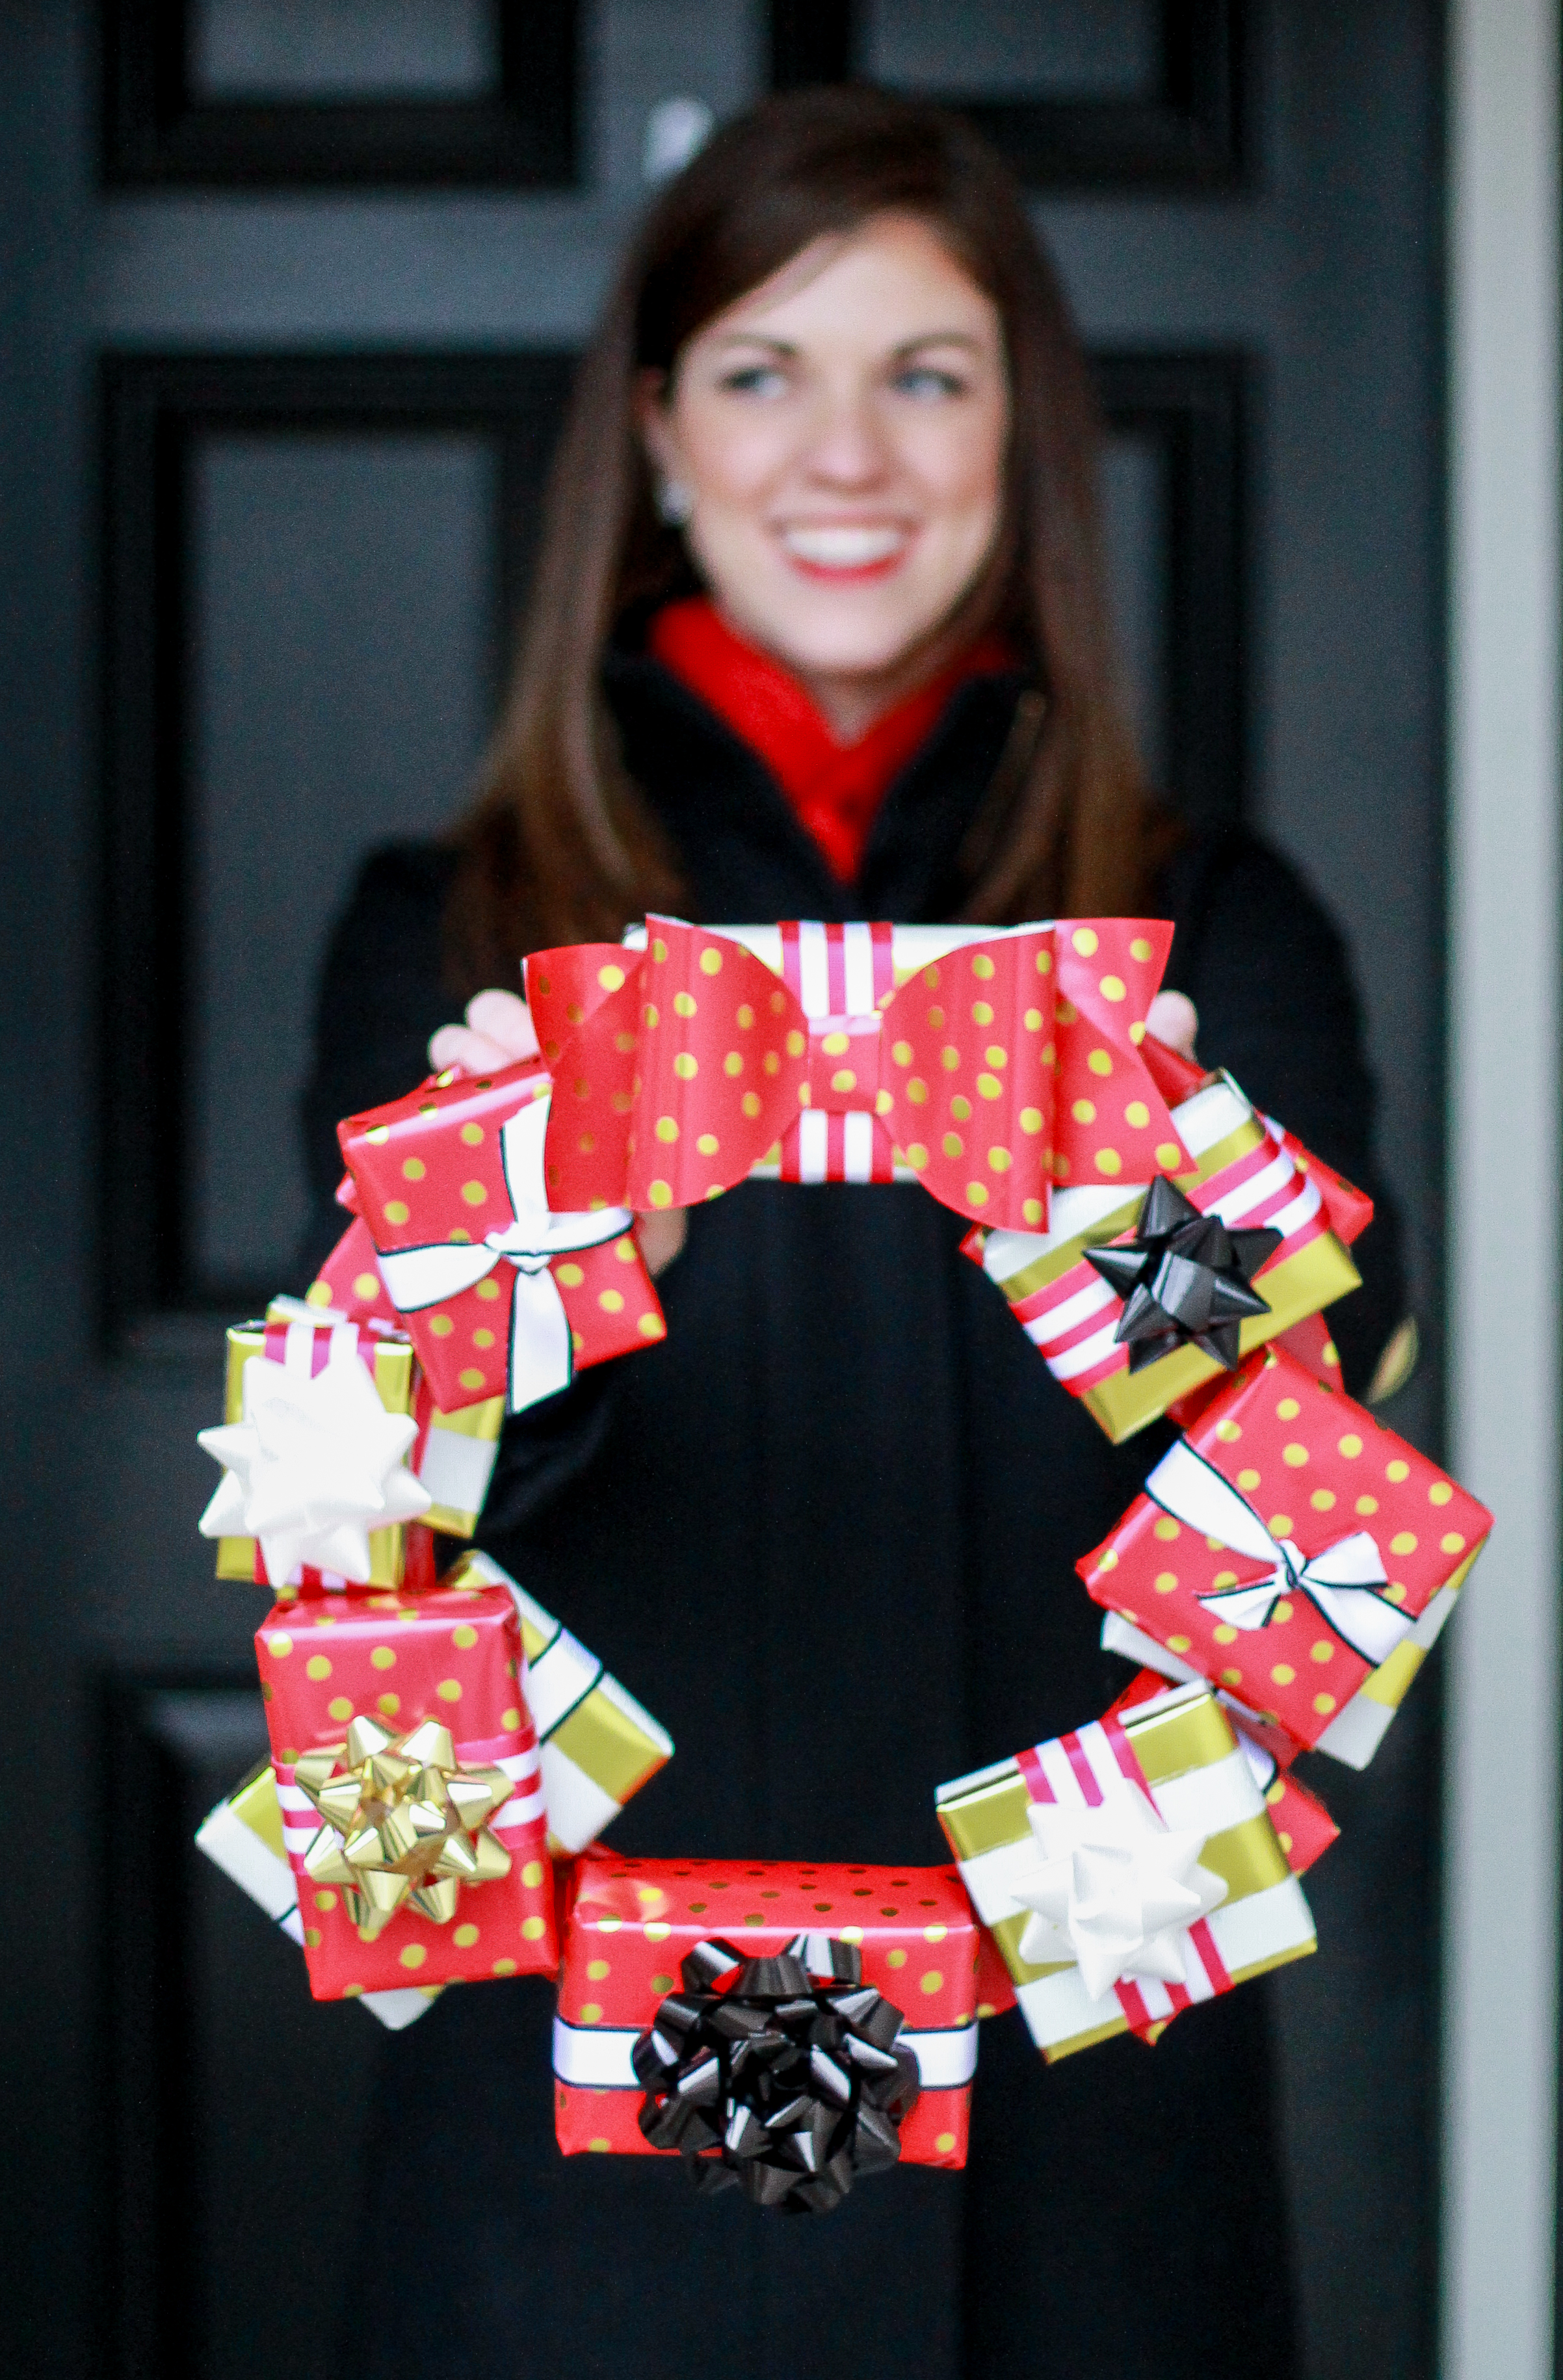
So with a team effort my dad drew out a circle on an old cardboard box, my mom nicely wrapped the presents and I sat back and drank wine while watching. Ok, maybe that last part isn’t true, but they definitely get credit for being a big help on this one!
Materials Needed
-1 Command Outdoor Large Brushed Nickel Metal Hook
-Rolls of your favorite wrapping paper
-Ribbon
-Stick on bows
-Cardboard
-10-15 small boxes in various sizes (I used old jewelry boxes)
Instructions
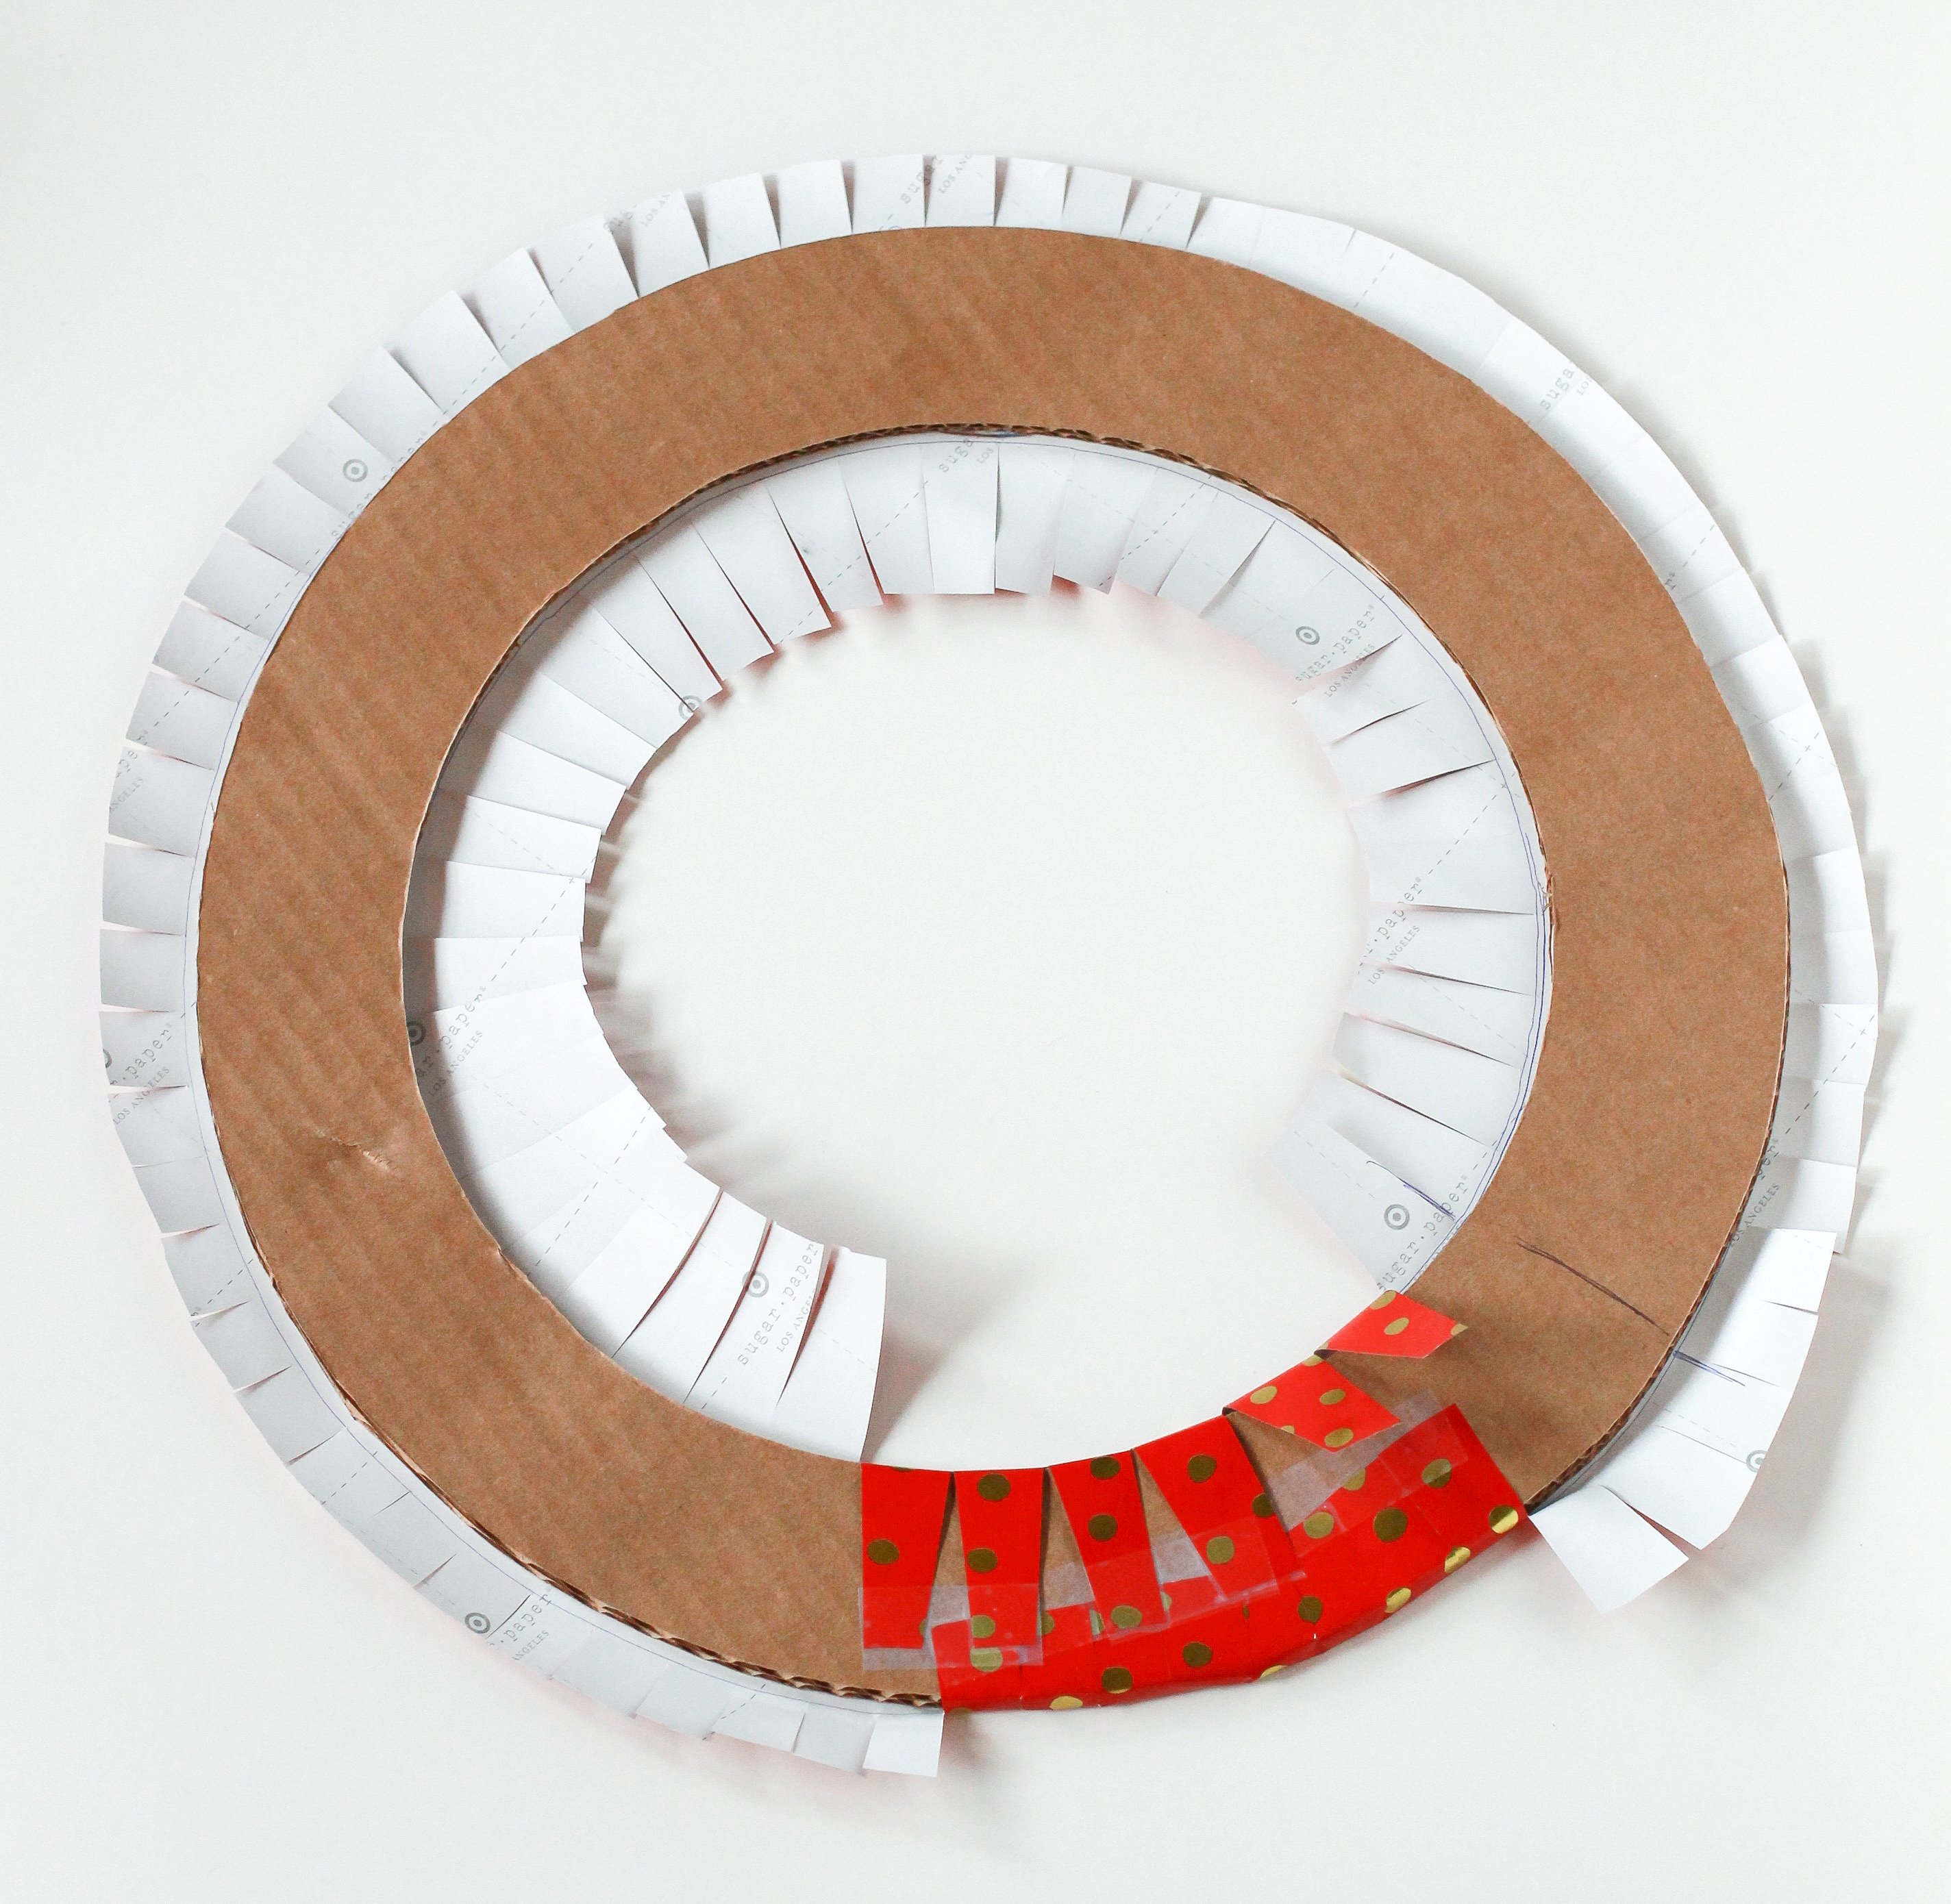
Step 1: Cut out an “O” shape in your cardboard to use for the base of the wreath.
Step 2: Cover the base by cutting out a piece of wrapping papering an “O” shape a few inches wider than your card board “O”. Then using scissors cut slits all around the wrapping paper as show in image above. Grabbing 2-3 slits at a time, tape down ends to tightly wrap cardboard base. Continue until all slits are taped down. Set aside.
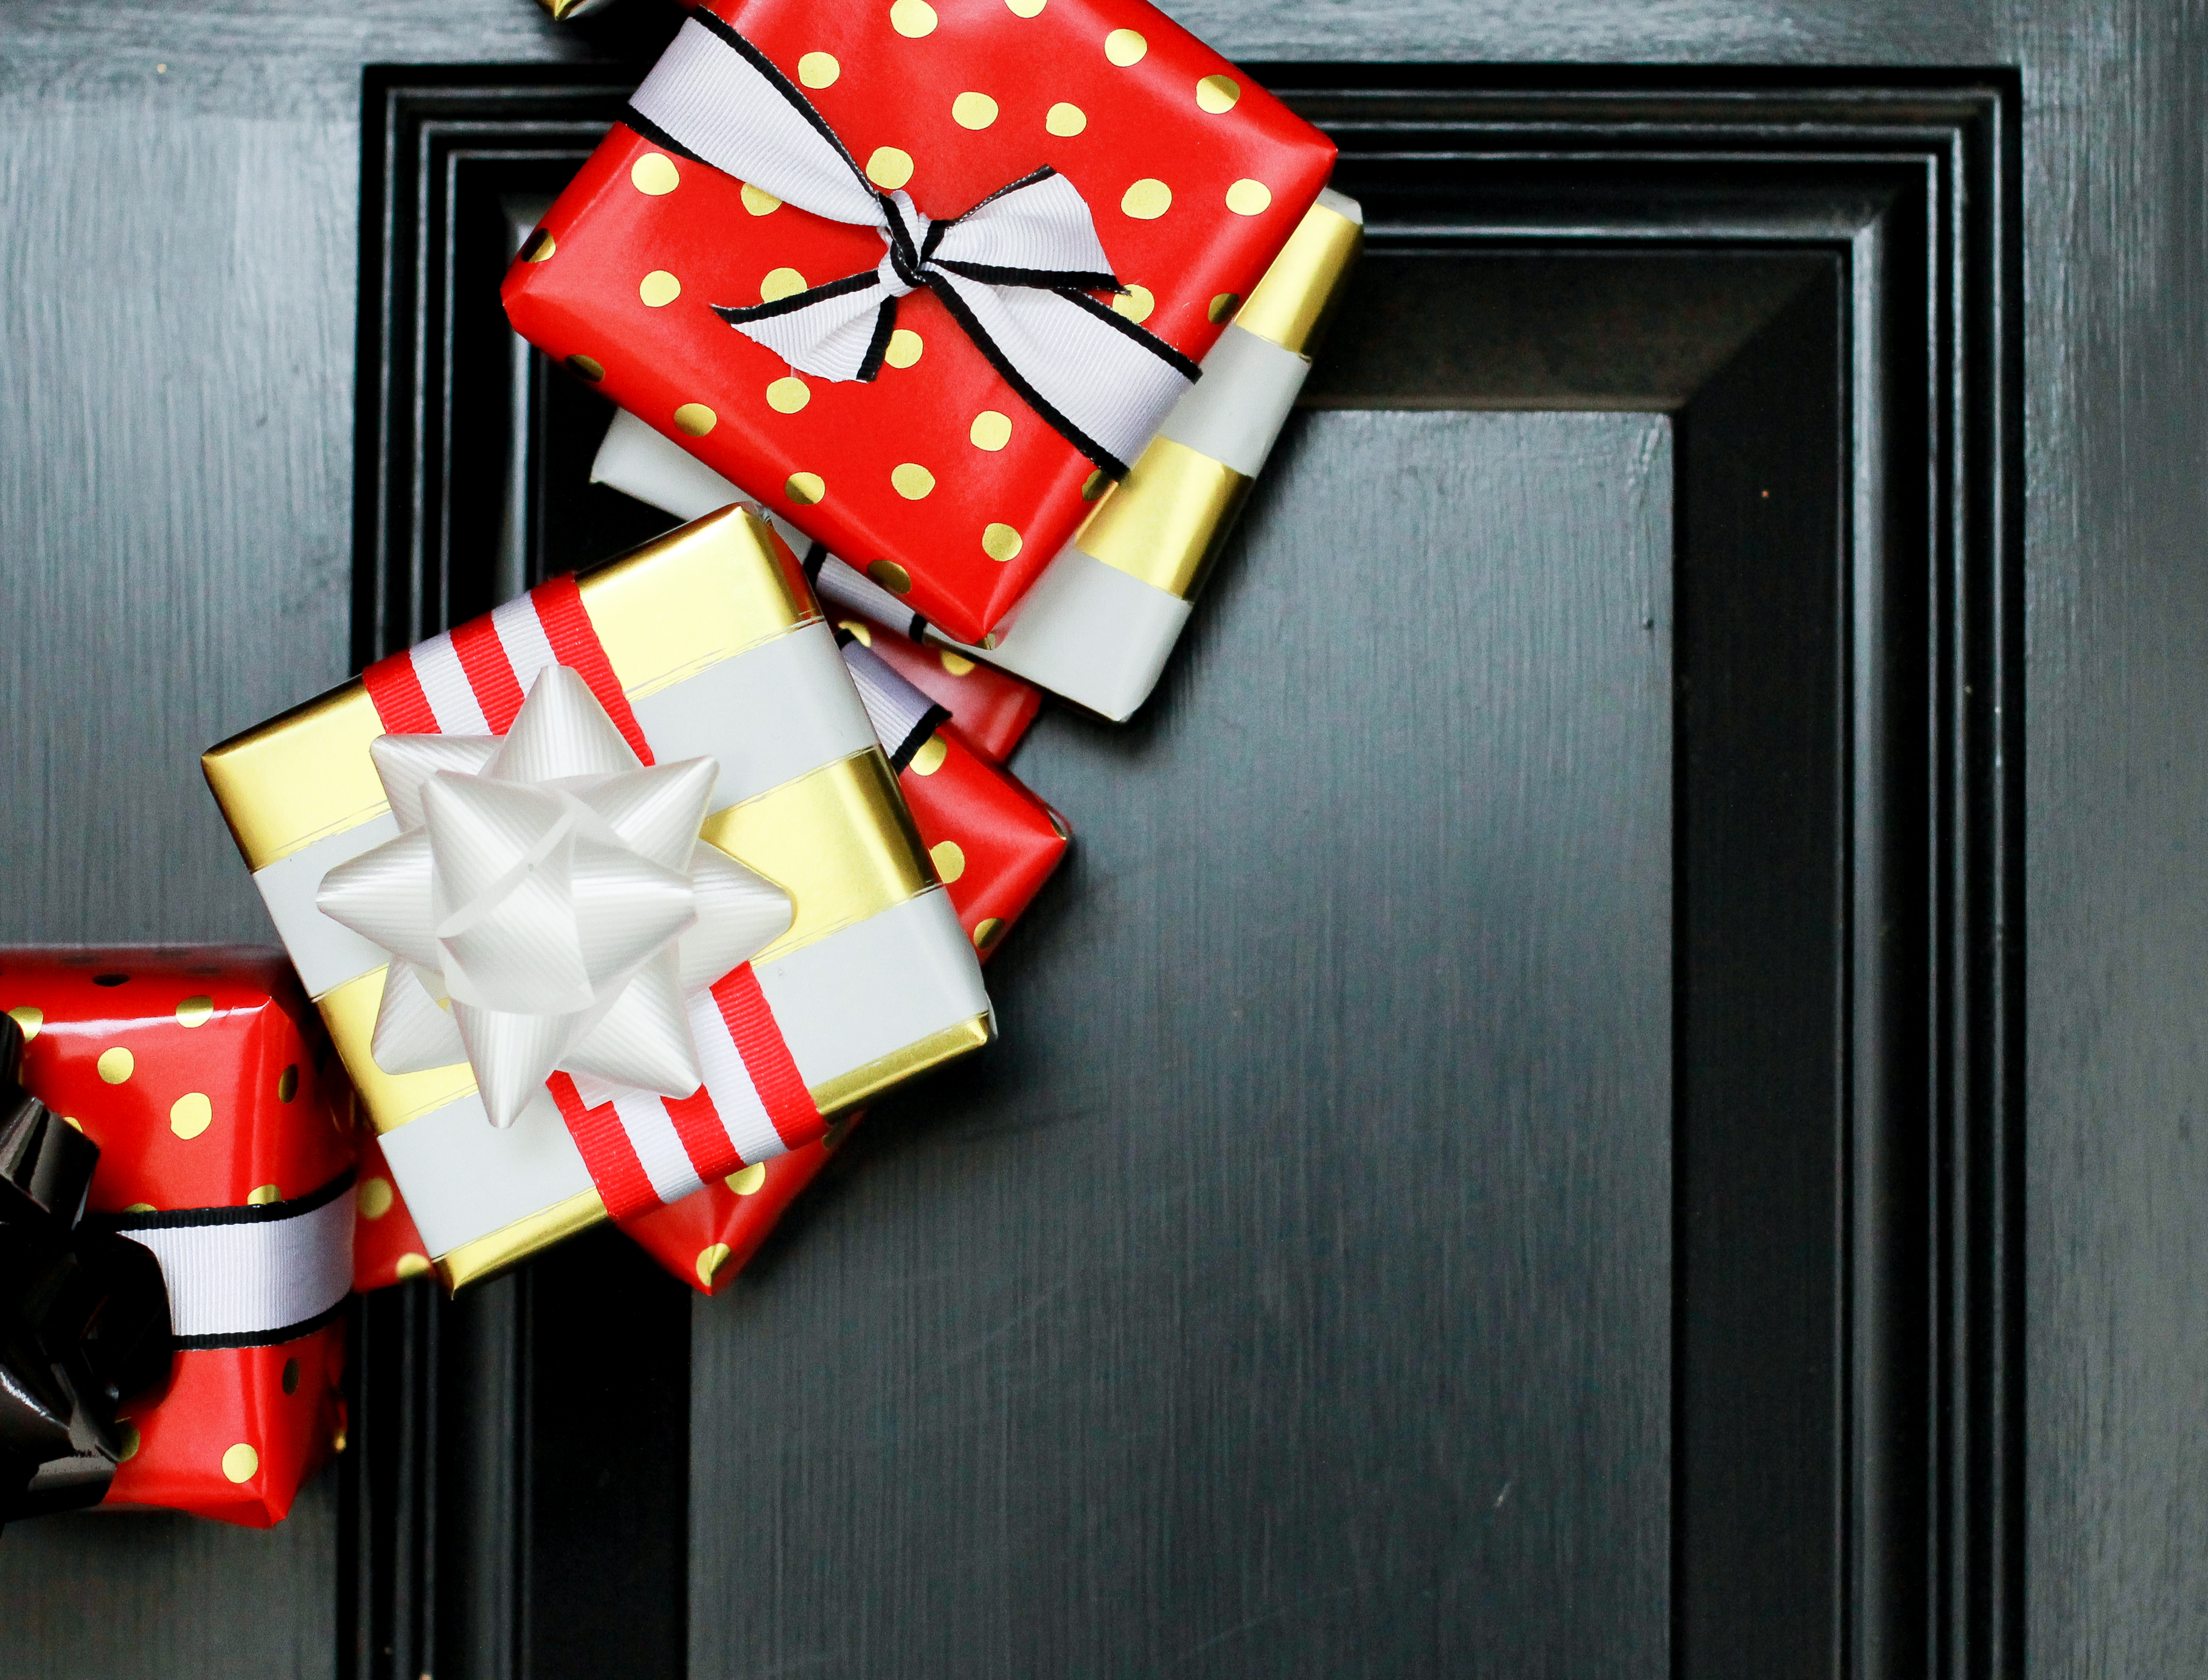
Step 3: Wrap your boxes in alternating papers and ribbons. I did half in the red and half in the gold stripes paper with various colored ribbons.
Step 4: Make your bow topper out of one of your wrapping papers. Instructions here. Set aside.
Step 5: Start up the hot glue gun. While waiting for it to hear up, strategically place boxes to fill board. I did two layers with the slightly larger boxes on bottom. Once arranged pick up boxes one by one and hot glue them to the board and on top of the other boxes. I kept the loose boxes in place to make sure I was gluing each in the right spot to allow room for the next.
Step 6: How glue variety of bows to your top boxes or tie fun ribbons on them to give contrast. Then glue your large bow you created to the top box.
Step 7: Hang your Command hook on the door, allow to sit for one hour and then you can hang your wreath to your front door. Tip: I glue the top box only at the top of the cardboard so I could slide the hook up under the box when hanging.
Any holiday DIY projects you tried out this year? What’s your favorite way to decorate the outdoors?
Such a fun, creative idea Megan! Love it! I will definitely be trying this one out for my front door. Perfect timing too–the holiday decorations are going up this weekend. Have a fantastic Friday, girl!
Kristin
http://www.cupcakesandthecosmos.com